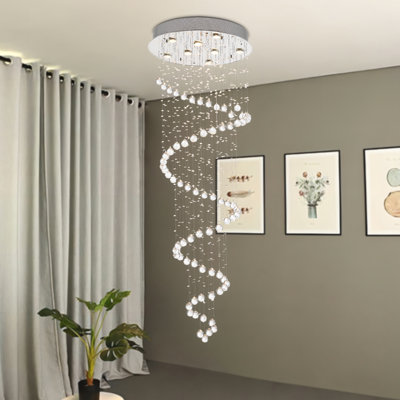
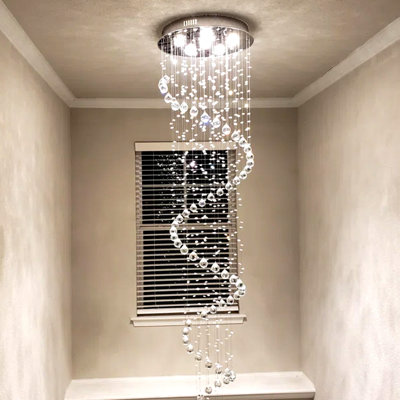
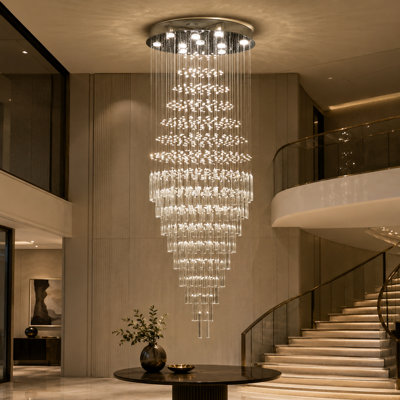
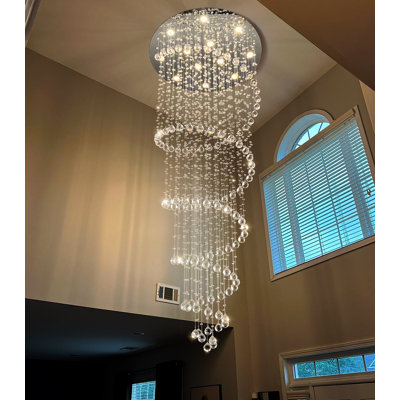
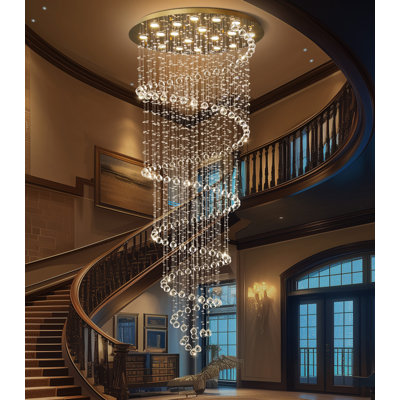
This 9-light chandelier makes a modern statement in the entryways and stairs with high ceiling ends. It will form 3 sparkling crystal spheres after full installation and the crystals can reflect sparkling colourful lights. It is amazingly beautiful when the light is on and you can gain even more beauty if you install more than one of this chandelier in raw. Though the installation is time consuming (it will take more than 3 hours for those who are familiar with it), you will find it all worthy when you have the stunning light finally. Please keep in mind to watch our installation video before you make the buying decision and the starting of the installation plan.
Before beginning the review, I want to emphasize that the final result is well worth the time and effort invested. Although this review is lengthy, I encourage you to read it thoroughly, as it may help you avoid unnecessary frustration.
To assemble the chandelier, you will need
1. Time and patience. You can do it yourself.
2. A quality pair of needle nose pliers (these will be especially helpful during the final assembly step). They are used to hold hooks as you force them into the base opening.
3. A box of small sandwich zip lock bags
Patience is key throughout the process. If you are working with a partner, be kind to each other.
To make the assembly less stressful, start by separating the multiple strands of wire (especially row 2 through 7) into individual strands. Attach the ball, then carefully fold each individual strand and place it in a zip lock bag, labeling each bag with its corresponding row number or the ball’s number. Do not attach the “base” hook at this stage wait until you are ready for the final assembly when connecting the chandelier to the base. If you are concerned about the wire strands coiling, rest assured—they will straighten out during the process.
After installing the base, remove the protective film and wipe away any fingerprints before beginning assembly. While the gloves included in the package are a thoughtful addition, they are not practical for use during assembly. However, once the chandelier is installed, you may use them to clean the crystals.
Be aware that extra crystals are provided, which is fortunate, as we had just enough to replace defective ones. In our box, four crystals were not drilled and one was damaged during drilling. The same applies to the small end hooks (clips) extras are provided, but they are easy to misplace. Keep all end hooks secure in one bag, along with the pliers, until the final stage of installation. Despite losing a few hooks and encountering some defective ones, we had the exact amount needed to complete the chandelier, though it was stressful to think we might not have enough.
Once the installation is complete, take a moment to appreciate your work.. Anonymous. Mon May 25 2026