Expédition à

Réutilisable

Utilisation multisurfaces
À propos de ce produit
Caractéristiques
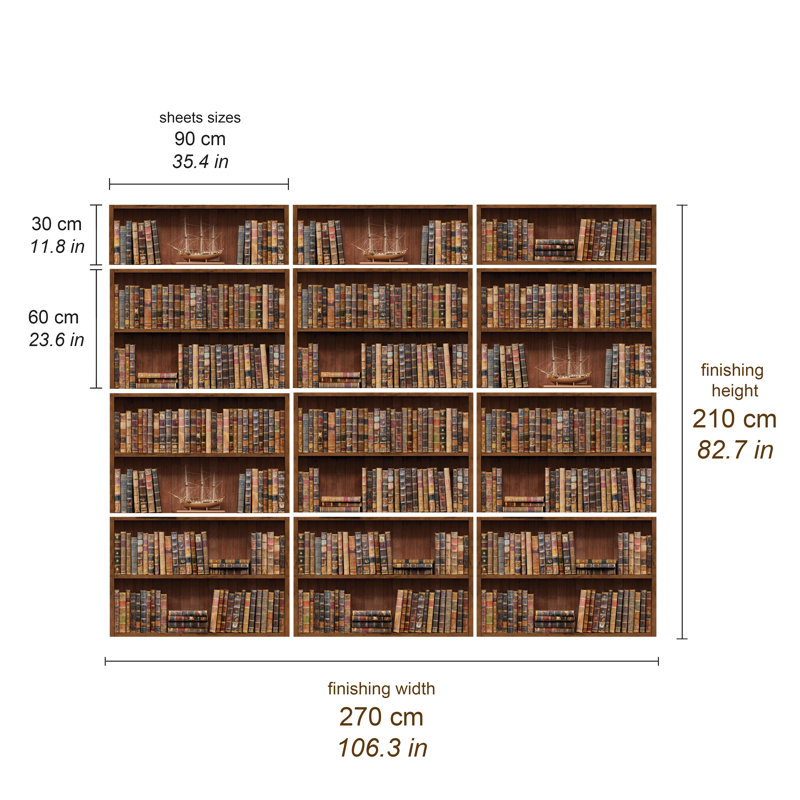
Dimensions du produit
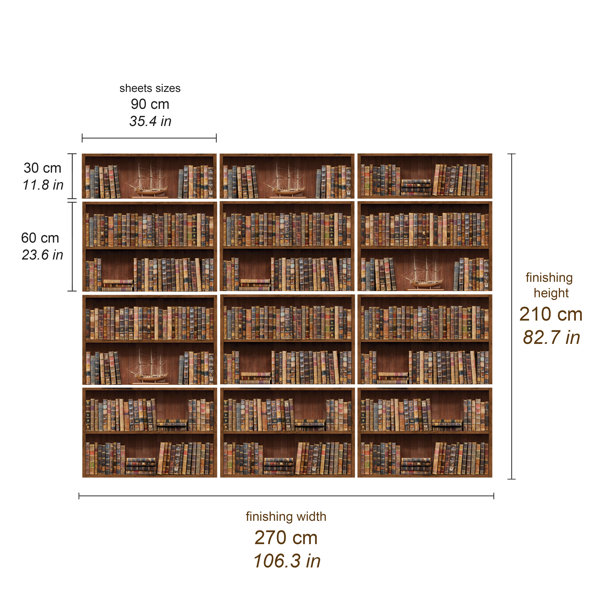
Autres dimensions
Détails
Garantie
Pas convaincu? Les retours sont offerts pour la plupart des articles dans les 30 jours suivant la livraison pour un remboursement ou un bon d'achat.
Apprenez-en plus ou
ou

Obtenez {EARNING_RATE} de remise¹ en récompenses, plus d'autres avantages exclusifs.
Noté 3.6 sur 5 étoiles.
Avis 1-5 de 5
Noté 4 sur 5 étoiles.
I added extra adhesive. Still a few challenges, but I like the way it’s going!
Noté 4 sur 5 étoiles.
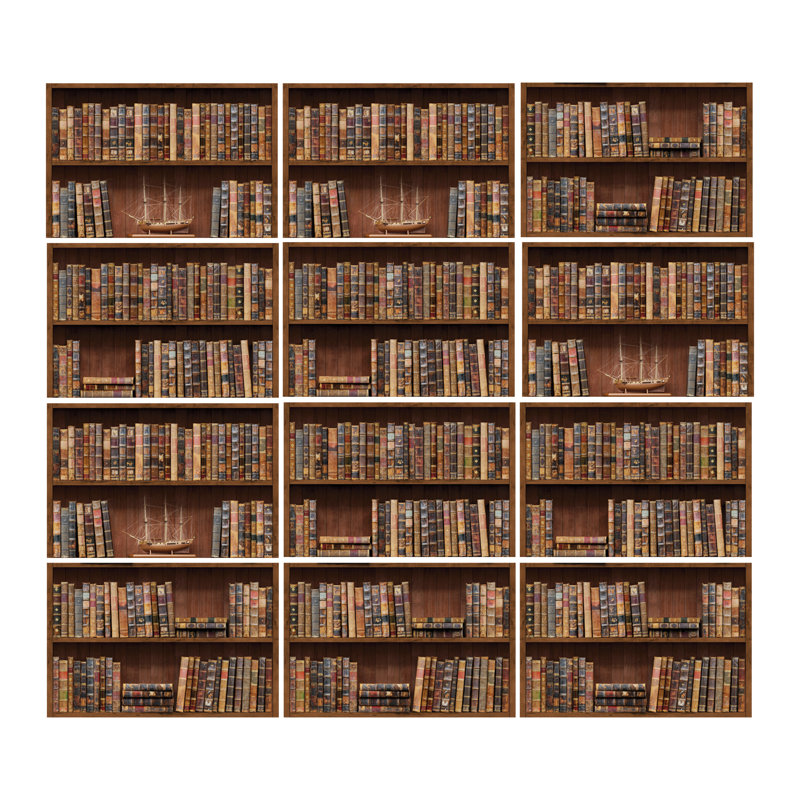
The large panels come in 3 designs, but one of them must be used on the bottom because it's the only one with a bottom shelf border. That only leaves 2 patterns for the other layers which can be a little repetitive. There is a half panel in each set (3 full and on half) which you can use to break up the pattern. I would have liked a little more flexibility. This is best applied to a light colored wall as the product is not completely opaque. 1. WASH THE WALL and remove any bumps if you can. Then run a vertical and horizontal plum line and follow them...you're walls and ceiling will not be straight. I did first section, bottom to top. I did top to bottom after that, following my vertical plum for each column. If you get the first column straight, the rest will be easier. 2. Lay the panel face down and pull the paper back from the top, working your way across until you've exposed about 6 inches and fold it down. Don't remove the entire backing or you'll hate yourself. I also pulled the left side back about 3 inches (i worked left to right) and cut it off. This gives you control and you can work alone. 3. Line your exposed side up with your plum lines and/or the previous panel. You have to lift and position the side then the top until you get it right (takes practice). Once the top edge is in place, you can peel the backing off and smooth with your hand as you peel work out any issues with your hands, lifting and reapplying as needed. Then, you must use a squeegee. If you get the air bubble out, it will stay up. I found going from the center to the corners worked well. I have big "Chandelier" that does cast some glare, but I think normal lighting wouldn't cause this effect. The finish is relatively matte. You could add a little glue to top edges if needed, but I didn't need to. I painted the rest of my wall with a dark brown paint and a silk tree will be going over there. I could have gone all the way across if I didn't go to the ceiling, but I didn't like that look. Have fun with it.
Noté 1 sur 5 étoiles.
These are utterly terrible!! They fell off my walls within 2 days. You are looking at the decals in the floor...
Noté 5 sur 5 étoiles.
I found a little difficult to place as panels are quite large with care once done looks good
Noté 4 sur 5 étoiles.
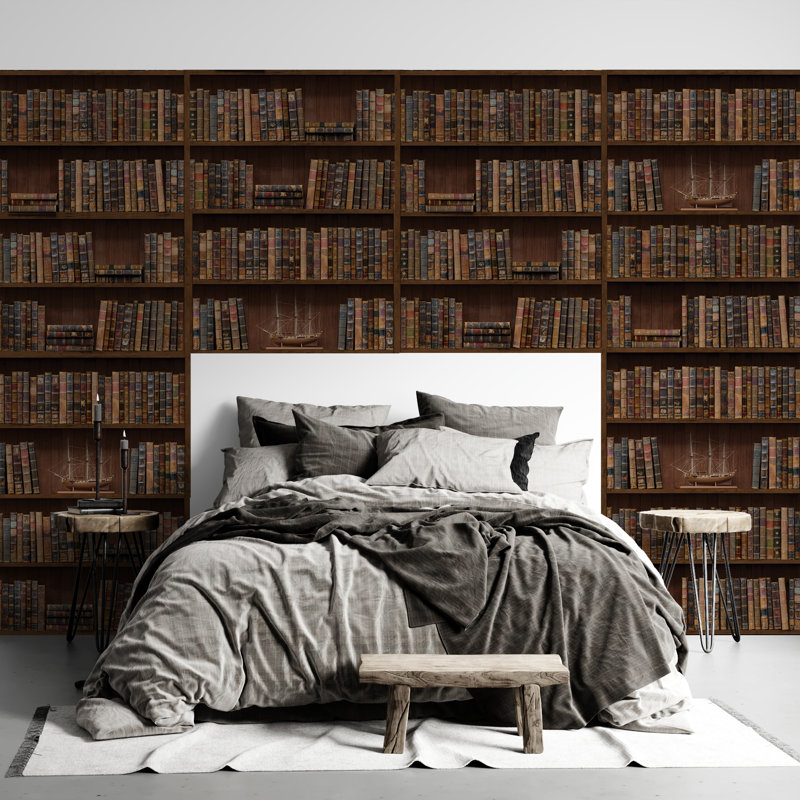
This wall decal is going in our office. It looks amazing. Nice colours and so cozy.