Expédition à
À propos de ce produit
Caractéristiques
Dimensions du produit
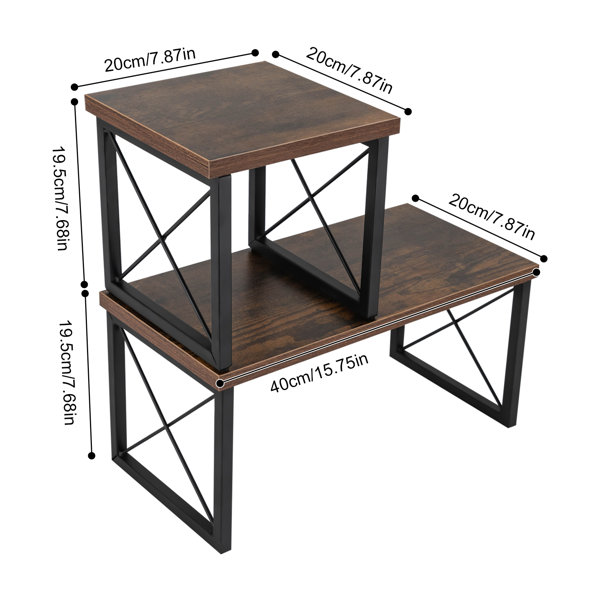
Autres dimensions
Détails
Garantie
Pas convaincu? Les retours sont offerts pour la plupart des articles dans les 30 jours suivant la livraison pour un remboursement ou un bon d'achat.
Apprenez-en plus ou
ou
Noté 2.5 sur 5 étoiles.
Avis 1-2 de 2
Noté 1 sur 5 étoiles.
Very disappointed With this. There weren’t any pre drilled holes or and instructions
Noté 4 sur 5 étoiles.
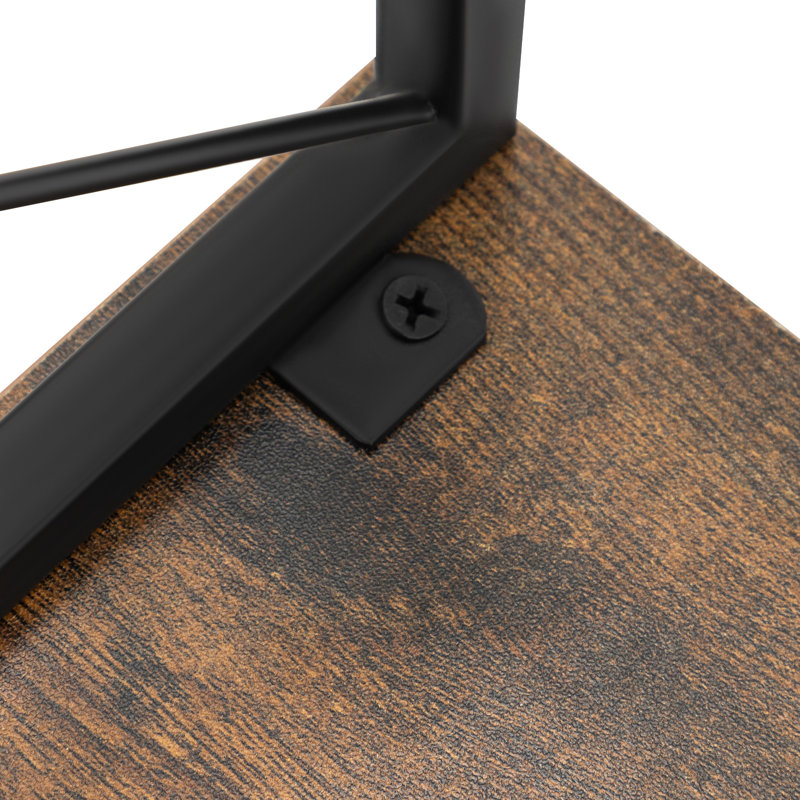
Add a star for do-it-youself and cost. Remove stars for no predrilled holes or directions. Here are my directions: 1) unpack and sort items. 2) make a rectangular template (cardboard) that matches the width of either top (7 7/8 ") and about 2 in deep. Measuring with a ruler, mark and punch (pencil and awl) two holes, 1 1/16 " from the good 7 7/8" edge and 1 5/16" from the sides. 3) Place the good 7 7/8" edge along the end edge of one of the tops, mark and then drill a shallow hole with a 5/64" bit at each hole location. Repeat for both tops, each side (8 holes). 4) Screw in legs using a Philips (+) #2 screwdriver with the legs facing the outside and holes facing the inside. 5) Examine for leg straightness and make minor adjustments by tapping fully screwed in legs with a rubber mallet. All done and ready to use. So inexpensive, you can by two sets and use the same template. As in the picture, the legs are not right up against the side edges to prevent minor touching of shelves to cause the shelf to slip off when stacked.