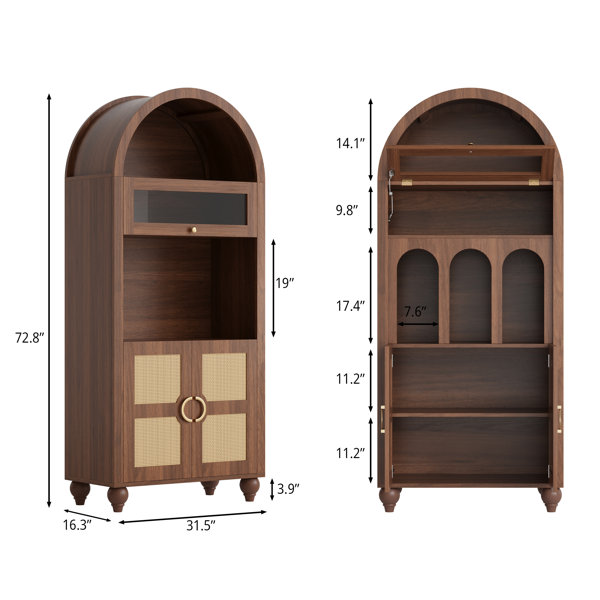
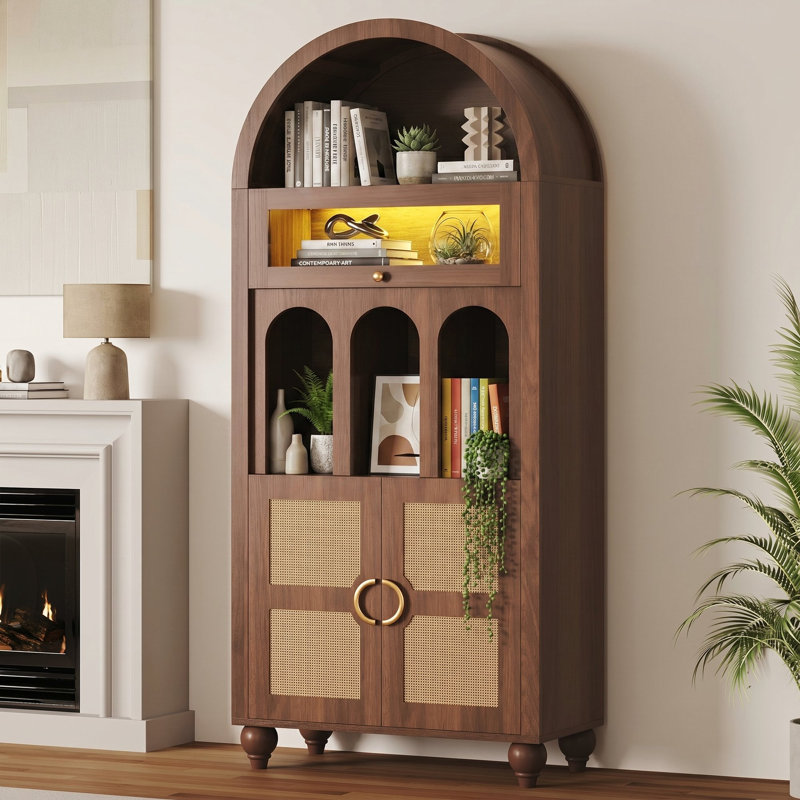
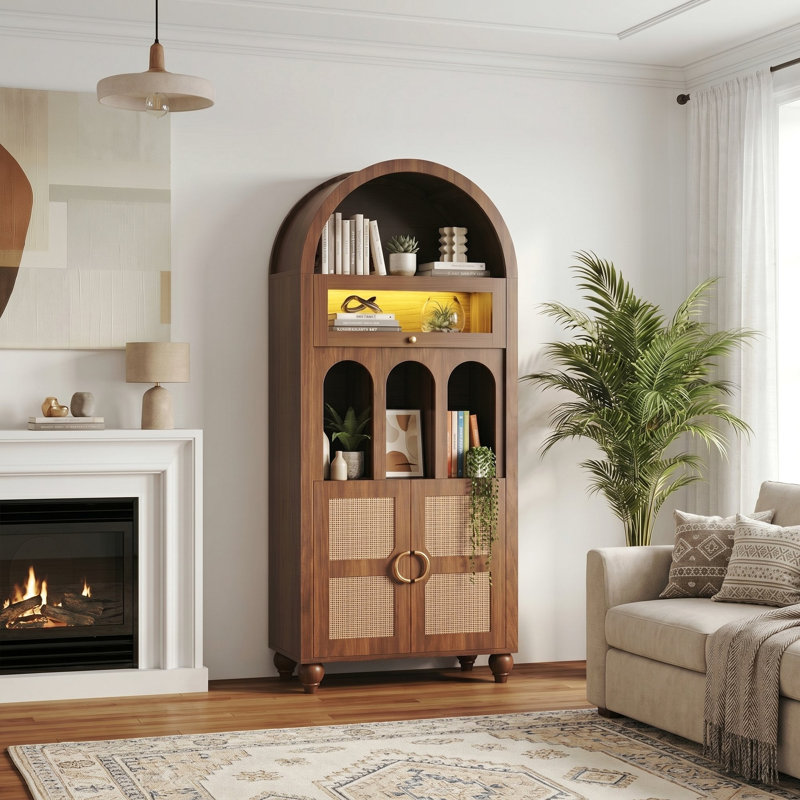
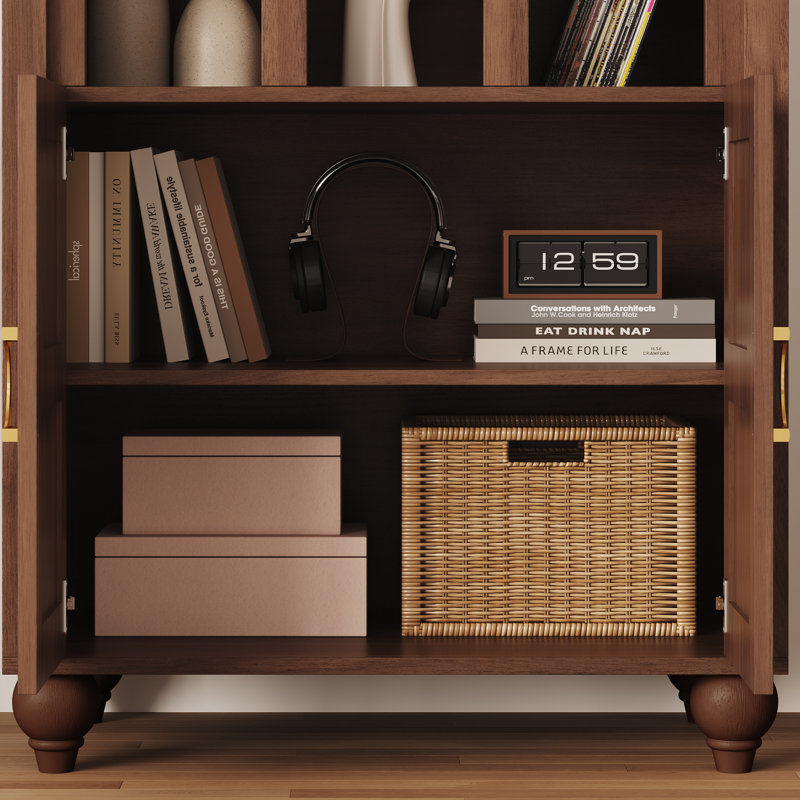
Love the look of the cabinet. Assembly was mostly easy minus the arch. Being that is the main selling point of the cabinet, I was expecting an easier install. But shout out to the seller for quickly shipping some replacement parts.
My recommendations for the arch part: The flat panel will not easily slide through the groves as indicated in the instructions. My suggestion is to bend the panel in the shape of the arch and place in between 2 heavy surfaces for 1 day. This will make the panel much easier to position into the grooves. Also deviate from the instructions. Sliding the panel through the groove will damage the attached boards, as everything is cheap veneer. My recommendation are to deviate a bit from the instructions.
1. Curve the arch panel and place between 2 heavy objects and leave overnight. The panel should then be close to it's final shape. Don't bend too much, as you will break it!
2. Connect parts #5 to the 1st grooved wood arch piece. REVERSE the #5s so that the large holes point down, rather than up. This made accessing the holes possible to secure the parts later.
3. Place the arch wood flat on the ground with the attached #5 pieces connected and pointing up. Feed the panel into the groove.
4. Place the 2nd arched wood piece on top of the panel, and feed the curved panel into it's groove. As you secure one side of the panel into top & bottom grooves, secure the #5 beams on both sides.
5. Install the other wood beam parts at both ends of the arch to fully secure everything together.
6. Cover the #5 screws with the wood stickers to cover then.
You need to be careful and not apply too much pressure with the last 3 steps, otherwise, things will break. I did need to use epoxy to fix a few breaks. I also covered those breaks with some wood filler.
The look is amazing, but the arch installation process can use some improvement.