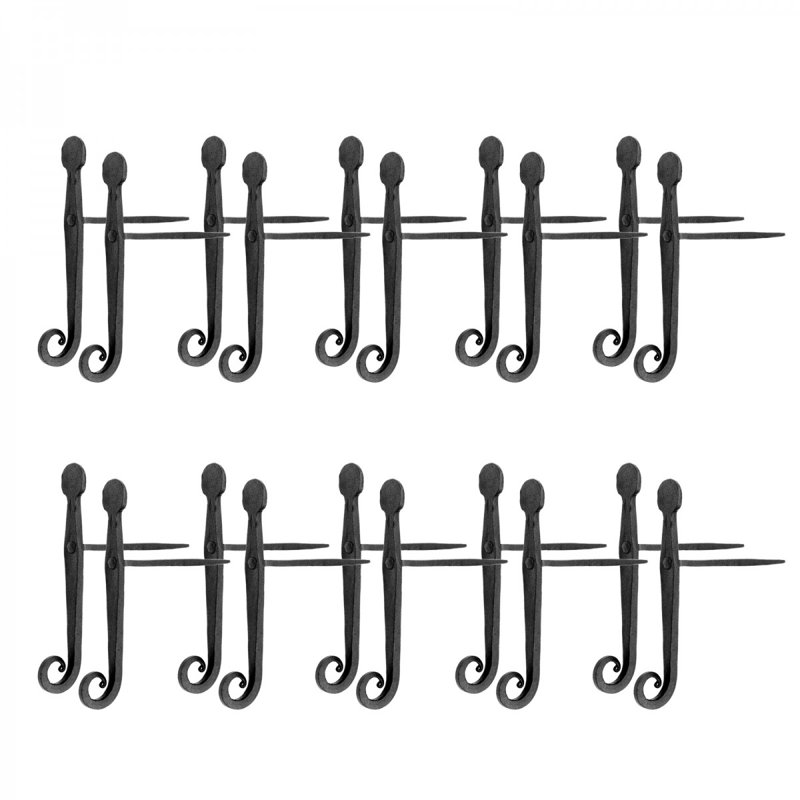
Vendu en lot de 10
Livraison gratuite
Recevez-le entre le 9 juin-12 juin
à
M4C 1B5

Accumulez {RICH_TEXT_POTENTIAL_REWARDS} en récompenses, avec une remise de 5 %¹, en plus d’autres avantages exclusifs.

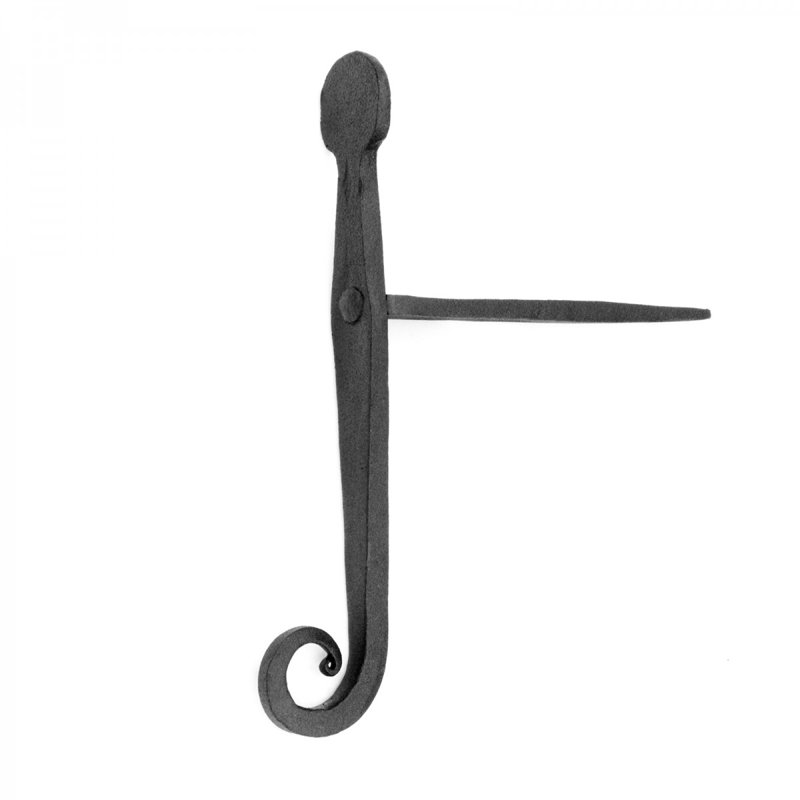
À propos de ce produit
Non inclus:
Caractéristiques
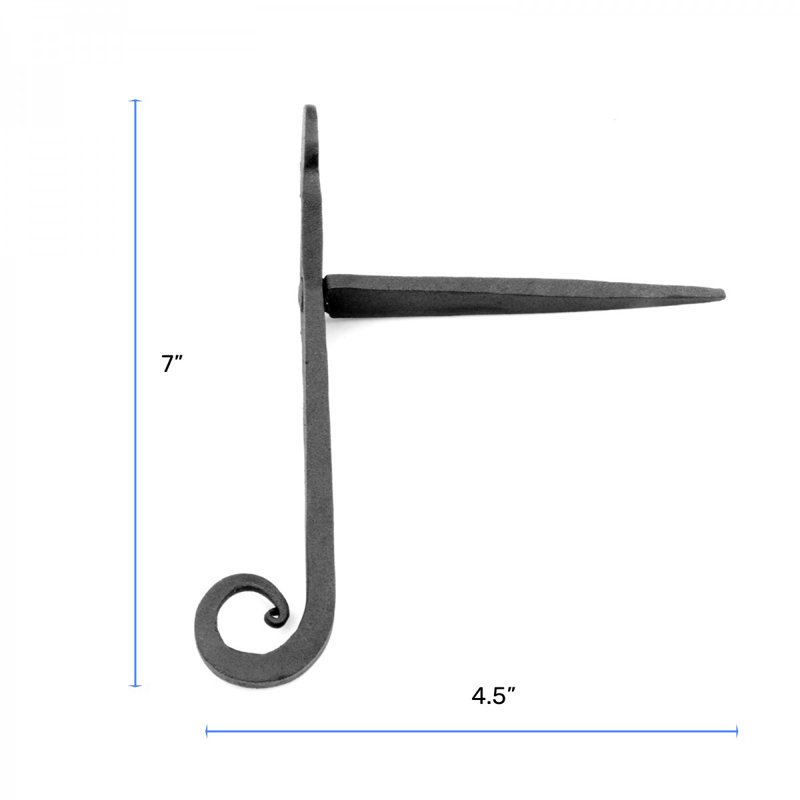
Dimensions du produit

Autres dimensions
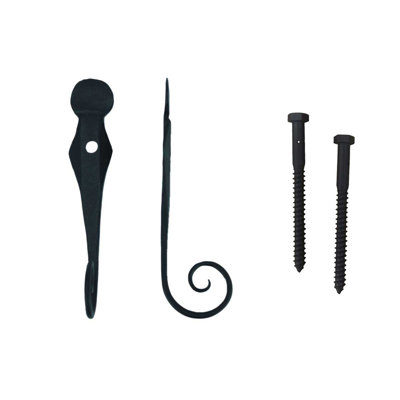
Détails
Certifications
Assemblage
Garantie
Pas convaincu? Les retours sont offerts pour la plupart des articles dans les 30 jours suivant la livraison pour un remboursement ou un bon d'achat.
Apprenez-en plusNoté 4 sur 5 étoiles.
Avis 1-1 de 1
Noté 4 sur 5 étoiles.
These shutter dogs are very nice. They do help set the stage for our handmade cedar shutters on our new home. Giving 4 stars because there are no instructions to mount these into masonry. This is what we did. I used a 3/16" masonry bit to drill a hole into the mortar of the brick. Unfortunately, the mortar lines didn't line up equally across all shutters. If you look closely, the locations of the shutters (depending on size) are offset. We did try to get them as close as possible to be even across the bottom. I then drilled a hole at about a 35 degree angle into the mortar. I then placed the shutter dog into the hole pushing it with my hand manually until snug. Using a piece of 3/4" scrap plywood, I placed the wood on top of the shutter dog and with a hammer hit the wood pushing the shutter dog further into the mortar. If the shutter dog needed to be adjusted to the left or right, I placed the wood between the hammer and the shutter dog. There were not whaling blows of force used just enough to make sure that when I tried to pull out the shutter dog it was meant with some resistance to remove. If we ever needed to remove the shutters, we can still do so while not adjusting the shutter dogs. A good DIY project. Especially after the builder carpenter decided to mount the hardware for the shutters on the vinyl window sash instead of the masonry. You can do this, you just need to educate yourself on how. I will go back and add some silicone sealant around the gutter dogs just to make sure there will be no water intrusion because I did put a rectangular peg into a round hole. Thanks for reading this far. Good luck on your project!
(Ensemble de 2)
Noté 5 sur 5 étoiles.2 votes au total