Noté 4.6 sur 5 étoiles.
Avis 1-5 de 148
Noté 3 sur 5 étoiles.
La base est blanche, en fait il y a beaucoup de blanc et je m'attendais à ce le chandelier soit plus chromé.
Noté 5 sur 5 étoiles.
Finish:White
Résultat final super ! Il faut bien démêler toutes les pièces préalablement.. certaines n’ont pas été utilisées au montage. Ce n’est pas en crystal vu le prix mais cela donne bonne apparence.
Noté 5 sur 5 étoiles.
Finish:White
Magnifique lustre pour la chambre victorienne de ma fille. Arrivée dans un bref délai et en bonne état. Très satisfait.
Noté 4 sur 5 étoiles.
It’s pretty. My daughter loves it. We did have a hard time getting the base of the light to catch onto the bracket and actually had to go to the hardware store to get an extender, but other than that, she looks pretty
Noté 5 sur 5 étoiles.
This chandelier makes me so happy! I had no idea it would look so good. I hate saying “Even my husband likes it,” but it’s true. That’s because it’s the touch of elegance this rather plain bathroom needed. Its sparking crystals and crystal chains shimmer with color, and though the cups are acrylic (as stated in the product description), they are heavy, and I thought they were glass until I sat down to write this review and I re-read the production description closely. (I washed the cups with a mild solution of Dawn before assembling, though they didn’t look dirty. I just wanted a nice, fresh start.) I wonder about some of these reviews! My shipping box was damaged, but the item was packed so well, it was just fine. I can’t see how anything would get scratched. I judged the size of the fixture by the measurements, not the sample photos, and the chandelier is the right size for my large bathroom. Carefully reading this product description is important when deciding whether this is the right fixture for you. That’s true of everything you buy online. I also want to note that the fixture itself puts out no light at all; it provides power for 6 bulbs YOU choose— and E12 bulbs come in all colors (I chose 3000k, because this is additional lighting that I use when I need to see really well) and E12s come in all lumens. If you like the light you’re replacing, add up the total lumens and choose your E12 bulbs that way. I had 2400 lumens before, so that meant I needed 6 bulbs of 400 lumens, or 40-watt LED equivalent bulbs. (I could have gone with more total lumens, because my project for today is to install a dimmer switch that I can set to a certain brightness and turn it on and off at that brightness.) I installed and assembled this chandelier myself. It’s not the first time I’ve installed a chandelier or changed out lighting fixtures. If I had hired someone, I would have stopped them after they completed Step 7. (See photos.) I wanted to attach the crystals and chains myself, no matter what. (For fun!) I ran into three issues while assembling, and I’ll share what I learned here. ISSUE 1.) In Step 3, instructions say to “Let the hole of the plate… face to the bulbholder.” I didn’t know what that meant, so later I had to go back and loosen the hex screws and reposition the six arms (bulbholders). There are tiny holes in the round plate of the hanging tube; align those holes with the arms before you tighten the hex screws. You will be hanging crystal chains from those holes and attaching them to the arms. ISSUE 2.) The green ground screw was attached so tightly to the bracket that I couldn’t loosen it to attach the ground wires (one from the junction box, the other from the fixture). I used the old ground screw and attached it in another hole. ISSUE 3.) The screw rods attached to the bracket must be long enough to poke through the canopy and still have enough threading to screw the white cap nuts on. At Step 5, skip to Step 7 just to see if they are long enough. I did not do this, so it was more work for me. I needed a spacer between the bracket and the junction box at Step 5. I used a nut I had. I’ve included photos regarding the issues as well as the photos of the chandelier— 10 photos in all, if Wayfair will let me add that many. I hope my review has enough information to be helpful, but I also want to just say how lovely this chandelier looks and how happy I am with it.
Livraison gratuite
Recevez-le entre le 26 sept.-30 sept.
à
M4C 1B5

Durée de la garantie commerciale: 1 an

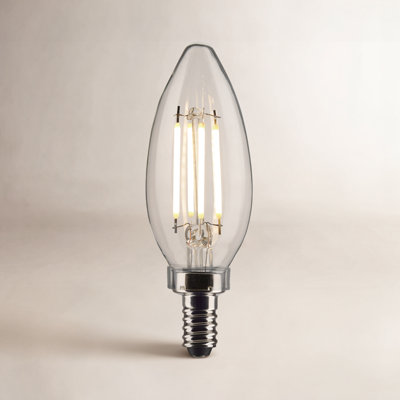
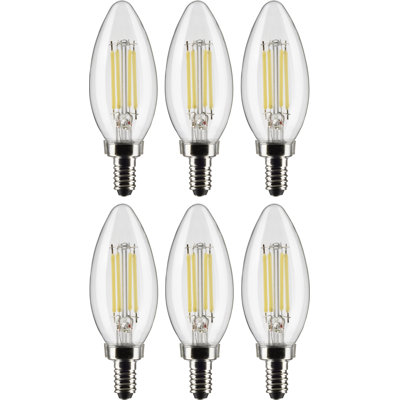
Culot de l'ampoule: E12 / culot de type candélabre

Méthode de suspension: Chaîne

Assemblage requis
Finition:
Nickel
À propos de ce produit
Caractéristiques
Dimensions du produit
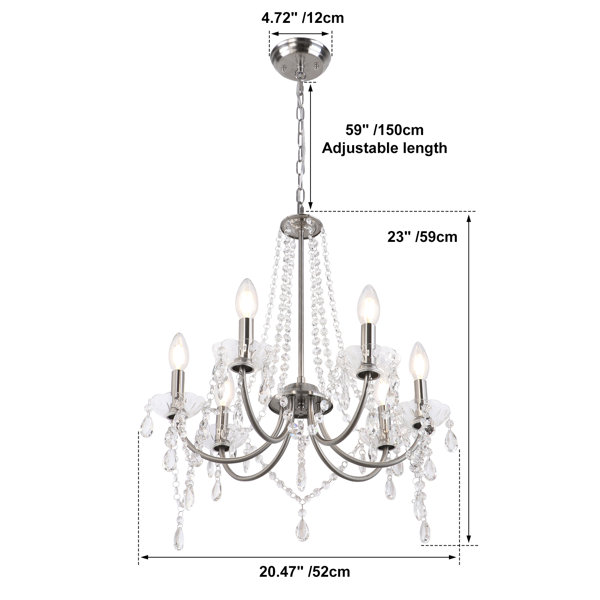
Autres dimensions
Détails
Certifications
Assemblage
Garantie
Pas convaincu? Les retours sont offerts pour la plupart des articles dans les 30 jours suivant la livraison pour un remboursement ou un bon d'achat.
Apprenez-en plus
Accumulez {RICH_TEXT_POTENTIAL_REWARDS} en récompenses, avec une remise de 5 %¹, en plus d’autres avantages exclusifs.