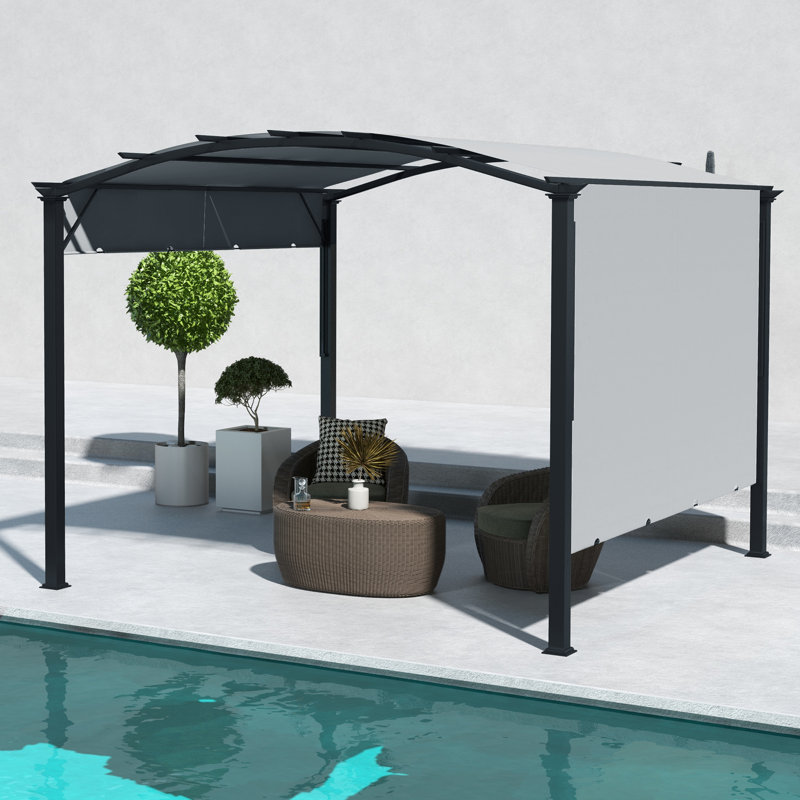
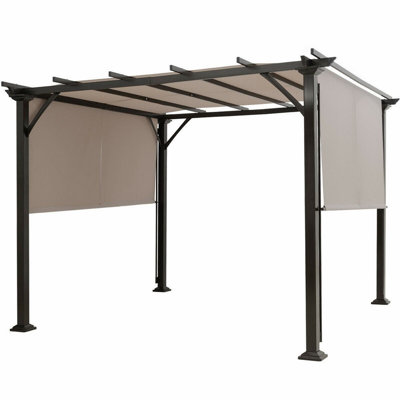
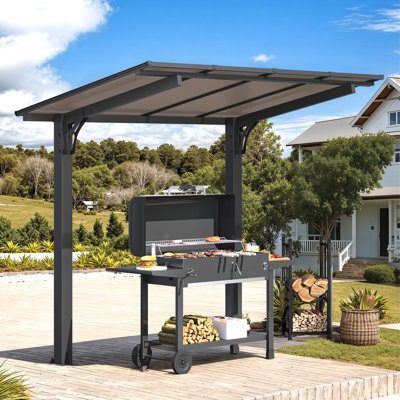
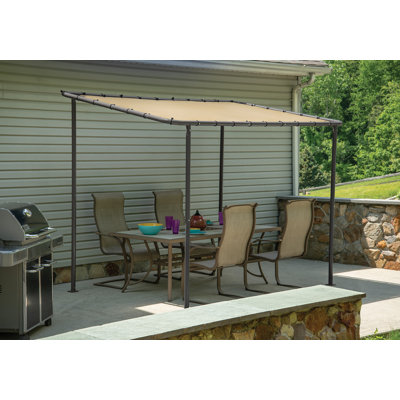
- Pas sur la photo : Beige
Couleur du toit:
Beige
Livraison gratuite
Recevez-le entre le 17 juill.-21 juill.
à
M4C 1B5

Poids total du produit: 139.99 lb

Durée de la garantie: 90 jours

Assemblage requis
Durée de la garantie: 90 jours
À propos de ce produit
Qu'est-ce qui est inclus?
Non inclus:
Caractéristiques
Dimensions du produit
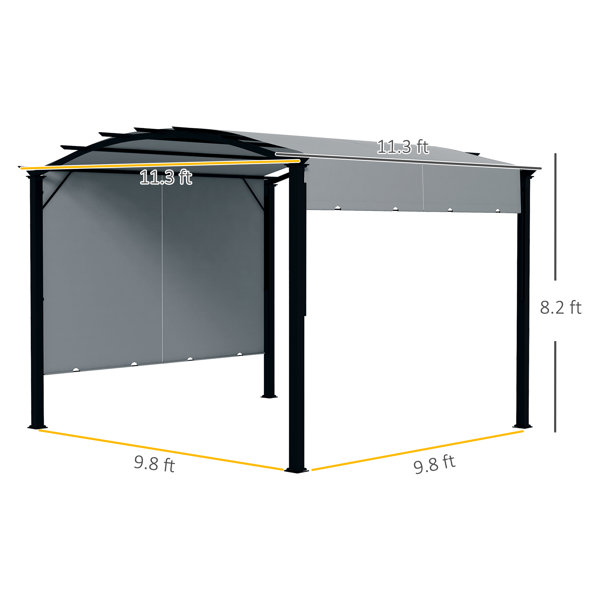
Autres dimensions
Détails
Assemblage
Garantie
Pas convaincu? Les retours sont offerts pour la plupart des articles dans les 30 jours suivant la livraison pour un remboursement ou un bon d'achat.
Apprenez-en plus

Accumulez {RICH_TEXT_POTENTIAL_REWARDS} en récompenses, avec une remise de 5 %¹, en plus d’autres avantages exclusifs.
Noté 4.1 sur 5 étoiles.
Avis 1-5 de 27
Noté 4 sur 5 étoiles.
This grill gazebo has a good frame and a few major design flaws. The low price serves as a good excuse to buy a few other things that essentially fix the biggest issues. The worst aspect of the design is the canopy, specifically the dual-panel design and the lack of support for the canopy itself. It does not matter how taught you pull it any substantial rainfall will weigh down the canopy until it collapses and water pools in it, meaning you then have to push up to drain it, usually resulting in water getting all over you and everything beneath or around the canopy. On top of this, the 2 canopy panels easily get blown into twisted positions by the wind. Here is what you’ll need to make this grill gazebo more useful 1. Black coated chicken wire. 2. Lots of 8” to 12” zip ties. 3. At least 24 circular strong magnets (rated up to 150 lbs). With the canopy removed, stretch the chicken wire over the top of the gazebo, with the strips of chicken wire running perpendicular to the top crossbars. Bend down the wire and secure it to one side of the frame with zip ties, then go to the other side and pull the chicken wire as tight as you can before securing with zip ties. With 4-foot-wide chicken wire, you’ll have one strip along the left side, one along the right, and one in the center which overlaps the other two. Use lots of zip-ties to secure the chicken wire to the frame. Ideally, you would weld it to the frame. With the new canopy of chicken wire installed, set up the fabric canopy as usual. Once that’s done, use the magnets to secure the canopy to the frame, with as many points of contact as possible. Overlap the canopy panels slightly so there’s no gap at the center. You now have the best version of this grill gazebo. The chicken wire provides enough support that the canopy won’t dip under the weight of rainwater, so no pooling, and no having to manually drain the canopy. The magnets simply keep the canopy in place, which is essential because the wind tends to twist the panels into weird positions. So, this is a decent cheap grill gazebo, but you’ll have to modify it to avoid its most glaring design flaws.
Noté 5 sur 5 étoiles.
Loved this! Held up great under strong wind at the beach.
Noté 1 sur 5 étoiles.
Defective guide tube. How can i get replacement part?
Noté 4 sur 5 étoiles.
Looks like it may work out for us. We are only partially assembled today.
Noté 4 sur 5 étoiles.
Love this gazebo. The sliding shade was just what we needed. Easy to install but definately need 3-4 people to move it once built. I do wish the fabric was a single piece instead of two sections. You must move both sections at the same time so having one piece of fabric would be easy to have and the panels would not separate in the breeze. Other than that, it serves our purpose fine.
Noté 4 sur 5 étoiles.151 votes au total
Noté 4.1 sur 5 étoiles.16 votes au total