I needed a cheap, quick solution to the problem of the afternoon sun beating down on my front door, and this was it. The instructions were terrible, but once you figure out what to do, it is relatively easy to put together. There is one set of three tubes (labeled C and C1, I think) that slide into the bottom pocket of the awning. (Use the two larger screws to hold these together.) There is also a set of 5 aluminum pieces that slot together, later attaching to the top of the awning and to the vertical side poles. Note the position of the screw holes, as they are different for the long middle and long end pieces. The ends have the screw holes very close to the ends. (I did not use the screws to hold these together and it was fine.)
Now, this is where the instructions fail us. Do NOT attach the end pieces to the ends of the aluminum rod until AFTER you have attached the awning.
How do you attach the awning? First, find the set of three slim plastic rods that are held together by rubber goobies. Remove the rubber goobies. Then, lay the awning fabric right-die-up on a flat surface (such as the ground) and carefully slide each slim rod into the narrow pocket at the awning top. Once the first rod is in, use the tip of the second rod to push it in further so that the rods extend the length of the awning and do not overlap. Repeat with the third rod. You want them to form a straight line from one end to the other. This is crucial for the next part, in which you attach the awning to the aluminum piece. (The slim rods will stick out from the awning slightly at either end.)
Now, examine the aluminum piece and find the side with the circular groove. This is where the top of the awning, reinforced with the rods, will slide into. Starting with the right end of the aluminum piece next to the left end of the awning (or vice versa), insert the slim rod into the groove, followed by the rod/awning fabric combo, until the awning is inside the full length of the aluminum piece. Now, roll up the awning around the aluminum piece, keeping it right side out.
Attach the two small plastic end pieces to the ends of the aluminum piece. Mine attached at the opposite ends as those shown in the instructions.
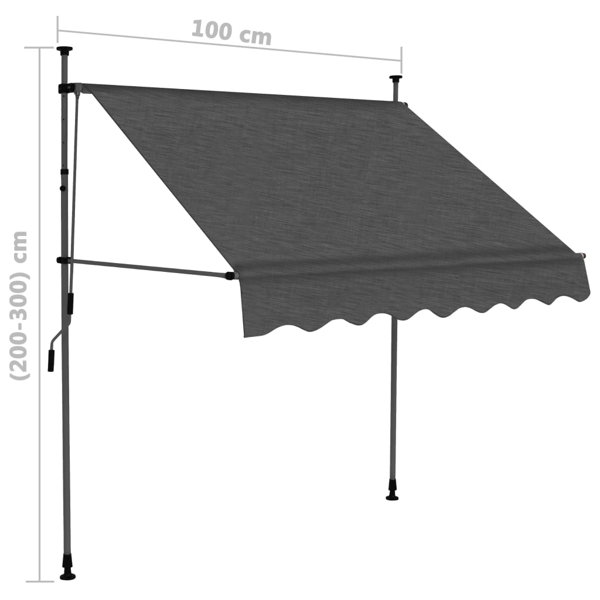
Assemble the vertical poles (measure the height of where the awning will be mounted, as this whole thing is held in place by tension) and adjust their lengths. Attach the vertical poles to the rolled up awning and mount in place. I secured mine with cable ties. Now it is ready to do its job!
I have noticed that when it rains, the water collects in a puddle in the middle of the rolled-down awning. So, it should be rolled up when it rains.

 ou
ou

