DIY Picture Frame Dry Erase Board
Easily create a dry erase board to match your home's decor.
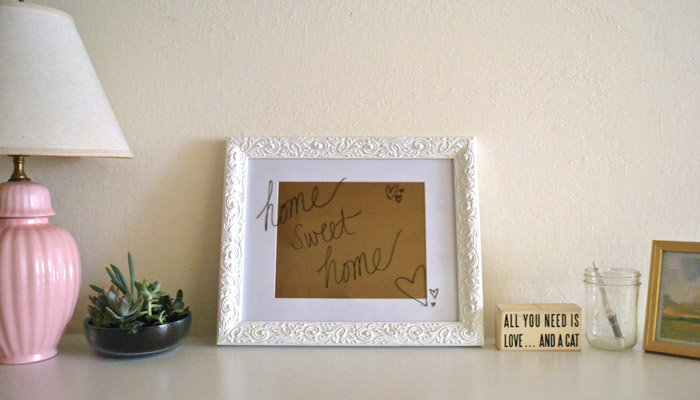
Photo: Suzanna Stein
Dry erase boards are so handy for leaving notes, writing grocery lists, keeping track of appointments, etc. Unfortunately, many of them are also bulky and ugly, and don't match your decor. Luckily, creating one that does is extremely simple.
Supplies:
1 picture frame of your choice
1 piece of scrapbooking paper
Simply place the coloured paper where the photo would normally go in a picture frame (with glass, not plastic), and you're done! I love this because you can make the board any size and can purchase a frame to match your decor. You can also choose a frame with a stand, instead of hanging it on the wall. The paper really allows for creativity because there are a million different patterns, textures, and colours to choose from. Make one for each room of your house, or as a gift for a friend!
Make one of these from a large poster frame to hang in a child's room. Using stickers, fun scissors, various patterned paper, etc., you can create a backdrop for a fun drawing space. For example: use blue, brown, and green paper to create an outdoor landscape, where your child can draw dinosaurs, airplanes, and boats, then erase to draw again and again.
Another great thing about this DIY is being able to use any marker you have around the house. Good dry erase markers can get pricey, but because this is glass, you can use permanent markers or even washable colouring markers as well. Simply use a little glass cleaner to remove the permanent marker, and you're good to go!
This is a great DIY for any day of the week or year, and is fun for all ages. Happy crafting!
