How to Install House Numbers: Step-by-Step Instructions
Easy as one, two, three.
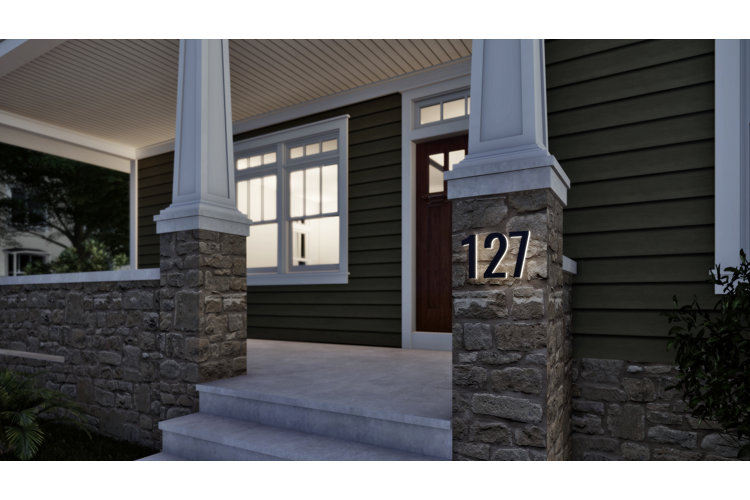
House numbers serve an important purpose. Beyond tying together your curb appeal, visible and easy to read house numbers will help delivery drivers, emergency personnel, friends, and family members find your home quickly. If you don’t have any, don’t worry – we’ve got easy to follow instructions on how to install house numbers yourself.
What You’ll Need:
- House numbers
- Mounting hardware (screws, studs, or industrial adhesive)
- Spacers (for floating numbers)
- Drill
- Drill bits
- Tape measure
- Level
- Chalk or pencil
- A piece of paper or number templates
1. Choose Your House Numbers
Pick numbers that represent your home address and fit your outdoor aesthetic. You can choose from different fonts, colors, and thicknesses to find numbers that look best by your front door or on a wall that surrounds your property. Consider these features when choosing your numbers:
- Flush Mount: These numbers will be flat against the exterior of your home or external wall. These work best on flat surfaces such as stone.
- Floating: Floating numbers have “spacers” on the back of them, which keep them raised a few centimeters off the surface you attach them to. This creates visual depth, but also keeps them away from the house so moisture does not get trapped in between the numbers and the exterior of your home where mold or mildew can build up.
- Durability: You can choose numbers that are made to withstand heat, sun, and damage from being outside.
2. Measure for Placement
Once you have your number, it’s time to plan out their spacing. The best way to do this is by taking a piece of paper and laying the numbers out on it until you like the way the spacing and placement look. Use a tape measure to make sure each number is spaced out evenly.
Once you’re happy with the placement, you can trace the numbers with a pencil or make marks where the top, bottom, and sides of each one will go. Some numbers will come with templates that already have an outline of the number on them. If your numbers have holes, trace where the holes are onto the paper. If you are installing floating numbers on studs, mark where each stud will go.
3. Drill Your Pilot Holes
Take your marked paper and use tape to place it where you want the numbers to go on the exterior of your house, a wall, or a fence. Use a level to make sure the paper and numbers are not crooked. Use your drill and appropriate drill bit (depending on what material surface you are drilling into) and drill a pilot hole where each screw will go.
Tip!
If you are attaching your numbers with an industrial adhesive only, you won’t need to drill pilot holes, but you will still need to mark off where to place the numbers. Make sure to double-check your marks and use a level to make sure the numbers aren’t crooked.
4. Attach House Numbers Securely
You can begin securing the numbers once your pilot holes are drilled. If you have flush-mount numbers you will use screws to attach them to the surface through the holes. Once you’ve confirmed the placement looks right, tighten each screw to secure the numbers to the wall. If you’re using a floating-mount, attach the spacers over the studs behind the numbers – this will keep the number away from the surface and create a floating effect. You can also apply waterproof adhesive on the back of flush-mount numbers or on the back of the spacers to create a seal and provide extra hold on top of the screws.
