Window Film Installation Made Easy: Step-By-Step Instructions
Installation simplified.
Installing window films to your windows is a great way to refresh your space. Window films serve several purposes including enhancing privacy, elevating your decor, or even blocking heat and UV rays – plus, they’re also easy to remove and switch out. We've made window film installation easy with this step-by-step guide to get you started.
What You Will Need
- Window film
- Squeegee
- Baby shampoo or mild dish soap
- Ammonia-free glass cleaner in spray bottle
- Razor blade
1. Choose a Window Film
Your first step is to choose a window film. There are a few different options to choose from depending on your needs.
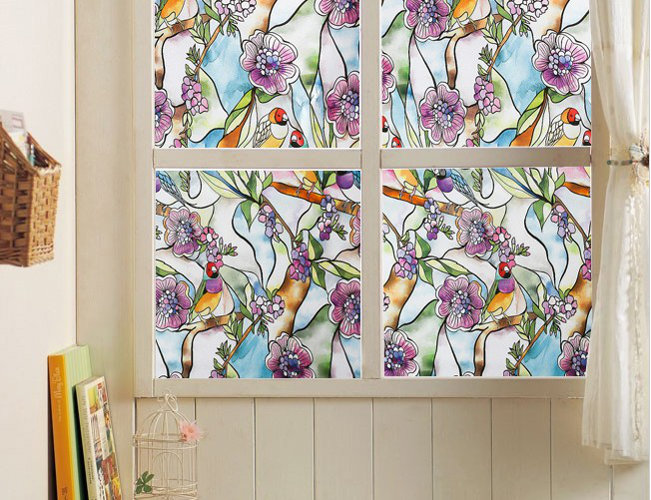
- Decorative: Window films can imitate the look of stained glass for a traditional look. Find patterns that give a textured look or that cast colorful reflections for a fun modern look. Decorative window film can also give you the benefit of privacy or to help soften and filter natural light in your space.
- Privacy: This type of window film can give your window a colorless frosted glass look or a textured look. The main purpose of this film is to stop people from seeing inside of your home. This is great for small or odd-shaped bathroom windows, or any windows where you don’t want to use window treatments but still want to prevent people from seeing inside.
- UV Protection: This type of window film has a specialized coating that blocks UV rays and heat from penetrating the window. This can help keep your space cooler while protecting furniture, decor, and artwork from sun-bleaching and damage from UV rays.
2. Clean Your Window
Starting with a clean and lint-free window is important to avoid peeling. Start with a mixture of water and tear-free baby shampoo or mild dish soap – use 1 teaspoon of soap per gallon of water. Use a clean cloth to clean the window with the solution and use a squeegee to dry the window without introducing lint or dust. If there is any sticky residue on the window from previous window clings or stickers, use a razor blade to carefully scrape it off.
3. Cut Your Film to Size
Measure the height and width of the glass surface of your window. Roll out your film and measure out the amount you need, plus an extra inch on both the height and width. We will trim off the excess after the film is applied to the window.
4. Spray the Window
Spray your window with more of the cleaning mixture you prepared or with a window film application spray. This time, don’t wipe it off.
5. Apply the Film
Right after spraying the window, before the cleaner or application spray dries, line the film up on the window and press it on. Spray the face of the film as well and use the squeegee to press out any air bubbles. Use the squeegee from the center and move towards the edges to release any air bubbles and to get a tight and clean cling.
6. Trim to Size
Once your window film is secure, follow the edges of the window with your razor blade to trim the excess film.
