How to Build a Playhouse for Kids
Solid structure for solid wood.
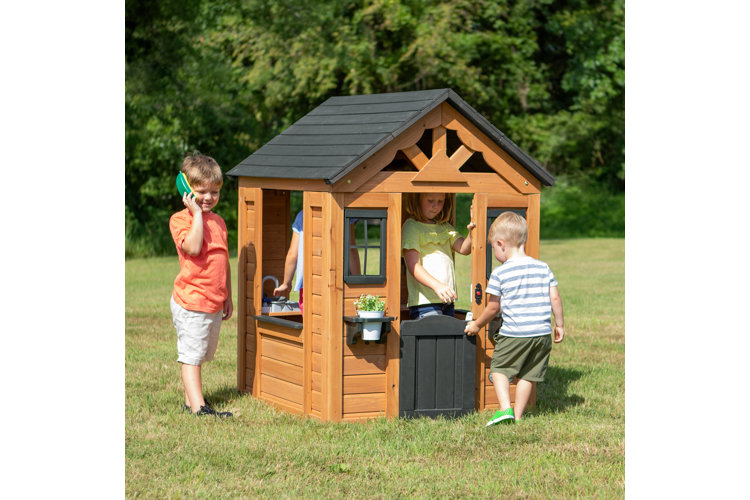
An outdoor playhouse provides the perfect spot for your little one to play in the backyard and allow for their imagination to run wild while enjoying some fresh air. Wooden playhouses are exceptionally sturdy and strong with a lot of moving parts in their installation. If you’re wondering how to build a playhouse, we’re walking you through the process step by step in this guide.
How to Build a Wooden Playhouse
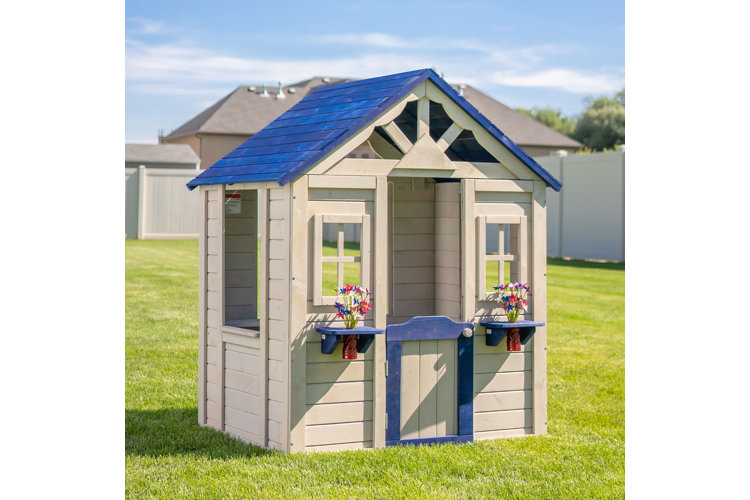
An outdoor wooden playhouse is a lot more intricate than a plastic playhouse. Due to their many parts, a wooden playhouse can take at least an hour or two to put together. A plastic outdoor playhouse can be assembled quickly since it’s mostly composed of parts that are snapped together. These playhouses can be used for indoor and outdoor purposes, but a wooden playhouse provides more stability, especially when left outside. Each outdoor wooden playhouse is installed differently since each kit is built differently and can include various extras. However, there’s a similar process for building each one. Here’s how to build a playhouse made from solid wood and all the tools and materials you will need.
What You Will Need
Tape measurer
Wooden playhouse kit with included brackets, nails, and screws
Leveler
Power drill
Screwdriver
Step 1: Find the Perfect Location
Before you assemble your wooden playhouse, you have to find the perfect location. The best location in your yard for a playhouse is one that is flat and shaded. The flat surface keeps the playhouse level and solid without leaning, and the shade protects the wood from rain and other weather conditions. Scouting a flat location will also help you understand the amount of yard space you have and how big of a kit you should look for.
Tip!
Measure your yard with a tape measure to find the length, width, and height of the area for exact dimensions to find in a kit.
Step 2: Gather Your Materials
After finding the right location and collecting your dimensions for your outdoor wooden playhouse, it’s time to find your kit. Pay close attention to each playhouse’s dimensions as you shop so you select one that accurately fits your yard.
Prior to assembling your wooden playhouse, don’t forget to read through the kit’s instructions to note what exact tools you will need. Most playhouses need to use a power drill and screwdriver to secure the wood with the included nails and screws that should come in your kit.
Step 3: Assemble the Frame
The first piece to assemble is the frame of your wooden playhouse. These are the walls of the playhouse. Carefully read your kit’s instructions to find the right screws or brackets that you'll use to secure the walls together, and pull those pieces out to have close by as you set up the walls. In the area you located in step one, start with the front wall laying flat on the ground. Next, attach one of the side walls with the brackets before repeating this step with all other walls. When all walls are attached, you can stand the playhouse up.
When you begin assembling the walls to your playhouse, there will be a lot of other small parts you will need to attach that add to the character of the home or help to keep other pieces secure. Following the manual to your wooden playhouse is crucial to ensure all pieces are installed properly for a complete and sturdy playhouse.
Step 4: Level the Foundation
As you stand your attached playhouse up, check to see if the playhouse is level with the help of a leveler. Place your leveler on top of one of the walls to check and see if the set up is level. If it’s not, you might need to move to a flatter location or recheck the walls to make sure they’re attached together appropriately.
Step 5: Add the Roof Trusses

Next, it’s time to attach the roof trusses. Each kit comes with two trusses to put one on the front and back wall. Attach each truss to the top of the wall per your kit’s instructions with the recommended screws and your power drill.
Step 6: Attach the Roof Panels
With the trusses in place, now it’s time to attach the roof panels. There should be two roof panels in your kit that you will attach with more brackets and screws. Follow your kit’s manual to see where to put your bracket and screws when your panels are in place. Once your panels are attached, you should have a fully enclosed wooden playhouse.
Step 7: Install the Windows
With the playhouse sitting upright and the roof on, it’s time to install your windows into the cutouts. Each window should slide into its appropriate cutout. Follow your manual to locate each window’s exact placement before popping them in.
Step 8: Add Your Extras
If your wooden playhouse has any extras such as an outdoor seat, mailbox, door, or more, now is the time to install them. Some outdoor wooden playhouse kits come with indoor kitchens, a small gated section, or other intricate parts. Follow your manual closely to attach each part in the right position.
You May Also Like
Tip!
For more outdoor playset instructions, check out our guide: How to Build a Swing Set
Now that you know how to build a playhouse, it’s time to find your little one’s newest outdoor home!
