How to Change a Thermostat: Your Step-by-Step Guide
Learn how to change a thermostat.
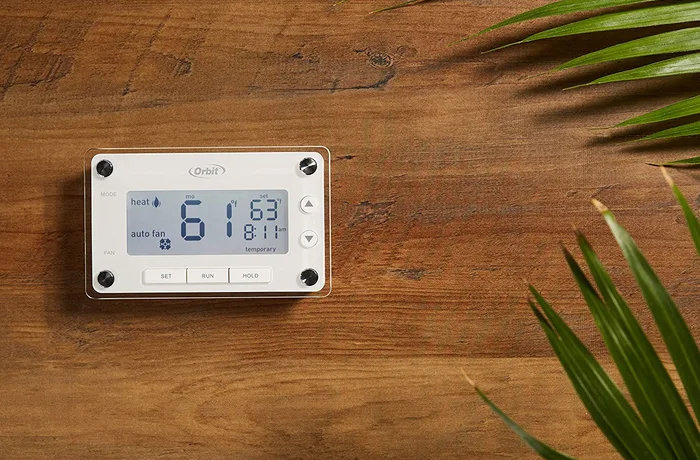
The thermostat isn't something that you would commonly consider replacing. However, if you find your house is much cooler or warmer than what the dial reads, it's possible your model is outdated, not energy efficient, and in need of replacing. Below is a step-by-step guide to help you learn how to change a thermostat so you can get your energy bills back under control.
Thermostat Replacement
If you are wondering how to replace or install a new thermostat in your home, there are a few things to be aware of. While thermostat replacement is something you can do yourself, it is a challenging and potentially dangerous job. You must be able to safely perform electrical isolation procedures and wiring. While you use this guide, it is best to also refer to your specific thermostat instructions and incorporate the manual for your boiler. If at any point you feel unsure, uncomfortable, or unsafe, it is best to call in a professional for the task.
Tip!
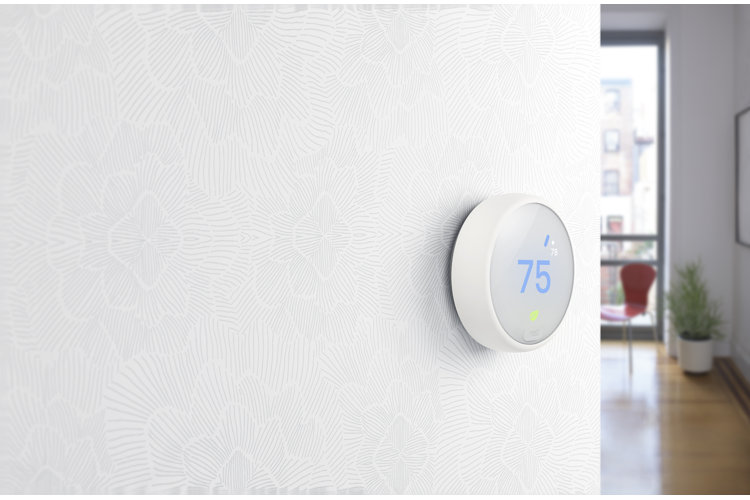
Don't attempt to change an older thermostat with a smart thermostat yourself. The voltage is not compatible and the process is too complex and dangerous to perform yourself.
Your safety is paramount. When changing a thermostat, you could potentially be working with a 240-volt electric circuit that supplies both the thermostat and boiler – so you must be able to isolate them correctly. Make sure to appropriate safe isolation equipment and procedures before you begin. Remember that accidents with voltage can be deadly.
Tools:
- Voltage tester
- Screwdriver
- Pencil
- Mini spirit level
- Drill
Step 1: Disconnect the Power to the Thermostat
Begin by shutting the switches off at the breaker box for the thermostat, AC, and furnace. Disconnected power will reduce the chances of electrical injuries.
- If your house has a boiler, there should be a fused connection unit (FCU) next to it (this should also isolate the thermostat).
- To test this – while the boiler is on, go to your fuse box and switch on the circuit breaker to cut the electricity supply to all sockets in your house.
- The boiler should now be off. Use the voltage tester to confirm the thermostat wiring has been isolated.
- If it is dead, you know it is on the "sockets" circuit.
- For added safety, unplug the socket next to the boiler.
Step 2: Check the Wiring
Before you purchase your thermostat, you must check your wiring for compatibility. Some older systems are not compatible with newer models, so you need to ensure the thermostat you've chosen will work with your home power setup.
- You also need to know what voltage is supplying your old thermostat (making incorrect connections can damage your boiler).
Step 3: Purchase Your Thermostat
Now you have the wiring information, you can purchase the appropriate thermostat. Be sure to read all compatibility listed on the replacement.
- Some thermostats may need wiring to be altered or added, so check the manufacturer's info before beginning.
Tip!
To learn more about thermostats, read Types of Thermostats You Need to Know.
Step 4: Read All Instructions
While most thermostats use similar installation methods, it is still in your best interest to review all manufacturer instructions and preview all pictures provided.
Step 5: Remove the Front Plate
Now that you have the compatible model and have performed all necessary safety procedures, you can learn how to change a thermostat. If anything seems unusual, you may need to call in a professional, but it is likely everything will be color-coded and straightforward.
- Remove the old thermostat from the wall – most thermostats slide upward from where they are attached.
- If there is a wall plate, be sure to loosen any attached screws before removing it.
- If your thermostat has a base and sub-base, you need to remove the entire device.
- Be careful not to touch anything yet.
Step 6: Check for Power
Before beginning, use your voltage tester to ensure all connections are dead.
Step 7: Note Wire Locations
Take note of how the old thermostat was wired – taking photos is ideal, but you can also make a written note, or label on the wires (doing all three is best).
- Most thermostats are color-coded but don't necessarily trust the sleeves as they may not match as they should.
- Instead, use tape and a pencil to mark all wires before disconnecting.
- Using the tape, write a letter on each wire to match the letter of the connection on the thermostat base. If the blue wire was in connection A, write "A" on the tape and place it around the wire.
- Label any loose or unconnected wires as well.
Step 8: Disconnect the Wires
Disconnect the wires from the terminals.
- If the wires are corroded and there is enough wire length, you can either re-strip them or scape the ends with a utility knife until they are shiny.
- Unscrew and remove the backplate from the wall.
Step 9: Secure the Wires
You don't want to lose the wires behind the wall. Tape a pencil to the wires, tie them together, or tape them to the wall to keep them there.
Step 10: Install the Replacement Wall Plate
Now you are ready to install your new thermostat. This is where you need to install any additional parts such as additional wiring or backplate depending on the model you have.
- Hold the new backplate up as a template on the wall and use the mini spirit level and pencil to mark up any holes you need to drill.
- Make sure to drill holes that match the size of your screws.
- If there are anchors, use them for added support.
- Screw the replacement plate into the wall.
Step 11: Reconnect Wires
It's time to begin connecting the wires to the new terminals. Reference your photos, notes, and/or labels for accurate rewiring.
- Check the manual for instructions on exactly how to reconnect the wires.
- Connect your marked wires to their corresponding locations.
- Ensure the connections are solid to prevent them coming loose later on.
- If you are in any doubt, call an electrician.
Step 12: Install the Front Plate
Connect the front plate to the backplate.
- Return wires back into the wall if any extra length is exposed.
- Place the thermostat flush against the wall (slightly above the wall plate).
- Slide it down so it catches on the wall plate.
Step 13: Switch On the Power
Once you are confident everything is correctly connected, return to the fuse box and switch the power back on for the thermostat and boiler.
Step 14: Check Everything Works
Check to ensure your replacement thermostat is functioning correctly.
- You might need to press the reset button on your new thermostat.
- If it still isn't working, either refer to any included troubleshooting instruction, or call a technician in to help.
Now you know how to change a thermostat, you can perform this small but effective upgrade to your home that will help create the perfect environment while saving energy and money.
You Might Also Like:
