How to Hang a Bike in the Garage: Step-By-Step Instructions
Instructions for how to hang a bike in the garage.
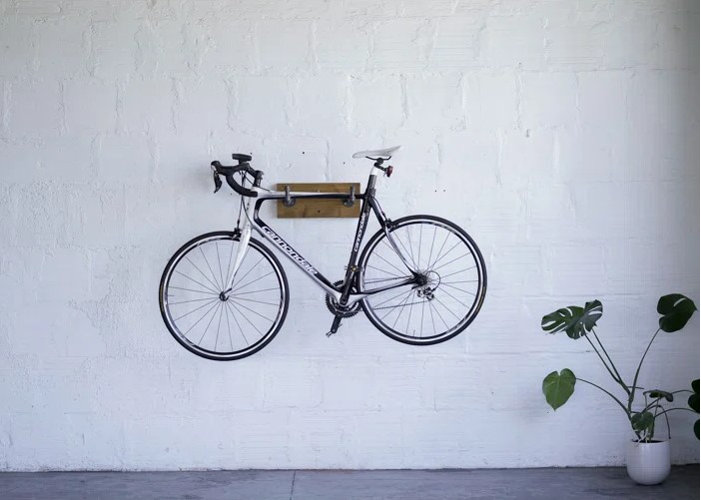
Riding a bicycle might be a fun pastime, but storing your bike can be a little tricky. There is no doubt that bikes are space hogs that can even clutter up large areas. If you are looking for the best way to free up floor space, you would benefit from learning how to hang a bike in the garage. Don't worry though, it's far easier than it sounds. Be sure to read The Best Bike Racks for Easy, Secure Storage to find the ideal hanging bike storage for you.
How to Hang a Bike in the Garage
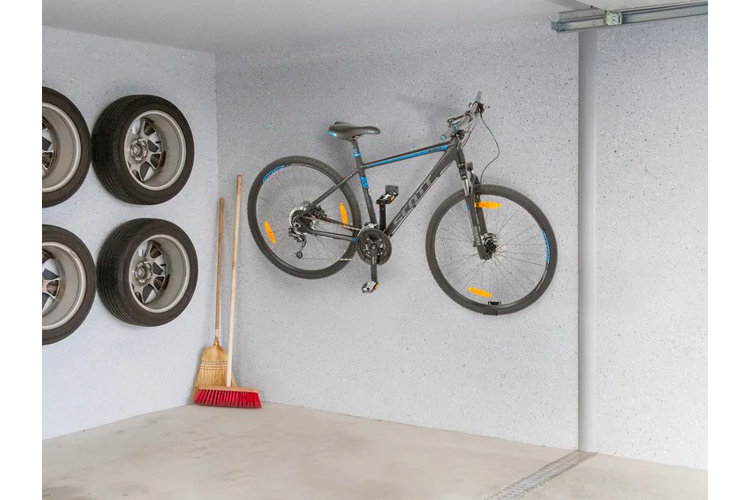
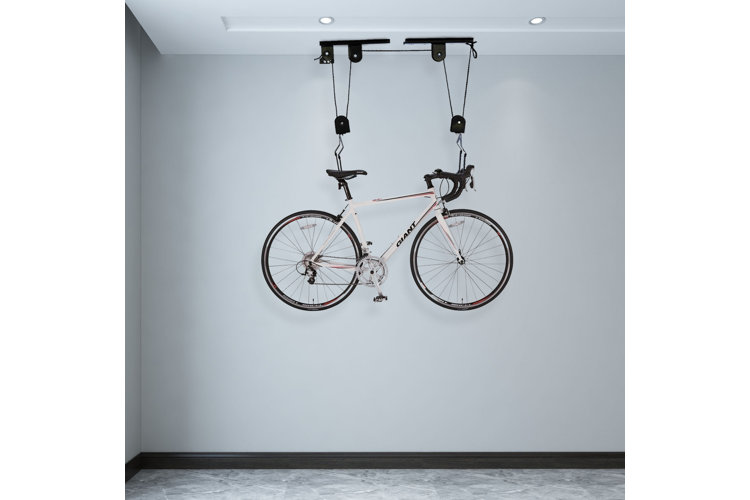
Elevating your bike is a fantastic way to free up floor space in a cramped garage. There are two types of hanging bike storage systems to choose from – ceiling-mounted and wall-mounted, each with its own installation instructions.
How to Hang a Ceiling-Mounted Bike Rack
Tools
- Step ladder
- Nail and hammer or stud finder
- Pencil
- Tape measure
- Rope and pulley bike hanging system
- Impact driver
- Safety goggles
- Cleat
Step 1: Find the Ceiling Joist
Start by locating the ceiling joist to hang the bike rack from. To do this, stand on the step ladder and use your stud finder to find the beam.
- If you don't have a stud finder, you can use your fist to knock on the ceiling. A hollow sound means there is no joist but a solid sound indicates there is.
- Knock on either side to better determine where the length of the joist runs.
- Additionally, you can hammer a small nail into where you believe the joist to be – if there is resistance, that indicates the presence of a beam.
- Once you have found the joist, use your pencil to mark it.
Step 2: Install the First Pulley
Begin by lining up the first pulley bracket so it is parallel to the pulley joist.
- Wearing your safety glasses, use your impact driver to drill a 1/8 inch pilot hole into the middle of the joist for the pulley bracket.
- Always make sure to use any hardware that comes with your product.
- Securely screw the first pulley bracket into the ceiling joist.
Step 3: Measure Your Bike
Use your tape measure to determine the distance from the bike handles to the bike seat (Measure twice for accuracy.)
Step 4: Prepare for the Second Pulley
Transfer this measurement to the roof – starting at the first pulley bracket.
- Drill pilot holes for the second bracket but do not install it yet.
- Make sure that both pulley brackets run parallel to the ceiling joist and are installed in a straight line.
Step 5: Start Threading the Rope
Before you can screw the second pulley bracket in, you must thread the rope through the correct hole. Do this according to the manufacturer's instructions and tie a standard knot to keep it in place.
Step 6. Mount the Second Bracket
Install the second pulley bracket using your impact driver. Pull on them both to make sure they are securely installed.
Step 7: Finish Threading the Rope
Once both pulleys are installed, you can complete threading the rope through the brackets and hooks that will raise your bike.
- Follow all manufacturer's instructions
- Make sure not to create any knots that will prevent the system from functioning correctly.
Step 8: Install a Cleat
For an additional safety feature, screw a cleat into a wall stud near the pulley system so that you have a spot to tie the loose end of the rope to, as well as a place to keep it out of the way.
Step 9: Raise the Bike
It is finally time to use your newly installed pulley system. Place one of the hooks underneath your bike seat and the other beneath the handlebars.
- Pull on the rope to elevate the bike up to the pulley brackets.
- Once raised, slowly let go of the rope and tie the end to the newly installed cleat on a nearby wall.
- While the pulley system should have an anti-slip mechanism that prevents the bike from falling when you let go of rope, it is still a good idea to tie it off.
When it comes to hanging a bike on the wall, you can either store yours vertically or horizontally depending on what you prefer and purchase. Hanging a bike in a garage vertically will conserve wall space. Hanging it horizontally is best for hanging your bike flat against the wall.
Tools
- Tape measure
- Wall-mount bicycle hanging system
- Pencil
- Cordless drill
- Drillbit (one size smaller than the screws that come with the hanging system)
- Wall plugs (same size as screws that come with the hanging system)
- Screw driver
Step 1: Measure Your Bike
Begin by taking your bike's measurements.
- For a vertical bike rack, measure the length of your bike.
- For a horizontal bike rack, measure your bike's height.
Step 2: Test the Rack Position
Before you start installing your rack, hold it up to where you plan to place it. Placing it too high may result in the bike hitting the ceiling when hung up.
- Once you have found the appropriate position, use your pencil to mark all screw holes where they line up against the wall.
- For a vertical hanging, make sure the distance between the bike rack and the floor is greater than the length of the bike.
- For a horizontal hanging, ensure the distance between the bike rack and the floor is greater than the height of the bike.
Step 3: Drill the Holes
Using a drill bit that is slightly smaller than the screws that came with the rack, drill holes at your marked points.
- Make sure the holes are deep enough for the screws to fit into.
Step 4: Add Wall Plugs
To make sure your wall mount is sturdy, push wall plugs into each of the drilled holes. They create a
- They create a secure grip by giving the screws something to grip.
- Select wall plugs that are the same size as your screws.
Step 5: Install the Bike Rack
Finally, line the bike rack over the holes and screw it into place using a screwdriver. Keep rotating until it cannot turn anymore.
Step 6: Hang Your Bike
Now you can hang your bike on the rack.
- For a vertical rack, hang it by the front tire.
- For a horizontal rack, place the top tube of the bike frame onto the rack.
Now you have found out exactly how to hang a bike in the garage, you will be able to easily access it while preventing it from any damage and saving space.
