How to Hang Christmas Lights on a Roof Peak
Decorate your home with plenty of holiday spirit.
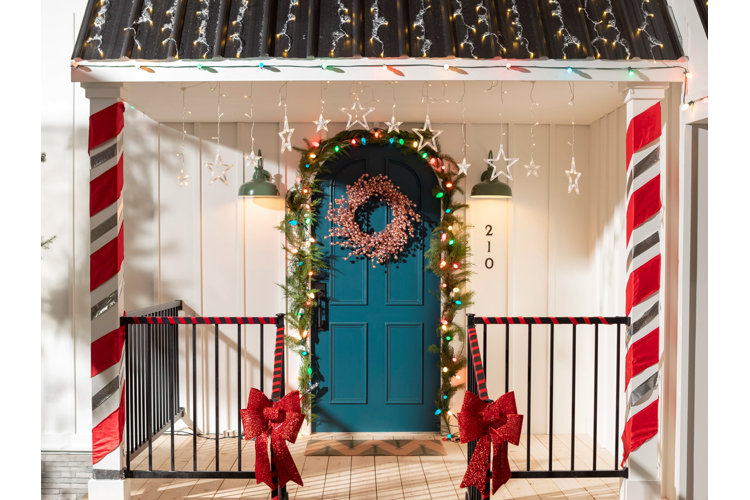
When decorating the outside of your home for the holidays, the roof is a great opportunity to make your decor stand out. While stringing lights around porch railings or window sills may be simple, hanging Christmas lights on a roof peak may be more difficult. In this guide we've outlined each step to help you learn how to hang Christmas lights on a roof peak.
How to Hang Christmas Lights on a Roof Peak
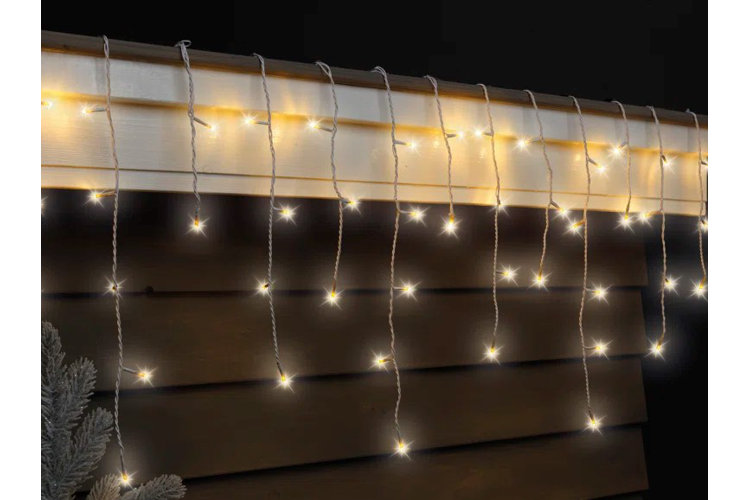
When installing Christmas lights on a house, it's best to gather everything you'll need first and make sure you have one other person helping you to maintain proper ladder safety.
What You'll Need:
- The appropriate amount of Christmas lights (see step 2 for how to calculate this!)
- Extension cords
- Measuring tape
- Plastic light clips or shingle clips
- Ladder
- Tool belt or bag
Important Note: Nails or staples can damage your shingles/roof, so it’s important that you use plastic clips or shingle clips for installing Christmas lights on a house.
Step 1: Make a Plan
Before hanging Christmas lights on a roof peak, it's important that the weather conditions are clear. Do not try to hang Christmas lights if it is raining or snowing – this could cause dangerous conditions. Map out where outdoor outlets are easily accessible and create a list of the measurements of the areas you'd like to cover. This will help you determine how many lights you'll need.
Step 2: Determine How Many Lights You'll Need
Using your measurements, consider how many lights it'll take to cover the length of your roof. Most 100-light strings have bulbs that are spaced 3", 4", or 6" apart. This creates strands of lights that are 25', 34', and 50' long. For more detailed information on how many lights you'll need, read our guide How to Calculate How Many Christmas Lights You Need.
Step 3: Prepare Your Materials
Gather all of the tools and materials you'll need to hang the lights, and make sure that your extension ladder is in working condition. Plug in the lights to make sure they’re working before you begin the installation process. Preparation is key – you don't want to have to climb up and down the ladder for multiple trips.
Step 4: Place the Ladder
Extend your ladder to reach at least 3' above the edge of your roof. Take your extension ladder and place it against the house and on level ground. Have a partner hold the base of the ladder to ensure stability while you climb.
Step 5: Climb the Ladder
Climb the ladder while maintaining three points of contact for safety. Once you reach near the top of the ladder, step around the ladder onto the roof. Make sure to not climb past the top four rungs of the ladder.
Step 6: Attach the Clips to the Roof
For the roof, we recommend using plastic clips to attach the lights, as nails and staples can damage shingles and your roof. The plastic clips should be able to slide onto the edges of siding, gutters, roof ridges, or shingles. One side of the clip typically has a closed U-shaped design that slides onto the edge while the other side has another closed U-shaped part that holds the light or light cord.
Start attaching plastic clips on one side of the roof peak, moving upward from the edge. Make sure that the clips are all facing the same way so you can create a straight line with the string lights.
Tip!
Input "Light Clips" into the "Search This Category" tab located to the bottom left hand side of the outdoor lighting components page to filter for outdoor light clips.
Step 7: Slide the Lights Into the Clips
After attaching the clips to the roof, it's time to hang the lights. Depending on the type of clips, you'll slide the cord from the lights into the clips or secure the base of the light into the clip. Keep the light strand tight to maintain a straight line. It's easier to work in short lengths, so it's best to wait to connect different strands of lights until they're placed inside the clips.
Step 8: Repeat on the Other Side
Once you reach the top of the roof peak, carefully and slowly move to the other side of the roof. Continue attaching the clips and sliding the lights as you make your way to the bottom edge. If you don't feel comfortable climbing over the peak, try climbing down the ladder, moving it to the other side of your house, and starting from the edge like the first side.
Step 9: Use an Extension Cord
As the final step, run an extension cord from the lights on the roof to the nearest outlet. Plug the lights in and let the holiday spirit shine.
Tip!
Review How to Hang Christmas Lights Outside for more tips and tricks for creating a successful outdoor Christmas light display.
You Might Also Like:
