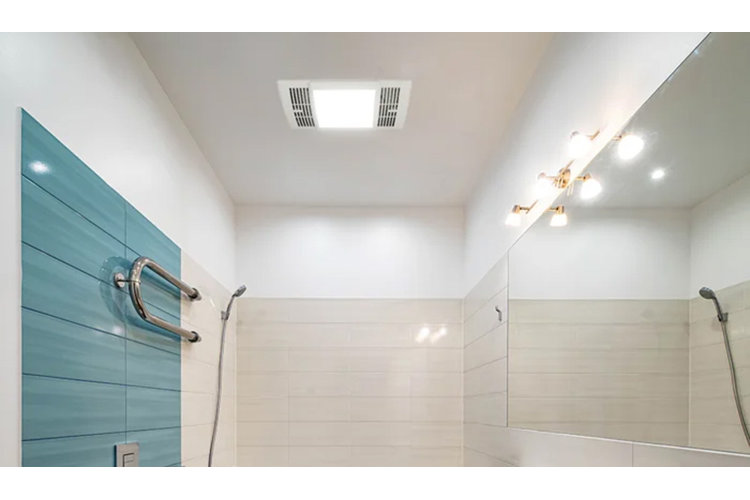
How to Install a Bathroom Fan
Learning how to install a bathroom fan is a breeze.

Want to know how to install a bathroom fan? Keep reading. This guide is going to cover materials, best procedures, and more. Before learning how to install a bathroom fan, check out our guide {sagaComponent(url){"type":"article","id":"12004","anchorText":"Types of Bathroom Fans You Need To Know","openInNewWindow":true} in order to make sure you're getting the best bathroom fan for you and your needs.
You'll Need:
- Reciprocating saw
- Drill
- Roofing nails
- Screws
- 2 x 4 ft. wooden board
- Roofing adhesive
- Roof-height ladder
- Pencil
- Rigid tape measure
- Duct tape or clamps
Before Installing
Before understanding how to install a bathroom fan, you must take into consideration the exhaust route. If you have an attic, you'll need to lead a vent through it in order for the exhaust to get to the roof.
How to Install a Bathroom Fan
Step 1
Using the dimensions from your bathroom fan, measure and mark the ceiling with your pencil. This will be the guideline for you to cut the hole for your bathroom fan to fit into. In the four corners of your guideline, drill a hole big enough to fit your reciprocating saw into. Then use your reciprocating saw to cut along the marked lines. Once you cut into the ceiling, cut any extra insulation at least six inches away from where the fan is going to be.
Tip!
Completing this step will cause debris to fall from the ceiling. Be sure that your eyes and body are properly protected.
Step 2
Check the surroundings through the hole to see if there are any joists you can attach your fan to. If not, use the 2 x 4 ft. wood to make smaller pieces of wood that will act as wall around the hole. Secure the wood above the ceiling with screws.
Step 3
On your roof, measure and mark dimensions big enough to fit the bathroom fan roof cap. Be sure the hole is directly above your bathroom or the place in your attic where the vent leads to. Use your reciprocating saw to cut along the marked lines.
Tip!
An easy way to ensure you cut the hole in roof in the proper place is to drill a nail into the middle of the opening from inside the bathroom. Leave the nail drilled in so that you can find the spot easily once you're on the roof.
Step 4
Attach the bathroom fan vent to the roof cap with duct tape or a clamp. Apply roofing adhesive around the hole in the roof. Insert the roof cap and use roofing nails to secure it. Use roofing adhesive to patch up any extra holes or small gaps.
Step 5
Before starting this step, be sure to turn your power off. Run the cable to your bathroom fan and light switch. Inside your bathroom, connect the wiring according to the fan manufacturer's instructions. Turn on the power and test the fan to make sure it works properly.
Step 6
Secure the duct to the duct connector on your bathroom fan with duct tape or a clamp.
Step 7
Place bathroom fan into the hole in the ceiling and attach it by screwing it into the nearest joist or the 2 x 4 wood pieces you erected earlier. Your fan is now ready for use.
Now that you know how to install a bathroom vent fan, you can choose one that will be best for your needs. To learn more about types of bathroom fans, check out our buying guide Types of Bathroom Fans You Need To Know.
