How to Install a Paver Patio: Your Step-by-Step Guide
Learn how to lay patio pavers.

If you enjoy spending time outdoors but don't have a space to do it, a patio might just be the perfect solution for you. Whether you intend to entertain guests, throw barbeques, or just come out and enjoy the fresh air, having a hardscaped space to do it in will make it all that much easier. To learn how to build a paver patio by yourself, keep reading this step-by-step guide so you can give your home an unforgettable DIY upgrade.
How to Install a Paver Patio
Having a paver patio means you don't have to worry about placing chairs and tables in mud or entertaining in the grass. As long as your foundation is solid, you'll have a durable, weather-resistant patio that is low-maintenance and looks great. With the right tools and know-how, you can build a patio in a weekend – here is how.
Tools:
- Sledge hammer & stakes
- Tape measure
- Shovel
- Rake
- Tamp
- 2 x 4 wood board
- Two 1 inch PVC pipes
- Level
- Wheelbarrow
- Brick cutter (optional)
- Mason's line & stakes
- Rubber mallet
- Push broom
- Hose
Materials:
- Spray paint
- Weed preventer material
- Crushed gravel
- Builder's sand
- Pavers
- Paver sand
- Paver edging
Step 1: Measure the Area
Begin by marking the spot to where you want to install your patio – start from the house and work outward. Use spray paint to mark the perimeter. Using your sledgehammer, drive a stake into each of the four corners where you spray painted and run the mason's line around the stakes to form a square or rectangle. Use the tape measure to find the square footage of the area to figure out the amount of stone pavers, paver base, and paver sand you need (for example, 60 square feet will equal around 60 12" x 12" paver stones).
Tip!
To make a square patio, measure two intersecting diagonals through your patio area. If both diagonals measure the same length, your area is square (meaning, all four corners are at 90 degrees).
Step 2: Clear, Dig, & Level the Area
Remove any plants, stumps, and other greenery. Use your shovel to dig up around six inches of soil to make space for the pavers and base – remember you will be adding around four inches of gravel base and one inch of paver sand before you lay the patio pavers.
- Use the rake to make the ground level and use the tamp to compress the soil into a firm bed.
- Keep in mind, you'll want your pavers to slope away from the house with a drop-off of about one inch every eight feet to allow water to drain away.
- Use your sledgehammer to drive garden stakes into the ground just outside the perimeter and attach mason lines so you have an easy-to-follow marking.
- Mark the height on the stakes and adjust the mason's line accordingly so you have the appropriate slope.
Step 3: Prepare the Area
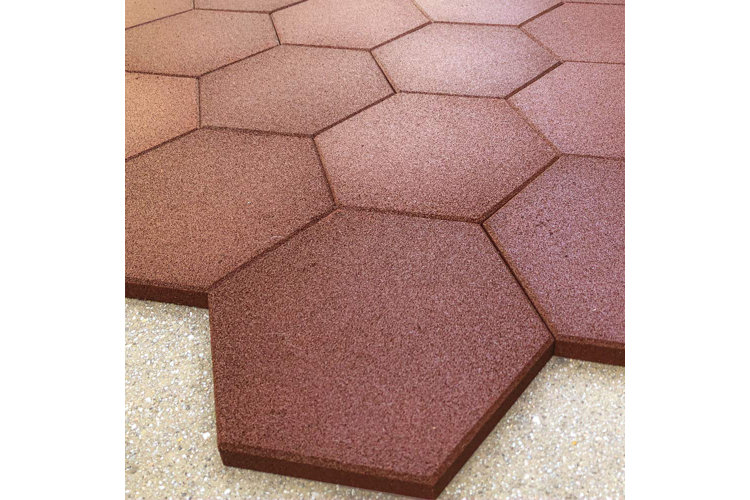
To prevent weeds from popping up between your carefully placed pavers, lay weed preventer material over your newly dug out bed. This fabric is designed specifically to allow water to flow through while preventing weeds from sprouting.
- Make sure to cut the edges to make the fabric fit into the hole.
Step 4: Lay the Gravel Foundation
Use the shovel and wheelbarrow to distribute the crushed gravel around your designated area. Ideally you want about a one inch layer of gravel evenly spread over the landscape fabric. Then use the rake to smooth it all out.
Tip!
You'll need four inches of gravel, which is 1/3 of a yard, for a paver base. To calculate the cubic feet of gravel you will need, multiply your square footage by 1/3. It's a good idea to order extra just in case you spill some. You will also need a one inch thick layer of paver leveling sand. As a rule of thumb, you'll need around 1/3 as much of this sand as the gravel, measured in cubic volume.
Step 5: Tamp the Gravel
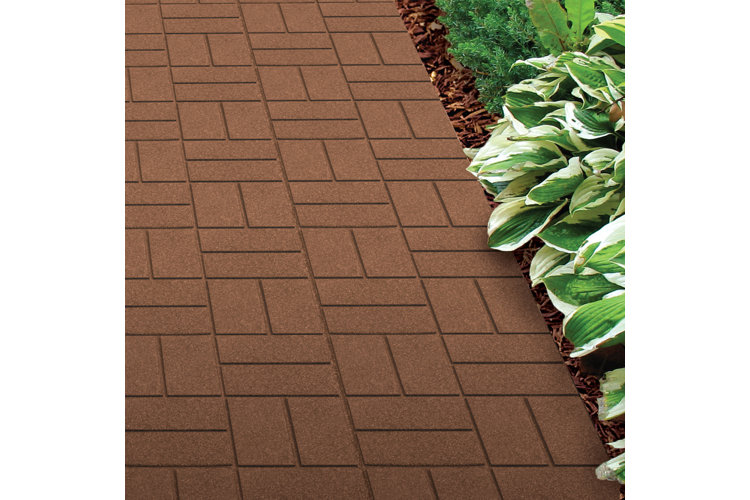
Now tamp the gravel down until it forms an extremely firm base that will allow the pavers to settle evenly.
- Use the hose to lightly wet the base to help make it more solid.
- Then add another two inches of gravel and repeat the tamping process so it is flat.
Step 6: Level the Bed
Attach the level to a long straight board and move the board across the gravel bed so you can check the surface is level.
- Adjust any areas that are not level (you want it as even as possible).
Step 7: Add the Paver Sand
Spread one inch of builder's sand over the gravel for a second layer of support beneath the patio.
- Begin by laying down two lengths of PVC pipe parallel to each other and about six feet apart (facing away from the house).
- Place the 2 x 4 board across the pipe tops and drag it towards you in a gentle raking motion.
- As you do this, the sand will move to the sides and over the top of the board.
- Make sure to work backwards tamping down the sand as you go.
- Continue moving the PVC pipes and leveling the sand until the entire area is finished.
- Be careful not to step on any already level areas as you will have to rework it if you do.
Step 8: Prep the Pavers
It's time to start working on your pavers. You can easily choose ones of the same size or for something visually intriguing, mix and match different sizes.
- You can even cut some pavers in half with a brick cutter to reduce costs (just wear protective eyewear when you do).

Step 9: Lay the Pavers
Begin by laying the first line of pavers using the edge of your house or walkway for a guide. Alternatively you can use a mason's line stretched tightly between two stakes to create accurate lines.
- Lay out the pavers one by one.
- Position the pavers no more than 1/8 inch apart.
- Use the rubber mallets to tap them into place.
- When you position the pavers, place them straight down into the sand, fitting them together snugly.
- Don't drag them across the sand and don't be tempted to stomp them into place.
- Be sure to keep adjacent pavers level with one another to prevent lippage (different heights between tiles).
Step 10: Place the Edging
Use paver edging along the exposed edges/perimeter of the patio making sure it is the same height as the pavers.
- Use the included stakes to anchor the edging into the ground with the mallet, spacing them around 12 inches apart.
Step 11: Finish Off
Once you're done laying the paver tiles, spread a shallow layer of builder's sand over the patio.
- Use a push broom to work the sand into the crevices between the pavers.
- Hose it down to help the sand settle.
- Go back to fill any gaps and hose it down again.
Step 12: Furnish Your New Patio & Enjoy
It's time to furnish and decorate your newly paved patio. Read our guides 12 Sweet Small Patio Ideas to Make the Most of Your Outdoor Space and 12 Must-See Backyard Patio Ideas for some excellent decorating ideas before you throw your first soiree.
Knowing how to build a patio paver is a fantastic way to transform your outdoor space. A paver patio in particular will withstand foot traffic and require little effort once all the hard work is done.
You Might Also Like:
