How to Install Turf for a Permanently Green Lawn
Use artificial grass to upgrade your yard.
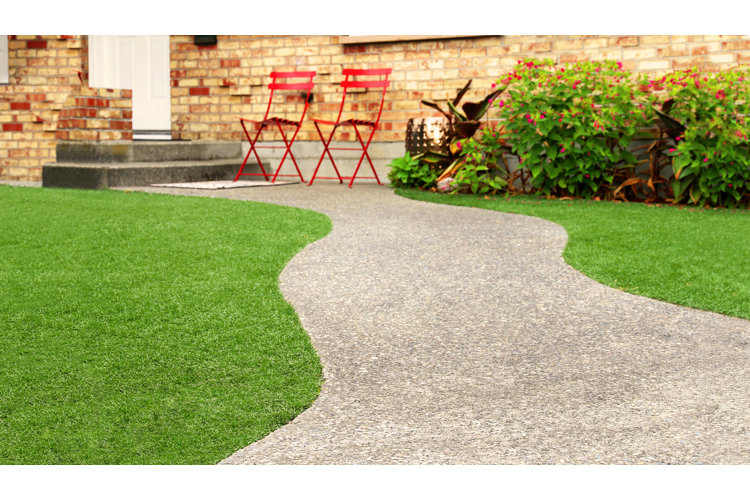
Have you ever wondered what it would be like to have a lush green and perfectly manicured lawn year-round? With artificial turf you don't need to imagine! Whether you are in search of a virtually maintenance-free yard, looking to cover up sandy spaces, or want to create a small oasis, this guide is here to help you learn how to install turf so you too can have the lawn of your dreams.
How to Install Turf: Step-by-Step
Installing turf grass is a lot like laying carpet. Artificial grass works best on a flat, compacted, well-draining substrate. When it is installed properly, the artificial grass needs little to no maintenance (other than the occasional spray to keep clean and brush to perk up blades). While the end result is low-effort, the installation requires a fair amount of labor, but as long as you have the correct tools, you will be able to create a verdant haven of your own.
Tools:
- Spade/sod cutting machine/rototiller
- Hand tamp (optional)
- Compactor
- Rubber shock pad or self-leveling compound (optional for concrete surface)
- Landscaping rake
- Spirit level, ruler, & string
- Carpet kicker/carpet stretcher
- Box cutter/utility knife/carpet cutter
- Marker
- Seam jointing tape
- Artificial turf adhesive
- Putty knife
- Hammer
- 40-D 5-inch non-galvanized turf nails / 4" – 6" galvanized stakes/landscaping anchor pins
- Push broom
- Drop spreader (optional)
Materials
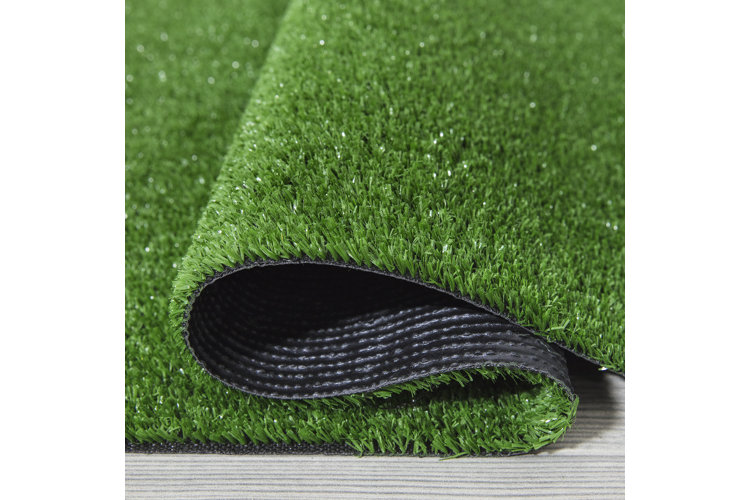
- Turf
- Finely crushed rock, gravel, or decomposed granite, with particles under 3/8"
- Gopher wire and weed barrier (optional)
- Lawn edging
- Infill/ballast
Step 1: Eradicate Any Weeds
Before you can learn how to install turf, you will need to prepare your land first. Begin by ridding the land of any weeds and existing vegetation.
- Use a weed killer at least two weeks before you begin laying the turf grass. This will allow the product enough time to work and kill off all plant material and ensure it is dead down to the roots.
Step 2: Remove Remaining Grass
Once all the grass is dead, it's time to remove the top 3 or 4 inches of sod to make room for the new base. Using a small rototiller, a spade, or a sod-cutting machine you can dig up the lawn and break up the soil.
- Make sure to remove all existing vegetation to prevent an uneven surface.
- While the surface doesn't have to be perfectly graded at this point, it is recommended that you walk over or use a hand tamp to compact any obviously loose soil.
- Try to incorporate a slight slope to improve drainage.
Tip!
Soil has a tendency to build up quickly so if you are excavating large areas, it's a good idea to have a dumpster or trailer on site so you can dispose of all waste according to local regulations.
Step 3: Plan Your Drainage
If the soil in the area you are working on is well-draining, then you won't have issues with your turf installation because the artificial grass should be water-permeable. You will also be adding an aggregate base (described below) to provide an additional drainage layer.
- Most turf grass comes with its own drainage system. However, some don’t, in which case, or if your area sees a lot of rainfall or flooding, you’ll want to install a separate drainage system. A french drain is typically recommended.
- If you only get light rainfall, it should be enough to leave drainage gaps every 6" around the perimeter.
Step 4: Install the Border
Install a waterproof border (vinyl lawn edging can work) along the perimeter if one is not already present, to keep the lawn from slumping or separating over time. A plastic bender board is a common, effective option.
- Install the waterproof lawn border along the edges of the designated area.
- If you want a more dramatic overhaul, pour a concrete curb instead. Just make sure the border does not protrude above the grass level or it may inhibit drainage.
Step 5: Add a Weed Barrier (Optional)
If you're worried about weeds growing up through the turf grass, placing a landscape barrier at the bottom of the excavated area will help prevent growth. Depending on your yard, you may want to add gopher wire to prevent pests.
- Don't use a weed barrier if you have pets as their waste will seep into the fabric and cause odors after time.
Step 6: Add the Base
Purchase finely crushed rock, gravel, or decomposed granite, with particles under 3/8" over the area to plan to lay your turf. Spread 3 to 4 inches over the excavated area to prevent slumping.
- If you're installing your artificial grass over concrete or another hard surface, a rubber shock pad or self-leveling compound can work instead.
- If your concrete has adequate slope for drainage, then you can cover the edge of the slab with the fake grass
- If children will be playing on the artificial lawn, then you may want to go with a shock pad for safety reasons.
Tip!
You'll need approximately one cubic yard of material for every 100 square feet of lawn. Be sure to read the information for your specific product for a more accurate coverage estimate.
Step 7: Grade the Base
Use a landscaping rake to smooth out your base material. Using a spirit level, string, and ruler, grade any flat surfaces to a 2% – 3% slope (a 2 – 3 foot drop per 100 feet), sloping down to the drainage system or curb.
- While a vibratory plate compactor is the most effective option (they are available from tool rental services), a hand tamp is the cheapest to purchase permanently.
- Lightly wet the base (make sure not to overwater it) and use the compactor or tamp to compact the material into a flat and sturdy base, to reduce it to 90% or less of its original depth.
- You will have to perform multiple passes over the area, so make sure to go in different, overlapping directions on each past for the best results.
- If your base isn't smooth, it requires more compaction.
- If the base ends up lower than you expected, you may need to pour in and compact an additional layer (to create a flat join between the artificial grass and surrounding surfaces).
- Once the base is dry make sure it is smooth and firm before you move on.
Step 8: Unroll the Turf
While the base dries, unroll your artificial grass out somewhere to the side and allow it to sit in the sun for at least 30 – 60 minutes so it can expand. As you roll it out, make sure not to drag it across the base you have just prepared.
- Ensure all the blades and stitch patterns are facing the same direction for an even and natural look.
Step 9: Lay Out the Turf
Measure the area you plan to lay your turf on, along with the width and length of the turf strips. It's best to use a partner to stretch out each strip and lay it down over the prepared base.
- Make sure not to drag the lawn over your base.
- Use a carpet kicker to stretch and maneuver the turf into place over the base (before you seam or fasten them).
- Press the stretcher or carpet kicker flat against the turf with the bristles facing down and kick the padded end with your knee.
- It's vital to stretch the turf because this is what will eliminate wrinkles, reduce heat expansion, and help secure the surface tightly to the ground.
- In most artificial grass, the blades bend in one direction, so make sure all the turf is installed with the blades in the same direction for a more natural look.
Step 10: Cut Turf to Size
Use a box cutter or carpet cutter to cut the underside of the turf to match the shape of your yard.
- When making long cuts, do short distances at a time and compare the edges to make sure there are no significant gaps. (Drawing a cut line onto the back with a marker is helpful).
- Leave a quarter to half and inch of turf over the border to help with the finishing touches.
Step 11: Secure the Seams
Secure any seams with seam tape and glue. Remember that fitting the seams together correctly is essential to creating a natural-looking yard.
- Make sure the blades of each turf piece are facing the same direction and the space between the stitch rows match.
- There are three different ways to secure the seams:
- Line up the two turf strips side-by-side, then fold the edges back and lay artificial lawn seaming material on the exposed base. Cover the seaming material with the accompanying adhesive product, then fold the strips back over the seaming material and let dry.
- Lay a piece of seaming tape (or strong outdoor tape) on the ground and place the two grass strips on top of it.
- Or fasten the strips together with stakes every three inches.
Step 12: Secure the Perimeter
Use the putty knife and hammer to tuck in the border of the artificial grass. Place 40-D 5-inch non-galvanized turf nails, galvanized stakes, or landscaping anchor pins every six inches to secure the turf around the perimeter.
- It's also recommended to place a handful of nails along the seam for reinforcement.
- Spread the grass blades out and away from the base of the nail before you hammer.
- Hammer them flat but avoid hammering excessively as this can cause dips.
- Brush the nap around the nail to hide it.
- To create maximum strength, it is best to offset the stakes on opposite sides, instead of using two lines of stakes opposite each other.
- Brush the turf grass with a push broom to stand the blade up straight before adding infill – this will create a more vertical blade memory.
Step 12: Add the Infill
Now it's time to spread the infill or ballast appropriate to your product. This is designed to keep the bristles standing, weigh the artificial grass down, and provide cushioning. Using the correct amount will directly impact the appearance, performance, and life span of our lawn.
- When the turf is dry, add a thin layer of your infill with a drop spreader or by hand.
- Rake in each layer to ensure it is smooth.
- Make sure to use the appropriate infill as recommended by your product\s manufacturers.
- Repeat this process until about half the blade length is covered.
Step 13: Brush the Infill
Once the infill is in place, use a push broom to brush artificial turf. This will help the blades stand up straight and give your lawn the appearance of freshly mowed grass.
Step 14: Water the Lawn
To get rid of any remaining dust and help the infill or ballast settle, water the lawn. Check it the next day to see if it needs any additional touch-ups.
- If you find the lawn isn't bouncy enough or too much of the grass blades is exposed, rake in another layer of infill.
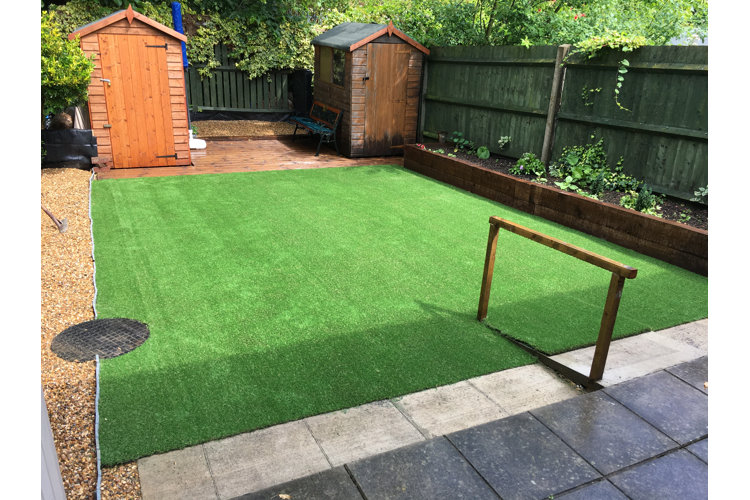
Once you've completed these instructions on how to install turf, you will be able to sit back and enjoy the fruits of your hard work – a year-round green lawn.
You Might Also Like:
