How to Install Window Boxes: A Step-By-Step Guide
Whether you're a seasoned DIY expert or an avid gardener who desires more plant space, we've got you covered.
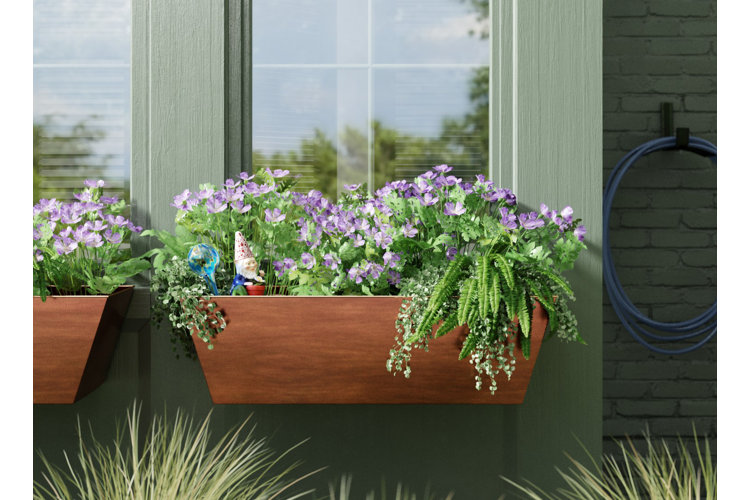
A window box planter makes use of vertical space by mounting to the exterior of the home just beneath the window or perched on an exterior windowsill. This guide walks you through the installation process, including tools that you'll need.
What You Will Need:
- Level
- Tape measure
- Pencil
- Notepad
- Cordless power drill and drill bits
- Stepladder or full-size ladder (if the window isn't on ground level)
- Mounting brackets (with compatible screws)
- Box planter
Tip!
Most window box planters from Wayfair come with mounting brackets and screws specific to the product. Review the specifications tab on the product page to determine what's included and what you need to purchase separately.
1. Measure the Length of Your Window.
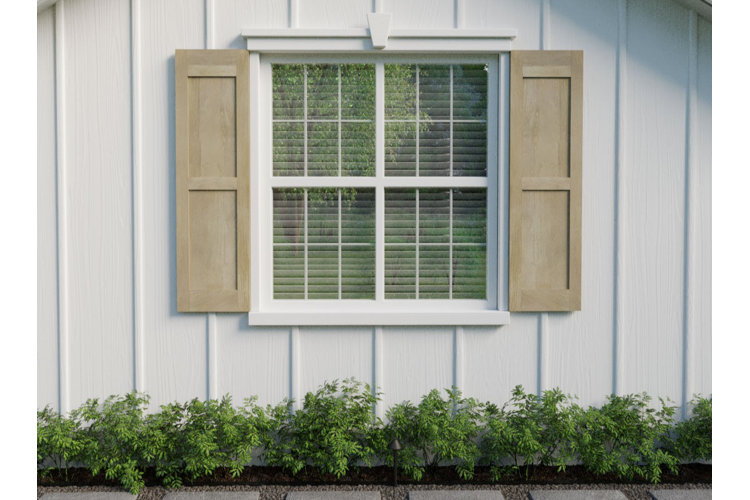
Start by measuring the outdoor width of your window. This helps you choose the right box planter size to frame your window, both fit-wise and aesthetically.
- With your tape measure, measure starting from the left side of the exterior window edge to the right side.
- Record the width on your notepad with a pencil to reference as you browse for box planter sizes.
- Do your windows have shutters? Place your measuring tape on the edge of the exterior left shutter and measure across to the edge of the right shutter.
2. Determine Your Window's Opening Orientation & Measure for Bracket
Your window's opening orientation determines how close you should mount the window box to the bottom of the window ledge. Reference the opening style section that matches your window-opening type below for specific instructions on where to place mounting brackets:
For Sliding- or Inward-Opening Styles:
For this opening-style, you can install the mounting brackets closer to the bottom of the window ledge. This is because you don't need to worry about the window opening into potting arrangements and squishing your beautiful blooms.
- Measure approximately 4" across, starting from the outer edge of the bottom of the window or window shutters and moving inwards towards the middle.
- Do the same for the other side.
- Mark the 4" mark with your pencil. This indicates where to put the window box's mounting brackets beneath the window and helps ensure that the mounting brackets will support the weight of the window box.
- Then, use the 4" mark as a starting point and measure 1" to 2" down from that spot.
- Make a pencil mark here. This is where the top part of the mounting bracket should go. Repeat on the other side.
For Outward-Opening Styles:
You need to provide more space for window boxes beneath outward opening-style windows like casement, pivot, awning, or hopper windows. This is to make sure opening your windows won't interfere with window box potting arrangements.
- Like measuring for sliding- or inward-opening window styles, start by measuring approximately 4" from the bottom outer edge of the window or window shutters inwards toward the middle.
- Do the same for the other side of the window and mark each end point with your pencil.
- Measure from that point downward until you reach a point 6" to 8" below.
- Mark the point with your pencil and repeat the process for the other side of the window. This mark represents where the top of the mounting bracket will go.
3. Install the Mounting Brackets

Most mounting brackets have a distinctive L-shape. One side contains two or more pre-drilled holes. The topmost hole is usually reserved for attaching the window box to the bracket later on, so make sure you check out your window box's instructions to determine which holes to use to install the mounting brackets to the wall.
- Start by lining up the top of the mounting bracket (the side with pre-drilled holes) with the 1" mark (for sliding- or inward-opening windows) or the 6" to 8" mark (for outward-opening windows).
- Holding the bracket in place, take your level and position it beside the bracket. If the air bubble centers, you know the bracket is level. You can also position the level horizontally beside the right angle that the mounting bracket forms with its L-shape to make sure the bracket isn't leaning upward or downward (ensuring your window box rests flat across them).
- Taking your drill, attach a drill bit that fits with the screws provided (consult the installation manual for tips!).
- Position the screw in the pre-drilled hole. Gently align the drill/drill bit with the screw. Then hold the base of the mounting bracket with your free hand as you drill the screw into place.
- If your mounting bracket needs more than one screw to install it, you can repeat this process using the remaining holes.
- Use your level once more to check if the bracket is still level after drilling. If the air bubble isn't centered, fear not. Change your drill's settings to unscrew the screws and try it again.
Special Notes for Drilling into Brick or Vinyl Siding
If you plan to install a window box into brick, you need to use a masonry drill bit and a hammer drill, or another type of drill meant to drill into masonry materials. This ensures the brick stays intact even when drilled into.
- Before attaching any mounting brackets, you want to place a plastic insert into each drill hole.
- When you begin to screw in the mounting brackets, the plastic insert will expand, helping to hold the bracket in place without damaging the interior of the brick material.
- For vinyl siding, we recommend using vinyl-siding hooks that fit into the siding's grooves. Look for heavy-duty varieties that can hold the weight of the window boxes once installed.
4. Attach the Decorative Brackets (if Applicable)
Some window boxes come with decorative brackets that connect to the bottom of the mounting bracket (the side the window box rests on top of). If your window box has decorative brackets, now is the time to drill them into place.
- Determine the correct positioning by looking at the product instructions and checking for any arrow indicators on the decorative brackets themselves.
- Once you determine the correct position you can install the decorative bracket directly beneath the mounting bracket.
- Taking your drill once more, position a screw over the pre-drilled hole on the mounting bracket and carefully drill it into place.
- Repeat on the other side, and then you're done.
5. Prep Your Window Box Planter
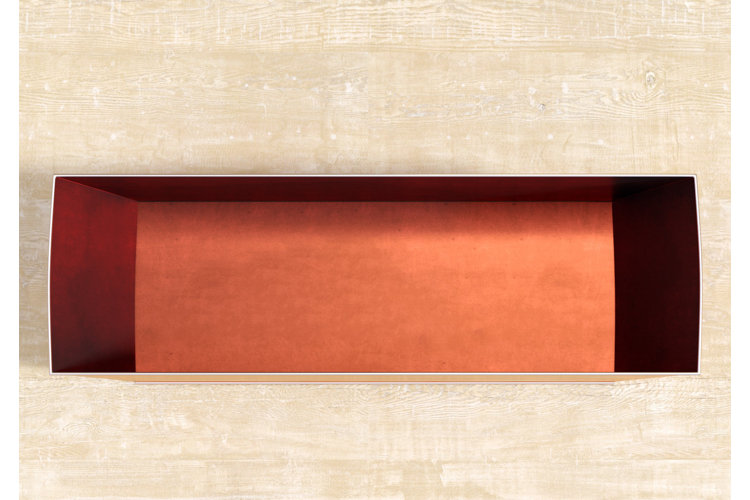
With mounting brackets attached, turn your attention to your window box planter.
- Look for the pre-marked drill spots on the inside of the box planter to determine which side should face outward and which side attaches to the brackets and rests against the house.
- Drill two or three drainage holes in the bottom of your window box planter if you don't see any available. This will prevent water buildup and keep your plants happy.
6. Install the Window Box Onto the Mounting Brackets
Next, place your box planter on the mounting brackets with the front side facing outward.
- Use your tape measure to make sure each side of the window box overhangs each mounting bracket by the same measurements. This confirms your window box is centered and ready to install.
- Taking the screws designated to affix the window box planter, drill each side through the window box and into the pre-drilled holes on the top of the mounting bracket.
If the Mounting Brackets Don't Have Drill Holes
In the event that your window box planter provides a slide-in installation method (no drilling into the window box required), you need to lift the window box and lower it onto the mounting brackets, so that the top brackets lock into the planter's recessed grooves.
7. Get Planting
Now that you've successfully installed your window box planter, it's time to reward yourself! There are so many fun ways to fill up window box planters.
- Create interest right outside your window with seasonal flowers from your local garden center.
- Or grab some of your favorite herbs for quick recipe ingredients grown right outside your kitchen window. Take a look at our guide on What Herbs Can Be Planted Together? to learn about perfect herb pairings.
- You can even plant window boxes with strawberry plants, dwarf tomato varieties, and home-grown lettuce for a space-saving veggie patch.
