How to Use a Sewing Machine: A Beginner's Guide
Your guide to using a sewing machine.
Has the art of sewing caught your eye but the thought of using a sewing machine felt too overwhelming? Sewing is a craft that is both useful and fun, and although a sewing machine may appear overly complicated at first glance, once you get to know the basics, it's fairly straightforward to use. Use our step-by-step guide to learn how to use a sewing machine so you can create an array of machine-sewn projects.
Sewing Machine Guide
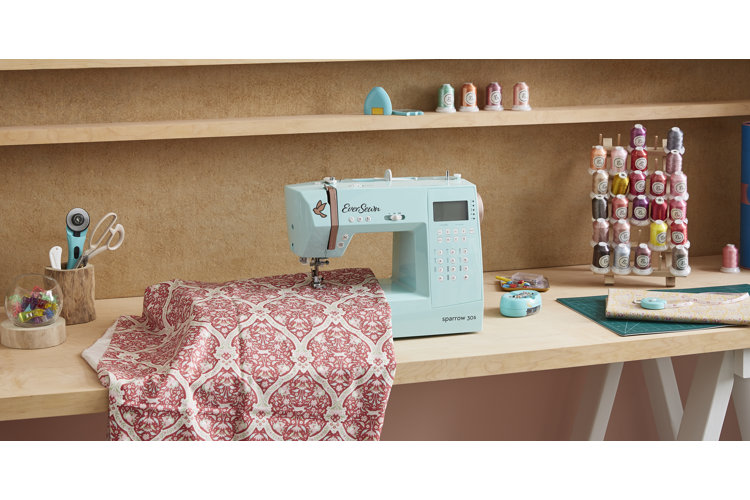
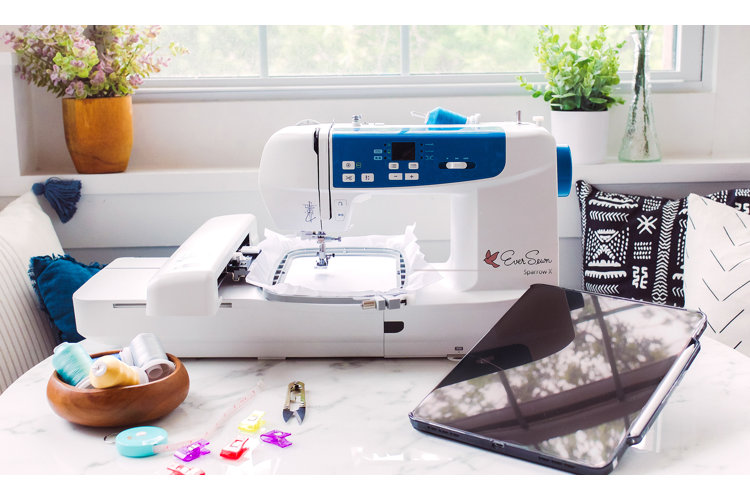
If you are interested in learning how to use a sewing machine, you may want to borrow a friend's first, or purchase a basic inexpensive model to get you started. There are two types of sewing machines to choose from – mechanical and electronic. Both are suited to beginners, but to find out more about sewing machines read our guide The Best Sewing Machines for Beginners.
Before you can learn how to use a sewing machine, it is best that you familiarize yourself with the sewing machine parts. Once you learn the sewing machine basics and how each component works, you can move onto sewing your own items.
- Power Switch: The power switch turns your machine on and off. It is usually found on the lower right-hand side of your machine.
- Light: The light switch can usually be found on the right side near the power switch, though this location may vary.
- Foot Pedal: The foot pedal controls the sewing action and speed. Pressing down on the pedal starts the sewing, and lifting your foot stops it. The harder you push the pedal, the faster the sewing speed. Easing up on the pedal will slow it down.
- Spool Pin: This plastic spindle is found on the top of the machine in either a vertical or horizontal orientation. The spool pin is where you place your sewing thread.
- Bobbin: A plastic spool that the thread is wound onto before you begin sewing.
- Bobbin Winder: The winder is usually found on the top right of your machine. It is a metal piece that protrudes in front of the spool pin. The bobbin is placed on the bobbin winder so that you can thread it.
- Thread Guide: The thread guide is used to direct the thread to the bobbin winder.
- Hand Wheel/Fly Wheel: The hand wheel is a large dial used to manually raise and lower the sewing needle. It can usually be found on the top right side of the machine.
- Stitch Selector: The stitch selector picks the type of stitch you will be using. Machines vary in the number and types of stitches they can perform. Newer sewing machines have LCD displays with touchscreens or buttons to select the stitch type with.
- Thread Take-Up Lever: This lever is used to guide the thread from the spool pin to reach the needle and keep it taut as you sew. Different machines may vary in their threading process, so it is best to read up on how yours works.
- Needle Clamp: The clamp is a small metal screw that keeps the sewing needle in place. If you break your needle or need to swap it out, you will have to unscrew the needle clamp to do so.
- Presser Foot: The presser foot looks similar to a small metal ski. The needle dips between the gaps in the foot, which guides your fabric as you sew. The presser foot is also lowered using a lever (usually located close to the needle) to allow you to place your fabric down and keep it in place. Raised the presser foot to remove the fabric once you are done sewing.
- Needle Plate: The needle plate is situated on the bottom half of the sewing machine, directly below the needle. It often has measurements and markings for extra guidance while you sew.
- Feed Dogs: These are small metal ridges found within the needle plate. They function to pull fabric through as you sew.
- Bobbin Cover: The bobbin cover is a removable component that allows you to insert the bobbin into the well.
- Backstitch: To use the backstitch function, there is usually a button located on the front of the machine symbolized by a curved arrow. It reverses the direction of the needle so that you can secure your stitch and prevent it from pulling out.
Necessary Sewing Tools
- Thread – the color should the same color or similar to the item you plan to sew
- Empty bobbin
- Scissors
- Scrap fabric
- Fabric you plan to sew
Now you have everything together and a basic understanding of the parts of your machine, you can move onto using it.
Using a sewing machine isn't overly difficult once you know how the key components function. Sewing machines all vary in their setup and usage so it is imperative that you read through your manual to understand how to use your sewing machine correctly.
Tip!
As a beginner you only really need to learn how to do a straight stitch and a zig-zag stitch to start off. From there, you can begin to improve with time and practice.
To Begin:
Place your sewing machine on a sturdy table near an outlet. Check that the height is comfortable when you are seated to ensure you are not straining while you sew.
- Keep a pair of scissors nearby and make sure you have your thread and empty bobbin on hand.
- Check that both the power cable and the foot pedal are plugged into the machine – they are usually connected with a plug that splits in two so that they are always together. Plug the power cable into the outlet and switch on the sewing machine light to see better.
Step 1: Wind the Bobbin
Sewing requires two threads – one from the top and one from the bottom. The first comes from the thread spool itself and the second from the bobbin.
- Place the empty bobbin on the bobbin winder and the thread on the spool pin. To thread the bobbin through the thread guide correctly, read your machine instructions.
- After you've threaded the thread through the bobbin, slide the end of the thread through one of the small holes in the bobbin to ready it for winding. Some machines need the winder to be clicked backward in place before you can begin winding.
- Hold the end of the thread and gently push the foot pedal to begin the winding.
- The machine should stop when the bobbin is full.
- Cut the thread and place the bobbin to one side.
Step 2: Thread the Machine
The thread will already be on the spool pin, but this time you will be threading it through the needle.
- Follow your machine's instructions on how to thread through the thread take-up lever. This is usually a right-to-left motion that brings the thread all the way down to the front of the machine and to the sewing needle.
- Make sure the needle is raised – if it isn't, rotate the hand wheel until it is in position.
- Also make sure the pressure foot is raised – if not, then use its lever to do so.
- Now you can thread the eye of the needle from front to back. Pull a little extra thread and leave it hanging behind the machine.
Step 3: Thread the Bobbin
Now it is time to bring the bobbin thread up so it can form the bottom part of the stitches.
- Start by removing the bobbin cover and placing the bobbin in the well – this may be on the bottom front or underneath the needle, depending on your machine.
- Replace the bobbin cover.
- Hold the needle thread in your left hand and use your right to turn the hand wheel in one full revolution so the needle goes all the way down and up again.
- This movement should catch and loop the bobbin thread to pull it up through the bobbin cover.
- Pull this loop to bring up the bobbin thread tail and extend extra length of it toward the back of the machine.
Step 4: Select Your Stitch
Use the stitch selector to pick the stitch you want to use. You will probably do best with the first or second option available on your machine as they should be basic straight stitches.
Step 5: Test Your Threading
Make sure both the needle and presser foot are raised to ensure you can place your scrap fabric through unobstructed.
- Use the scrap piece of fabric and place it on the needle plate beneath the needle itself.
- Make sure the top and bottom threads are pulled out and toward the back.
- This additional length of thread is to prevent it from pulling out of the needle when you begin sewing.
- Drop the presser foot down and use the foot pedal to begin sewing a few stitches.
- Once complete, lift the presser foot and make sure the needle is out of the fabric — use the hand wheel to raise it if not. Remove the fabric and cut the top and bottom threads.
Step 6: Prepare Your Fabric
Ensure that your fabric is correctly placed for sewing.
- First ensure the machine is correctly threaded, the bobbin thread is through, both are pulled out to the back, the presser foot is up, and the needle is raised.
- Place your fabric down and in line with the needle.
- Make sure to keep the bulk of the fabric to the left-hand side away from the machine so that you only need to deal with the smaller section you are sewing.
- Drop the presser foot to hold the fabric in place.
Step 7: Start Sewing
Now you are finally ready to sew!
- Make sure the foot pedal is located where you can reach it comfortably. Also check that there is nothing the pedal can accidentally get caught beneath as the machine will continue to sew as long as it is depressed.
- Push the pedal down gently to begin your first few stitches. Remember – the harder you push, the faster the machine will sew.
- The feed dogs will move the fabric along as you sew, so you only need gently guide the fabric to ensure it doesn't go askew.
- Don't pull the fabric too hard as it may break the needle.
Step 8: Backstitch
To keep your first stitches being pulled out you, need to do a reverse or backstitch at the beginning and end of each seam.
- To backstitch with a sewing machine, press the backstitch button. It often looks like a reversed arrow. It usually only works when your foot is off the pedal.
- Allow the machine to do a few backstitches to secure your seam, then let go of the button or switch and continue sewing until the end of the seam.
- Repeat the same at the end of your seam.
Step 9: Complete Your Sewing
When you have finished sewing, lift the presser foot and use the hand wheel to raise the needle out of fabric.
- Pull your fabric out and cut the two threads, once again making sure to leave extra thread on both the top and bottom so you can begin sewing again easily on your next project (unless you intend to use a different color thread).
Tip!
Read our guide 12 Ideas for Sewing Room Organization to find easy ways to organize all of your sewing supplies.
With enough practice, you can master anything you put your mind to, and now that you know how to use a sewing machine, you can become a pro in no time.
