DIY 101: How to Screen In a Porch With Outdoor Drapery
Dress up your porch!
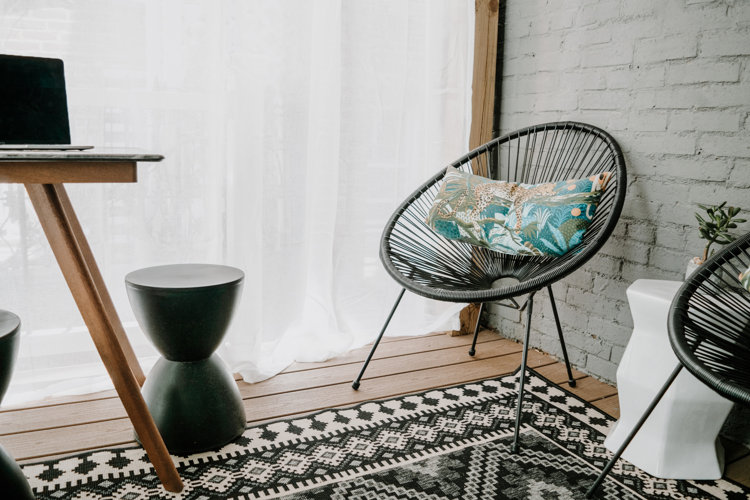
With temperatures rising, you might be dreaming of a peaceful outdoor space where you can relax in the shade. And with a quick DIY project to install outdoor drapery and enclose your porch to create an outdoor oasis, you can have that serenity in your own backyard.
Materials & Budget for Installing Outdoor Drapery
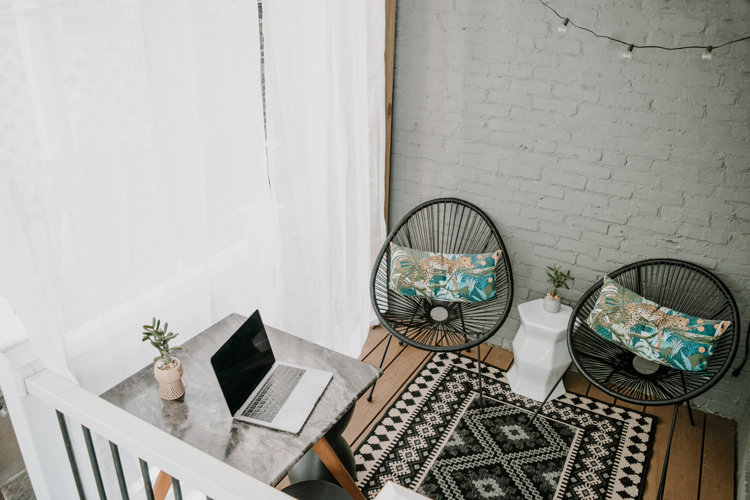
Installing outdoor drapery sounds intimidating, but if you’ve ever hung curtains inside, this project is no different! To install outdoor drapery, you’ll need only a few easy-to-find items:
- Outdoor Drapery Panels
- Outdoor Drapery Rod
- Power Drill
- Measuring Tape
- Pencil
- Screwdriver
- Ladder
Costs for outdoor drapery panels can vary widely depending on the material of the drapery, whether or not they’re UV-resistant, and more. For example, light-filtering drapery ranges between $20 and $30 per panel. If you opt for panels with blackout or thermal features, the price can increase to $40+ for each panel.
You will likely need to purchase drapery to surround the entire space rather than just a window, so the price of drapery rods could be steeper than most indoor curtain projects. For an outdoor drapery rod that extends to 120”, you may spend up to $100 or more (and you may need more than one).
Choose Your Drapery Style
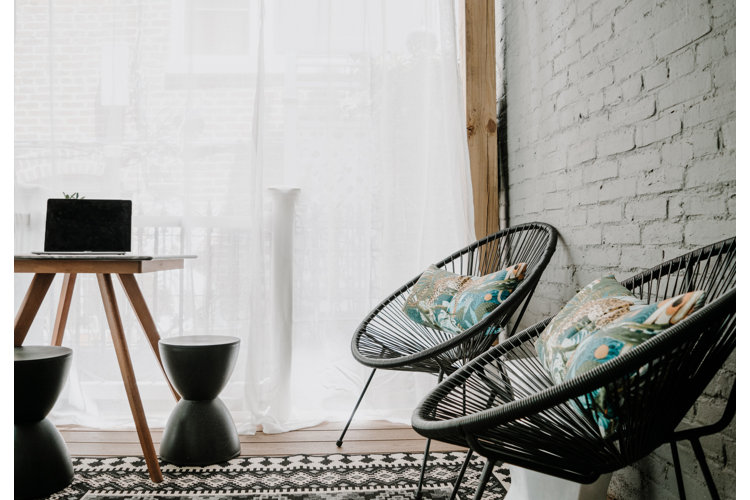
When it comes to drapery, you have options for the style of drapery you want for your outdoor retreat. Depending on your needs, you could go with a sheer, light-filtering curtain to let in lots of light while providing privacy. If you want to totally block out the sun (and your neighbors), then a blackout curtain is your best bet. And for those who are not only looking for shade but also want to keep things cool, look for drapery that provides thermal protection. If you get an extreme amount of sun, consider curtain panels with UV protection.
Most outdoor drapery either has grommets or tab tops to allow for easy movement across an outdoor drapery rod. This is purely an aesthetic choice, so choose the one that moves you (no pun intended).
Additionally, measure carefully before you order! Many curtain panels come in multiple size options, and when you click on the item, it may default to the smallest size. Measure your space carefully, then add 1ʺ to the bottom and 6ʺ to each side for your actual drapery size.
Select the Correct Drapery Rod
Look for an outdoor-specific drapery rod, as it’s more likely to resist rust and fading. You may have a large area to cover, so make sure that the drapery rod has multiple points of support to avoid sagging. You can also use an outdoor tension rod if you’ve selected sheer panels.
How to Install Outdoor Curtain Panels
With your supplies correctly measured and in hand, the hard part is done. Now it’s up to you and your DIY skills!
- Measure and mark your brackets and rods. Aim to go as close to the ceiling and the corner as possible. If the rods came with extra brackets for extended length, use them, particularly if you’re using blackout curtain panels, which can be heavy. However, make sure that the brackets do not block the movement of your drapery.
- Using a power drill, mount your brackets.
- Tighten the brackets with a handheld screwdriver if needed.
- Hang your drapery panels on the rods, and carefully set them onto the brackets.
Voila! Enjoy your new retreat!
Where you hang the rod and panels can make a huge impact on your porch oasis. To draw the eye upward and make the ceiling look higher, hang the curtain rod as close to the ceiling as possible and choose drapery that will kiss the floor. Creating a long line will give the space a light, airy look, which is exactly the goal in creating a relaxing, peaceful outdoor oasis.
Heather Bien is a Washington, DC-based blogger, interior stylist, and design writer. She creates spaces that feel both intentional and approachable, and she's never one to shy away from a bold pattern. These days, you'll often find her perfecting the art of outdoor living and embracing her green thumb.
