Garden Shed Ideas: How to Make Over a Backyard Staple
Don’t be basic!
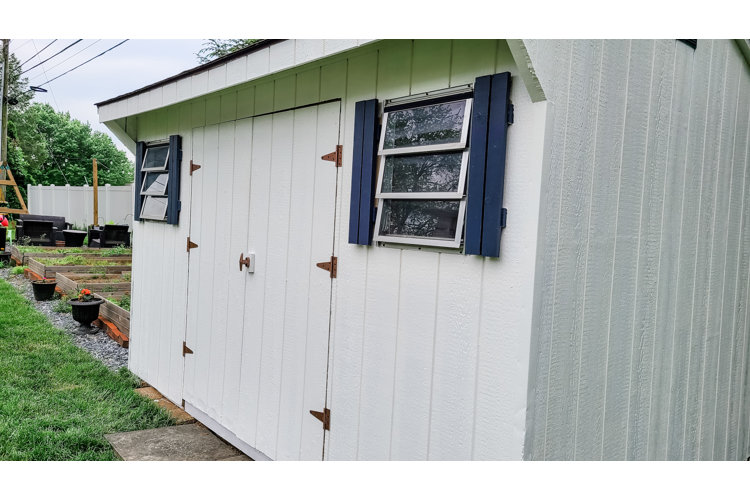
Backyard sheds have become multifunctional structures that serve everything from bike, landscaping, gardening, sports, toys, and equipment storage to a feminine escape for the busy mom seeking quiet retreat from the chaos of motherhood.
The most common materials used to construct sheds today include metal, plastic, wood, aluminum, and vinyl. Regardless of the materials used in construction, over the course of time the structure becomes outdated, worn out, and in need of refinishing.
Find inspiration from this before-and-after shed makeover, and add this to your project list this summer.
Materials List
- Wood putty
- Sandpaper
- Crowbar
- Power drill
- Wire brush
- Primer and paint according to shed material (aluminum, wood, vinyl, steel, etc.)
- Paintbrush
- Paint roller or paint sprayer
- New hardware or spray paint
Estimated cost: $100 – $250
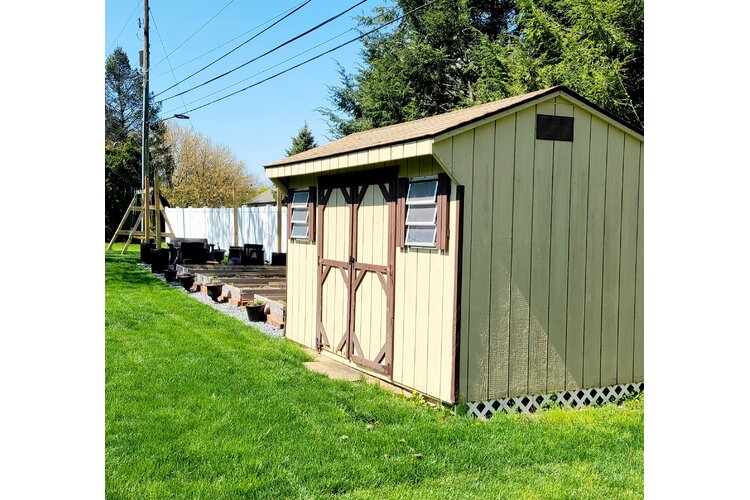
This sample homeowner’s shed is made from wood sheathing over a wood frame.
Prior to refinishing any shed, be sure to evaluate the inside of the shed along the roofline and the walls to inspect for any signs of water damage or potential roof leakage and then inspect the roof accordingly.
Often there is wooden trim incorporated onto a shed design. If the trim is rotting, consider removing the trim and filling in the holes in the wood doors with wood putty. Sand the wood putty afterward for a smooth, even finish. The trim can be left off or replaced with new trim as desired.
Remove any hardware and refinish the existing hardware or replace it with new hardware such as hinges and the door handle.
In this case, the trim was left off of the door, and after the putty that had been used to fill in the holes of the door was sanded, the doors were then primed and painted. In this homeowner’s projects, little hands and little helpers are always welcomed.
Painting is a great way to get kids involved and active in projects. Consider age-appropriate ways to involve them in projects this summer.
When priming, use a paintbrush to cover the cracks and to cut the edges of the building. Then use a roller to coat the rest of the shed with the primer.
Repeat this same process with the paint after the primer has dried according to the manufacturer’s instructions.
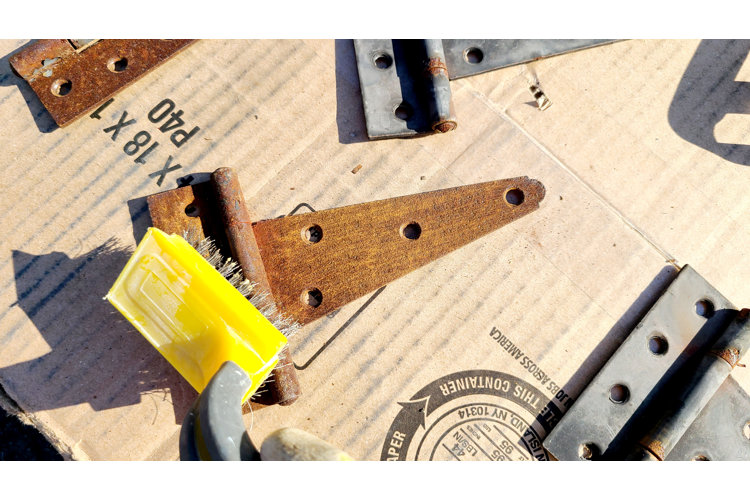
Lay out the hardware such as the hinges and the handle. Go over all of the metal hardware with a wire brush to chip off loose paint and create a smooth surface. This hardware was sprayed with Rust-Oleum’s indoor/outdoor copper-finish spray paint.
Allow the door and hardware to dry thoroughly before reattaching. Once dry, replace the door and tidy up loose ends. And viola! Your backyard shed is ready for use again.
Ahna Fulmer is a world renowned transformation coach with a passion for helping others learn how to leverage imperfection to claim success. In 2018 she founded a leading DIY lifestyle blog, Hammers N Hugs, where she inspires visitors to reclaim their hearts and homes with DIY ideas, house renovations, and strategies for healthy living through her virtual fitness and nutrition business. She is a freelance writer for Wayfair and has been featured by Apartment Therapy, Home Talk, and Food Talk, to name a few.
