Before & After: DIY Kitchen Remodel
See this amazing transformation from outdated and dark to light, bright, and shiny.
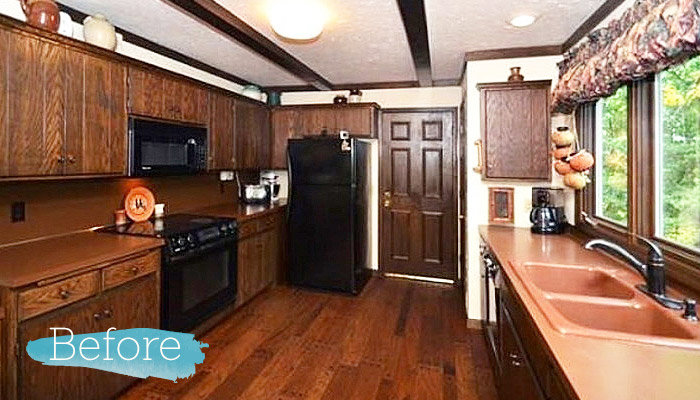
Photo: Jamie & Morgan Molitor
We did it! Our kitchen remodel is finally complete.
This renovation took us three months, but when it came to the final decor pieces... well that only took us a year or so to do. Isn't that always the case?
We purchased this outdated home as an investment property to remodel, live in for a bit, and ultimately make it something someone else would love. Within a few short months, we were able to renovate this room and have a brand new kitchen. We renovated this room 100% on our own and we want to show you how you can DIY too!
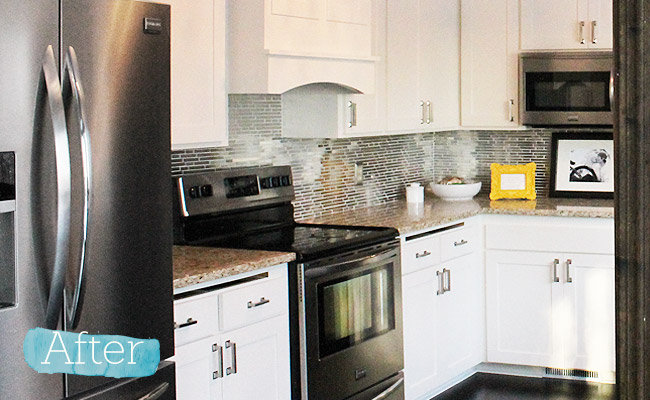
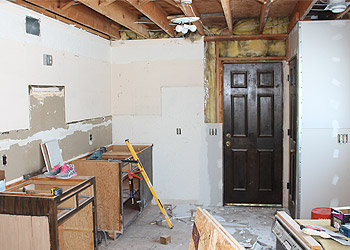
Photo: Jamie & Morgan Molitor
Within days of closing on the home, we gutted the entire room. So long dark cabinets, orange countertops, dated kitchen appliances, and textured ceilings! We wanted a modern yet classic look for this home. We wanted it to be updated, but not too trendy, so that we could cast to a broader net for resale.
We reused almost all of the base cabinets but built all new uppers and a new fridge cabinet.
We wanted to move the fridge away from the garage entrance so there was counter space to set down junk when you walk in the door. The biggest thing we rearranged was moving the fridge and building a hood to add a vent over the stove.
Once the cabinetry was in place, we got down to painting them white. White kitchen designs are popular today and have been for a while. They provide a clean feeling and enhanced the sense of space in the room. I would love to go with more bold colours for the base of our cabinets, but given that this is an investment home we eventually want to sell, we didn't want to get too daring.
Pro Tip! When painting our cabinets, we always use a roller. We used a white oil based paint and we feel it always looks nicer when you take the time to roll cabinetry.
For the walls, we went with Ionic Sky by Behr with an eggshell finish.
Next up was the hardwood floors. Hardwood floors add a lot of value to your home and give it a sophisticated look. We chose bamboo wood flooring, as bamboo is twice as hard as oak. However, I do have to warn you… it shows everything!
After the floors, we tackled the counter tops. Picking out granite is never easy.
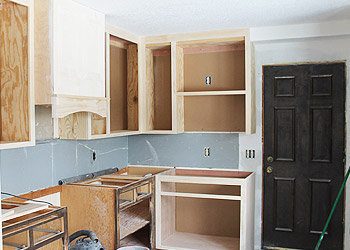
Photo: Jamie & Morgan Molitor
We debated between very dark or very light brown granite; in the end, we decided on a light brown design. We knew it would go nicely with white cabinetry and dark brown flooring.
And finally, the backsplash. We wanted a fun and modern backsplash and I'm a super fan of stainless steel. (If it had been up to me, we would have had stainless steel countertops over granite!) My husband and I compromised and went with a stainless steel mosaic tile backsplash. We were a little nervous about the choice but absolutely loved how it turned out.
Photo: Jamie & Morgan Molitor
After the floors, we tackled the counter tops. Picking out granite is never easy. We debated between very dark or very light brown granite; in the end, we decided on a light brown design. We knew it would go nicely with with white cabinetry and dark brown flooring.
And finally, the backsplash. We wanted a fun and modern backsplash and I'm a super fan of stainless steel. (If it had been up to me, we would have had stainless steel countertops over granite!)
My husband and I compromised and went with a stainless steel mosaic tile backsplash. We were a little nervous about the choice but absolutely loved how it turned out.
We wanted the decor of the kitchen to match the rest of the house. We went with silver metal hardware to compliment the backsplash and the stainless steel appliances.
The final step was to add some kitchen decor. I framed old, handwritten recipes from our loved ones. It's a wonderful way to preserve those notes from those you have lost.
And there it is, our fully remodeled kitchen!
Photo: Jamie & Morgan Molitor
Want to be inspired by more Before and Afters? Check out these transformations:
Before and After: Industrial Living Room Makeover »
Before and After: Fireplace Transformation »
Before and After: Basement Renovation »
