How to Install a Farmhouse Sink: A Step-By-Step Guide
Straight forward sink installation.
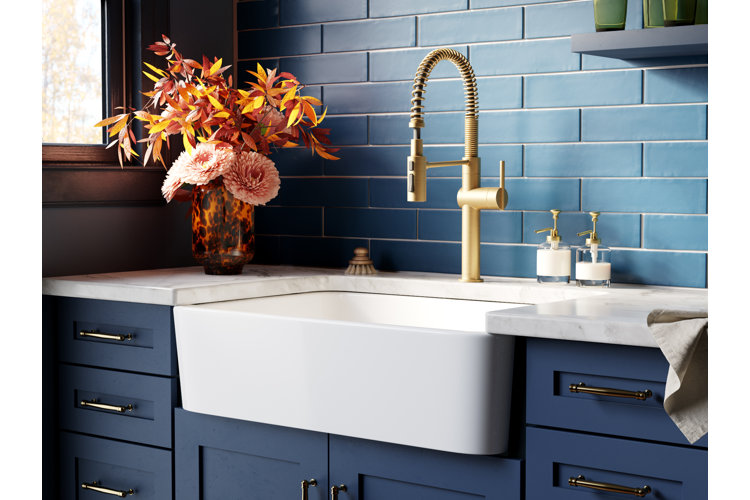
A farmhouse sink, also known as an apron sink, is a beautiful addition to contemporary kitchens. While farmhouse sink installation can be done as a DIY project, it requires precise measurements, the use of power tools, and plumbing adjustments. Read on to learn how to install a farmhouse sink with our step-by-step instructions.
In this guide:
Farmhouse Sink Installation: Step-by-Step Instructions
Avoid These Common Farmhouse Sink Installation Mistakes
Frequently Asked Questions
Farmhouse Sink Installation: Step-by-Step Instructions
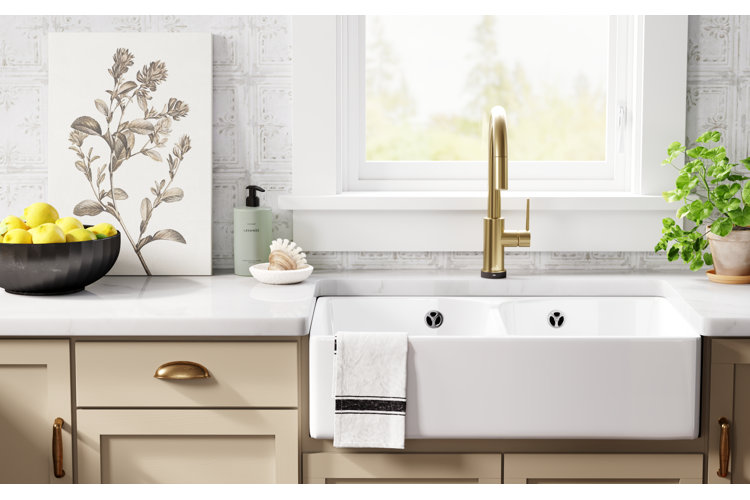
Follow these steps for a seamless farmhouse sink installation.
What You Will Need
- Farmhouse sink
- Tape measure
- Jigsaw or circular saw
- Drill
- Screw driver
- Razor blade
- Adjustable wrench
- Clamps
- Silicone caulk gun
- Wood glue or construction adhesive
- Safety goggles
- Mounting brackets or support frame
- 2 x 4 lumber (for support frame)
- Silicone sealant
- Plumbing fittings
- Faucet & drain assembly
1. Remove Existing Sink & Countertop
Before you start measuring and installing your new sink, you will need to remove your existing sink and countertop.
- Disconnect the Plumbing: You will want to turn off the water supply to the sink before disconnecting the plumbing. To do this, locate the water valve underneath the sink and turn it so that it is positioned horizontally. Then, disconnect the plumbing, using a bucket to catch any remaining water from the hose. If you are installing a farmhouse sink in a new kitchen, you can skip this step.
- Remove the Sink: From underneath the sink, remove the sink clips using a screwdriver to loosen them. Then, above the countertop, cut the sealant around the sink using a razor blade. Once the sink is free, simply lift it out of the countertop.
- Remove the Countertop: To remove the countertop, cut the sealant. Remove the screws connecting it to the counter, and then pry it free. If you have a stone countertop, you will need to hire a professional to cut it for your new sink, you may want to have them remove it as well to avoid damaging it.
2. Measure Your Cabinets & Sink
Since a farmhouse sink installs within the base cabinet rather than on top of it, you’ll need to cut a properly sized opening in the cabinet to accommodate the sink and its exposed apron front.
- Measure Your Sink: Start by measuring your sink – most manufacturer instructions will include these measurements as well. You will need to know the depth, width, and length of your sink.
- Measure a Cutout Space: Using your sink measurements, measure the area that you need to cut out from the top front of the cabinets. Most cabinets have a top drawer – this is where the sink will sit. You will need to measure the width of your cabinet, the distance from the top of the cabinet to the bottom of the drawer opening, and the distance from the top of the cabinet to the doors to make sure the sink won’t interfere with opening them. Mark off the measurements of where you will need to cut the cabinet front to accommodate the sink.
Note:
If you have a sink with an apron (the front of the sink) that is taller than the drawer portion of your cabinets, you may need to get custom cabinets with shorter doors to accommodate the sink.
3. Modify Cabinets for Your Farmhouse Sink
- Cut Out a Space for Your Sink: Using your measurements as a guide, cut out the front top of your cabinets using a jigsaw or circular saw. Always double-check measurements before you start cutting.
- Make Necessary Modifications: If you have determined that your sink apron is too tall for your current cabinets, you will need to modify them to fit, or order a custom cabinet unit for your sink before continuing.
4. Build a Support Frame
Farmhouse sinks require extra support on the inside of the cabinets because they are heavier than other types of sinks and can weigh over 300 lbs. when full of water.
- Measure for Your Support Frame: When positioning your farmhouse sink, the top edge should sit flush with the top of the cabinet, or slightly below it. This ensures the countertop will rest neatly over the sink edge once installed. Most farmhouse sinks have built-in ledges along the sides. These ledges rest on horizontal boards that you will install on the inside of the cabinet. Carefully measure and mark where you will install these horizontal supports on the left and right side walls of the cabinet so that when the sink sits on them, its top edge will align with the top of the cabinet.
- Install the Horizontal Supports: Cut your 2 x 4 lumbar to the correct length using a circular saw. This piece should reach from the back wall of the cabinet to the front. Apply construction adhesive to the back of the horizontal support and align it with your measurement marks inside the cabinet. Hold them in place with clamps and use a drill to secure them with screws.
- Install the Vertical Supports: You will then install two vertical supports under each horizontal support for additional reinforcement. Measure the distance between the bottom of the horizontal support and the bottom of the cabinet, then cut your 2 x 4s to fit in this space. Place them at equal distances apart to provide full support. Apply adhesive to the back and secure them to the cabinet wall with screws.
5. Fit Your Sink
Once your support frame is fully dried and secured it’s time to fit your sink.
- Dry-Fit Your Farmhouse Sink: Place the sink in the opening and, on top of the horizontal supports and make sure the top edge of the sink aligns with the top of the cabinet. Use a level to double-check that your sink is sitting correctly on the supports. If it’s a little low, you can use shims on either side where height is needed.
- Seal the Sink: Once you are satisfied with your sink placement, use silicone caulk to seal around the edges to prevent water from seeping into your cabinets. Allow time for the caulk to dry fully.
7. Connect the Plumbing
Once your sink is secured, you can go ahead and reconnect your plumbing to restore the water supply to your sink.
- Connect the Drain Pipe: Use a pipe connector to connect the existing pipes in your cabinet to the drain pipe from the sink. You may have to cut existing pipes using a pipe cutter for the right connection and fit. Tighten all connections with an adjustable wrench.
- Connect the Water Supply: Mount your faucet through the countertop and connect the hot and cold water supply lines. Tighten the connections with the adjustable wrench.
- Turn the Water Back On: Once everything is connected and tightened, turn the water back on by turning the valve to its vertical position. Test the faucet’s hot and cold water, fill the sink, and drain it while checking for leaks.
6. Install the Countertop
If you have a stone countertop, you will need to hire a professional counter fitter to cut out your countertop to fit your sink and drill any holes for faucets or other hardware. If you have a different type of countertop that you are comfortable cutting and reinstalling, you will need to measure the sink precisely and cut the countertop accordingly using a jigsaw.
- Measure for Your Sink Opening: Start with a general measurement of the sink width and depth, using the outside edges of the sink where the countertop will align. Mark these on the countertop where you will be cutting out the opening for the sink. Then, for the most accurate shape and fit, you can use a template provided by the manufacturer or create one using cardboard. You can then trace the template onto your countertop.
- Cut Your Countertop: Using your drawn out measurements, cut along the lines using a saw to make an opening for your sink. Sand the inside edges of the counter where you cut – if needed apply stain or waterproof resin to the raw edge, depending on the material your countertop is made out of.
Avoid These Common Farmhouse Sink Installation Mistakes
Everybody makes mistakes, but a mistake in farmhouse sink installation can result in a lot of wasted time and money. No worries, we’ve got you covered with the most common installation mishaps to avoid.
- Incorrect Measurements: When you think your measurements are perfect, double-check them. If your sink measurements are even slightly off, you can end up with a gap next to your sink or even having to replace your countertop completely, which can be an expensive mistake. It’s better to recheck measurements than to overcut your countertop.
- Improper Cabinet Structure: Don’t skip building a proper support frame for your farmhouse sink. This type of sink is heavy, especially when filled with water or dishes. If you fail to build a proper frame that can support this weight, your sink can fall through, damaging your countertop, cabinets, and plumbing components.
- Not Accounting for Countertop Thickness: If you have a top-mount or flush-mount farmhouse sink, the top of the sink should be level with your countertop, so you must factor in the countertop thickness when planning your support structure. Failure to do this can result in having to rebuild your support structure. You’ll want to dry-fit your sink and simulate your countertop placement before connecting your plumbing and securing all the elements in place.
Frequently Asked Questions
1. Can you install a farmhouse sink in an existing cabinet?
Yes, but most standard base cabinets require modification, including cutting the front panel and adding structural supports to handle the sink’s weight.
2. Do farmhouse sinks need extra support?
Yes. Farmhouse sinks are heavy – especially fireclay and cast-iron models – so they must rest on a reinforced support frame, not just the countertop.
3. Is farmhouse sink installation DIY-friendly?
It can be for experienced DIYers, but it requires precise measurements, cabinet modification, and plumbing adjustments. If you’re not comfortable with any portion of the instructions, please hire a professional to install your farmhouse sink.
