How to Replace a Shower Handle
Everything you need to know to replace your shower handle like a pro.
Replacing a shower handle is a straightforward process made even easier by following the right steps. Unsure where to begin? Our guide walks you through the entire process, so you’ll know how to replace a shower handle in no time.
What Is a Shower Handle?
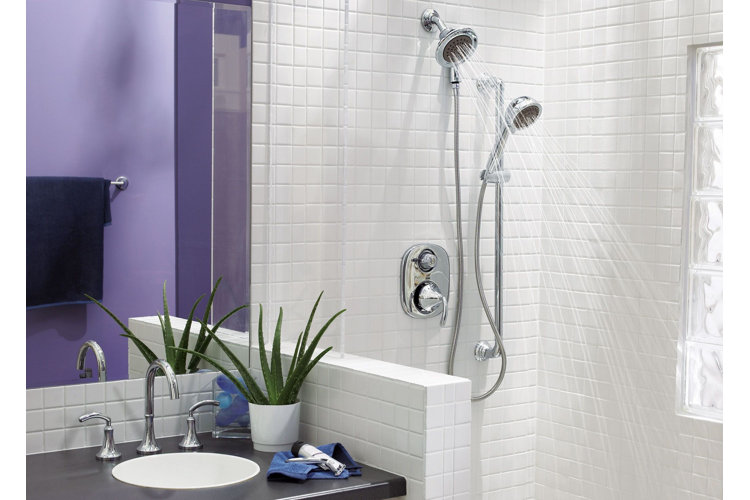
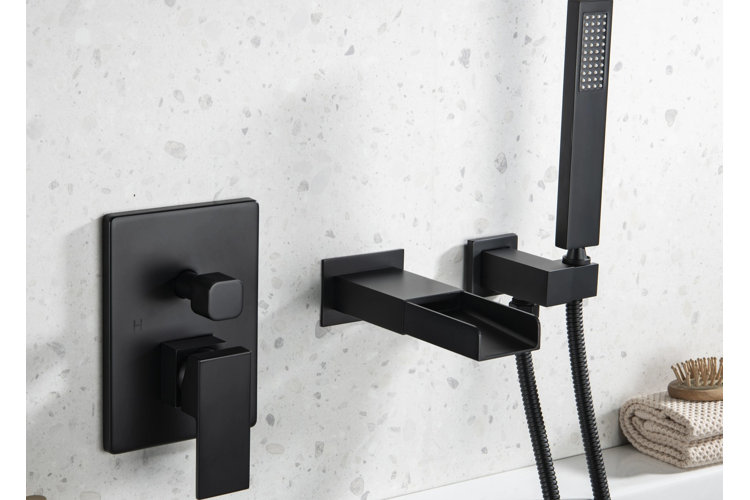
The shower handle is the lever used to turn your shower on and off. It also sets your water temperature by connecting to the valve behind the wall, where hot and cold water mix. Shower handles are available in a variety of styles, making them not only functional but decorative additions to your bathroom.
Shower Handle Replacement Overview
By following these steps, you’ll learn how to replace a shower handle with ease. Our comprehensive guide walks you through the entire process, ensuring seamless replacement and an optimally functioning shower.
Time Required: 30 minutes – 1 hour
Skill Level: Beginner
Number of People: 1–2
What You'll Need:
- Compatible shower handle
- Screwdriver or Allen wrench
- Replacement valve (optional)
- Set screw (usually included with your new shower handle)
How to Replace a Shower Handle
1. Purchase Your Shower Handle
Before beginning the shower handle replacement process, make sure that you purchase a compatible handle – it should match the type of valve installed behind the wall. To find a compatible handle, determine your valve’s brand and model, customarily located on the trim plate. Replacement handles typically designate the valves with which they’re compatible, but contacting your valve manufacturer’s support team is a great additional resource.
2. Turn Off the Water
Shut off the main water supply to guarantee you stay dry as you replace your shower handle. Then, conduct a faucet test to confirm that your water supply is properly turned off. Turning the faucet drains its pipes of any remaining water, ensuring the rest of your replacement process runs smoothly.
3. Remove the Old Handle
Begin by removing the screw of your existing handle with a screwdriver or Allen wrench – the screw is usually located at the shower handle’s base. Insert the screwdriver or wrench into the hole, then twist to loosen and remove the screw. Afterward, gently wiggle the handle to disconnect it from the wall.
4. Inspect Your Valve
After removing your existing shower handle, evaluate your shower valve for signs of damage. Use a cloth to gently remove any debris. If the valve appears heavily rusted or worn down, consider replacing it before proceeding with your shower handle replacement.
Tip!
Looking for additional guidance on How to Replace a Shower Valve? Our comprehensive guide walks you through every step.
5. Install the New Handle
Line up your new handle with the valve stem. Installation sometimes requires aligning the handle’s grooves with the valve’s corresponding notches, gently pushing the handle until you hear a click confirming the pieces are fastened together. Then, position your set screw within the shower handle’s base, securely twisting it into place with a screwdriver or Allen wrench.
6. Test Your Handle
Now, it’s time to test your new shower handle! Turn your water supply back on before moving the shower handle from side to side. Your water should flow with consistent pressure and properly alternate between hot and cold temperatures.
If you notice any problems, like leaking, the most likely cause is handle misalignment. Simply shut off your water supply again before unscrewing and reconnecting your handle to the valve, ensuring they are precisely positioned. Then, you’re all done!
