How to Replace a Shower Valve
Upgrade your shower valve with ease.
Replacing a shower valve is a straightforward process that any DIYer can tackle to enhance their overall shower experience. Unsure where to begin? Our guide walks you through every step of the way, so you’ll know how to replace a shower valve in no time.
What Is a Shower Valve?
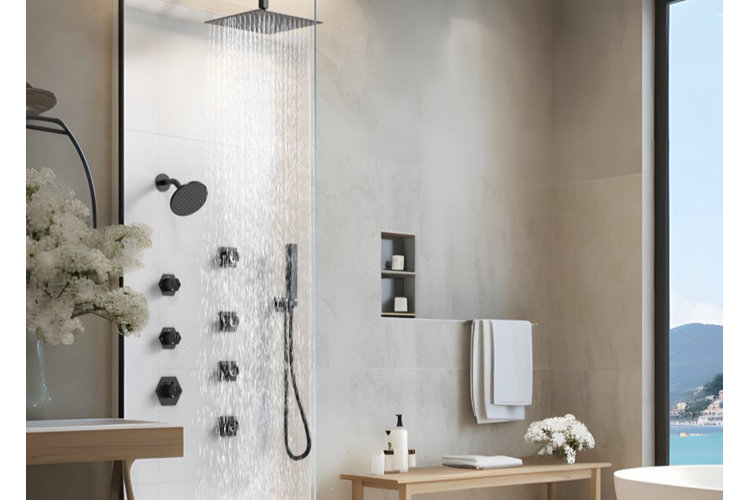
A shower valve is a device integral to every shower – it prevents leaks while controlling water pressure and temperature. Shower valves are traditionally found behind shower handles, acting as main control systems that guarantee safety when functioning properly. If you notice leaks, low water pressure, or temperature inconsistencies, it may be time to replace a shower valve.
Shower Valve Replacement Overview
By following these steps, you’ll learn how to replace a shower valve in no time. Our comprehensive guide walks you through the entire process, ensuring easy installation and an optimally functioning shower.
Time Required: 2–4 hours
Skill Level: Intermediate
Number of People: 1–2
What You’ll Need:
- Phillips-head screwdriver
- Washcloth and bathroom cleaning solvent
- Water and vinegar (optional)
- Towel, cloth, or piece of cardboard
- Utility knife
- Needle-nose pliers
- Groove joint pliers
- Adjustable wrench
How to Replace a Shower Valve
1. Purchase the Correct Replacement Shower Valve
Before you get started with installation, ensuring that you purchase the right shower valve replacement for your shower is a crucial step. First, identify the model of your current shower valve – this information is typically available on your trim plate (the piece of hardware that sits against your shower wall and upholds the shower handles). If you’re unsure which model you currently possess, showing a photo to the staff of your local hardware store is a great first step. By confirming that your replacement valve is a make and model compatible with your shower, you’ll prevent complications throughout installation and avoid needing to restart the process after it’s begun.
Tip!
Curious to learn more about different Types of Water Valves before purchasing a new one? Our guide has you covered.
2. Turn Off the Water Supply
Shutting off the main water supply is a critical first step to ensure you stay dry throughout your shower valve replacement process. After turning the main water supply off, turn your shower on to drain its pipes of any remaining water – simply open the shower faucet by turning the handle. Then, cover your shower drain with a towel, cloth, or piece of cardboard to stop valve parts from falling down the drain as you progress.
3. Unscrew & Clean the Trim Plate
Grab your Phillips-head screwdriver to remove the trim plate from the wall. After unscrewing, set the trim plate aside as you clean any remaining debris. Dirt and grime often accumulate underneath the trim plate, and can be removed using a washcloth and bathroom cleaning solvent. To give your trim plate a polished look, consider soaking it in a mixture of water and vinegar overnight.
4. Create an Access Hole
After removing the trim plate, a small opening in your wall should be visible, through which you can see the shower valve. As a rule of thumb, this opening should be 10–12 inches by 10–12 inches, providing sufficient access to your valve. If the opening does not meet these measurements, enlarge it by creating a wider access hole. Use a utility knife to carve the part of your wall that surrounds the shower valve for a seamless removal process. Make sure the size of the hole you’re cutting does not exceed the measurements of the trim plate, which you’ll reinstall later. Hold the trim plate up to the crevice as you’re enlarging it to guide you through this process.
5. Remove the Old Valve
In order to replace a shower valve, the most crucial step is removal. Begin by removing your valve clip – the small piece of metal inserted into the top of your shower valve that holds it in place. Grab a pair of needle-nose pliers to lift the clip upwards out of its insert. If your clip is damage-free, place it somewhere you won’t lose it for reinsertion later – if it’s damaged, don’t worry! Shower cartridge replacements typically come with their own valve clips.
Next, use groove joint pliers to disconnect your valve from the wall pipes, clutching the metal end of the shower valve cartridge as you pull tightly. Shimmy the valve as you tug it off the wall pipes and through the hole in your wall in order to fully detach it. Then, you’re ready to install your new valve!
6. Install Your New Valve
Use pliers to pick up your new shower valve cartridge, then slide it into the existing slot in the wall, aligning it with the pipe opening. Once again, shimmy the new valve back and forth as you push it into the slot if it gets caught during installation. After the valve is positioned over the pipe opening, use an adjustable wrench to tighten your new valve into place – until the valve feels snug and you can’t tighten it any further. Finally, use the needle-nose pliers to reinsert your old metal clip or the new clip that came with the replacement valve.
7. Test Your Valve
It’s time to test your new valve! First, make sure you remove your towel, cloth, or piece of cardboard to uncover the shower drain. Turn your water supply back on before running your shower. If you notice any leaking, turn the water supply off again, then adjust your valve. Ensure that the valve connections are properly aligned with your pipe and further tighten them with a wrench if necessary. If the valve is still leaking after realignment, double-check that your parts are not damaged or cracked.
If your valve is operating properly, play around with the water pressure and temperature to ensure efficient function at all levels. Now, all you need to do is screw your trim plate and shower handle back into place! Hold the trim plate and its attached shower handle up to the previous position before using a Phillips-head screwdriver to refasten it. Then, you’re all done!
