How to Measure for Vent Covers
Get the right measurements.
Vent covers come in an array of sizes, which can be confusing when you need to replace yours. Keep reading to find out how to measure for vent covers, so you can find the one you're looking for.
What You'll Need
- Tape measure
- Utility knife (if needed)
- Screwdriver (if needed)
- Pencil and paper
Step 1: Identify the Vent Location
First, you’ll need to locate the vent that you plan on replacing. There are four different vent locations:
Step 2: Remove the Vent Cover
If your vent is screwed in, use your screwdriver to remove it. If there is a layer of paint or caulk around the grill, use your utility knife to cut directly around the vent to keep from peeling any paint.
Step 3: Measure the Opening
Measure the duct opening and note the measurements in inches. Do not use the old vent as a reference for measuring as it can lead to inaccuracies. Do not try to measure the opening with the vent still inside.
Step 4: Record the Measurements
Be sure to write the length first and then the height.
Step 5: Measure Again
It may seem unnecessary to double-check your measurements, but this may save you from potential sizing issues.
Step 6: Find Your Vent
Pick a vent with the same length and width as your measurements. If you don't see one of both of your measurements listed, round up to the nearest 1/2" size. Do not round down – the right vent cover size should provide plenty of coverage to enclose the duct opening.
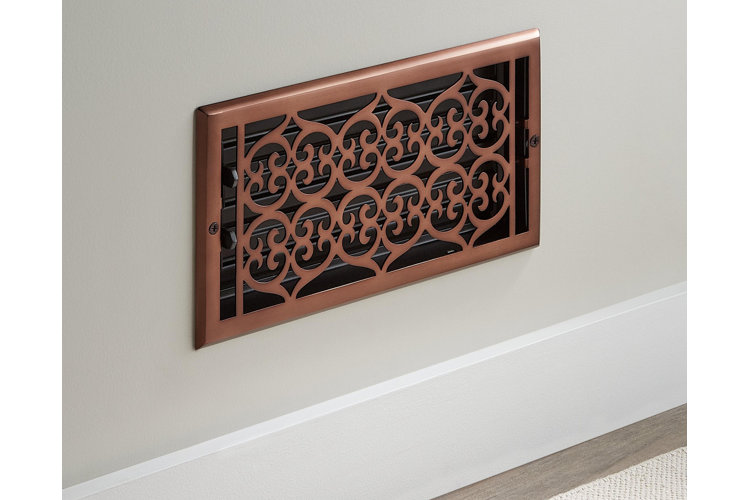
Tip!
Once you have the appropriate vent size, start looking at other aesthetic options to make sure it matches your style. Take your pick from materials such as brass, stainless steel, or aluminum.
