How to Replace a Sink Drain Stopper
Fix your faulty drain with this simple upgrade.
Whether your sink’s drain stopper is outdated, leaking, or stuck, replacing it is a quick way to improve drainage. Unsure where to begin? Follow our step-by-step guide to swap your stopper and achieve smooth sink function.
How to Replace a Sink Drain Stopper
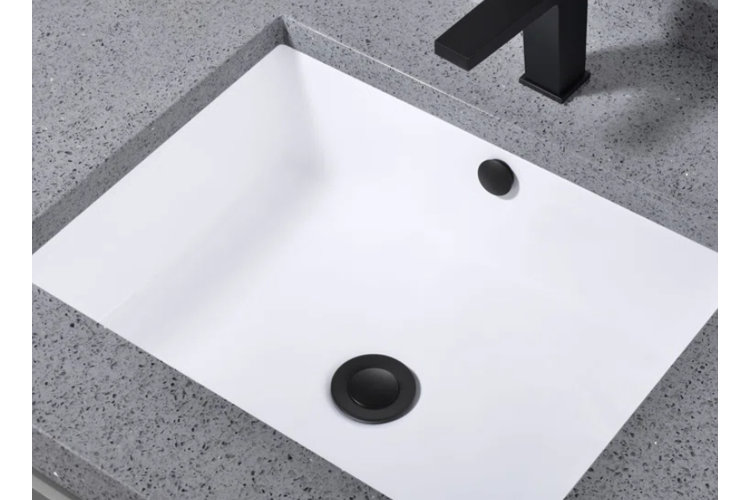
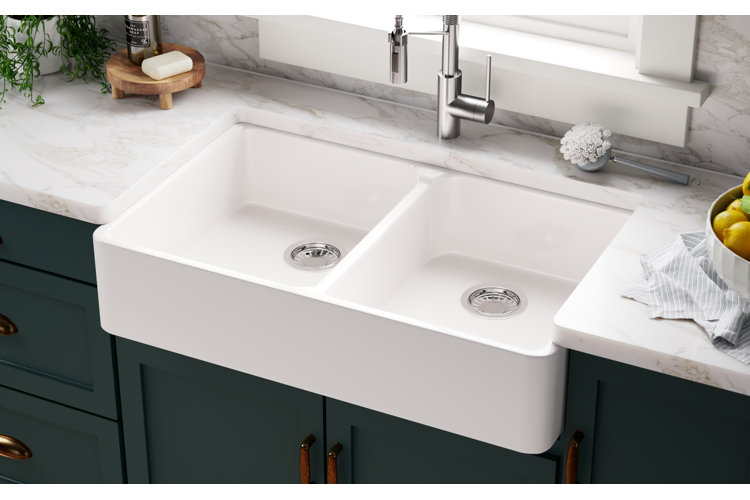
(Shop this image: Drain stoppers, undermount bathroom sinks, black bathroom sink faucets, and quartz vanity tops)
Remove your old drain stopper and install a new one with these easy-to-follow steps.
Time Required: 20 to 40 minutes
Skill Level: Beginner
What You'll Need:
- Screwdriver (flathead or Phillips depending on stopper type)
- Adjustable wrench or pliers
- Bucket or towel
- Cleaning cloth or sponge
- Replacement drain stopper
- Optional: Silicone sealant or plumber’s putty
Step 1: Identify Your Drain Stopper Type
The drain stopper removal and installation process varies by model, so it’s important to determine which type is installed in your sink. Common models include lift-and-turn and pop-up stoppers.
Lift-and-Turn Stoppers: These drain stoppers are typically topped with a knob that can be lifted and twisted to open and close the drain.
Pop-Up Stoppers: These drain stoppers usually include a lever or knob near the faucet that opens and closes the drain when pushed or pulled.
If you’re still unsure which type you have after checking for knobs or levers, search for a description or model number on the drain stopper.
Tip!
Browse our guide on How to Choose the Correct Type of Drain for additional information.
Step 2: Remove the Old Stopper
After identifying your drain stopper type, it’s time to remove the old stopper.
Lift-and-Turn Stoppers: Carefully pull the knob upwards while twisting it counterclockwise to remove it from the drain. Some models include a small set screw that must first be loosened with a flathead screwdriver. This screw is usually located below the knob on the side of the shaft or hidden beneath a decorative cap.
Pop-Up Stoppers: Locate the pivot rod connected to your stopper beneath the sink. Place a towel or bucket under this area to catch any residual water, then unscrew the nut securing the rod and gently pull the stopper out of the drain.
If your stopper is stuck, loosen it with an adjustable wrench or pliers.
Step 3: Clean the Draining Area
After removing the old stopper, it’s crucial to thoroughly clean the drain area so that your new stopper properly seals. Use a cleaning cloth or sponge to scrub away any accumulated debris, grime, or old plumber’s putty.
While cleaning, look for signs of damage around the drain, like rust or cracks. A mix of vinegar and baking soda is ideal for dissolving mineral buildup. If you notice more significant cracks or damage to the drain flange, surrounding hardware, or drain itself, consider replacing these parts before proceeding.
Step 4: Install the New Stopper
Now that your draining area is clean, install the new stopper. To prevent leaks and ensure a watertight seal, consider applying a thin layer of silicone sealant or plumber’s putty around your stopper’s edge before installation.
Lift-and-Turn Stoppers: Place the new stopper into the drain, twisting it clockwise to secure it into place. Make sure it’s properly aligned and moves smoothly when you turn the knob.
Pop-Up Stoppers: Under the sink, align your pivot rod with the stopper mechanism. Tighten the nut to fasten the rod into place, then insert your stopper into the drain. Check that the stopper properly opens and closes when you engage the lever or knob.
Step 5: Test the New Stopper
After installation, test your new stopper to ensure it functions properly. Turn on the faucet and fill the sink with water. Then, check around the stopper for any signs of leakage. If your stopper is properly installed, there should be no escaping water.
Lift-and-Turn Stoppers: Turn the knob to open and close the drain, checking that it smoothly operates.
Pop-Up Stoppers: Engage the lever or knob near the faucet to open and close the drain.
Whichever model you have, make sure that your stopper creates a tight seal when closed to prevent leaks. If your drain works as expected with no escaping water, you’re all done! If you detect leaks or your stopper isn’t smoothly operating, remove it from the drain for reinstallation.
When reinstalling, check that the stopper is seated correctly in the drain opening. Be sure that the pivot rod is properly aligned with the stopper mechanism and that the nut securing the rod is tightly fastened. If it still isn’t functioning properly, try applying additional silicone sealant or plumber’s putty around the stopper’s edge, or contact a plumber for professional assistance.
You May Also Like
{sagaComponent(button){"text":"Shop Bathroom Sinks","variation":"secondary","type":"filteredBrowse","id":"524400"
