How to Use a Bread Machine
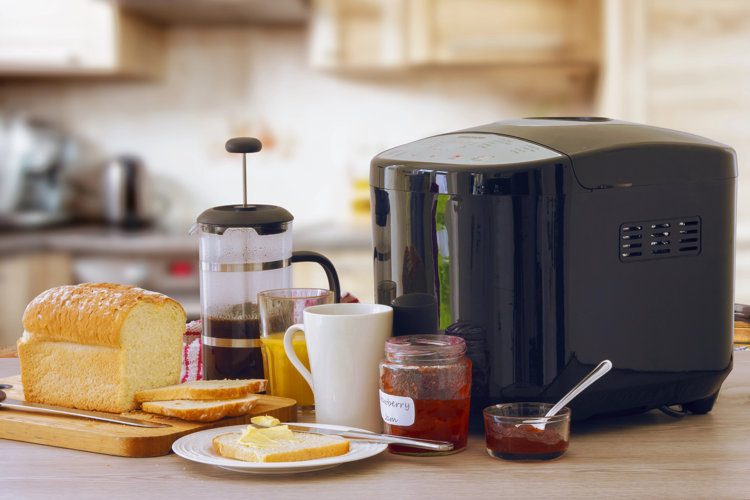
Say hello to freshly baked bread.
Who doesn't love a slice of fresh bread and the delicious aroma that comes with it? If you've been wanting to ditch your store-bought bread for a loaf you've baked yourself, you're in luck. Using a bread machine makes the process simple and allows you to make fresh bread to pair with any meal. Our guide walks you through the steps on how to use a bread machine so that you can whip up a fresh loaf of bread whenever you'd like.
How Does a Bread Machine Work?
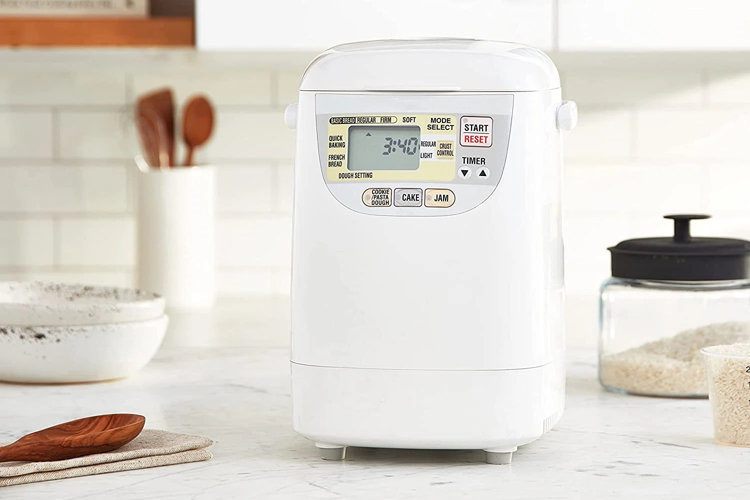
A bread machine is a small countertop appliance that mixes all of the ingredients together and bakes them into a fresh loaf of bread. All you need to do is pour in all of the ingredients, select the correct setting, and wait three or so hours for your loaf to finish baking. The machine does all of the mixing, proofing, and cooking, which saves you several steps like hand-kneading or oiling different bowls for proofing.
When taking a look at your bread machine, each model will be slightly different. Some key features that all models will have are a bread bucket where you'll add the ingredients, a kneading blade that stirs the ingredients and kneads the dough, and a control panel on the outside where you can start the machine and adjust the settings. Because bread machines may vary slightly, it's important to read the manual for your specific bread machine to ensure you're using the appliance correctly.
Many bread machines come with helpful features that can boost the convenience of your bread making or make your machine a more multipurpose kitchen tool. A dough cycle allows you to knead any type of dough rather than just bread dough. You can use this cycle to knead different doughs for pizza or cinnamon rolls. A delayed start timer is great for adding your ingredients in the morning and setting the machine for a delayed start so that you can come home to a fresh-baked loaf after work.
Using a bread machine is a simple process that results in a delicious loaf of bread. Follow these instructions to learn how to use a bread machine.
Step 1: Get Familiar With Your Bread Machine
Before you can really get into using a bread machine, you'll want to familiarize yourself with the manual. The manual will help break down the different settings and key information like the bread machine's capacity.
Step 2: Gather the Ingredients
Though the ingredients depend on the specific recipe you'll be using, bread machines require these basic ingredients: water, flour, yeast, and salt. Some recipes will call for a bit of sugar to sweeten the bread or oil to ensure the bread doesn't stick to the bread basket.
When measuring the ingredients, it's important to measure the ingredients as precisely as possible. Too much water can prevent your bread from rising properly, and too little water could make the bread tough.
Step 3: Add the Ingredients
If you're planning on starting the bread machine right away, you can pour all of the ingredients into the basket in no particular order.
If you're planning on using the delayed start timer, you'll need to add them in a more specific way. Start with the liquids, and then add the flour and other dry ingredients. On top of the flour, try to make a small indentation so that the yeast can be poured into that small well. This keeps the yeast from interacting with the liquids too early in the process.
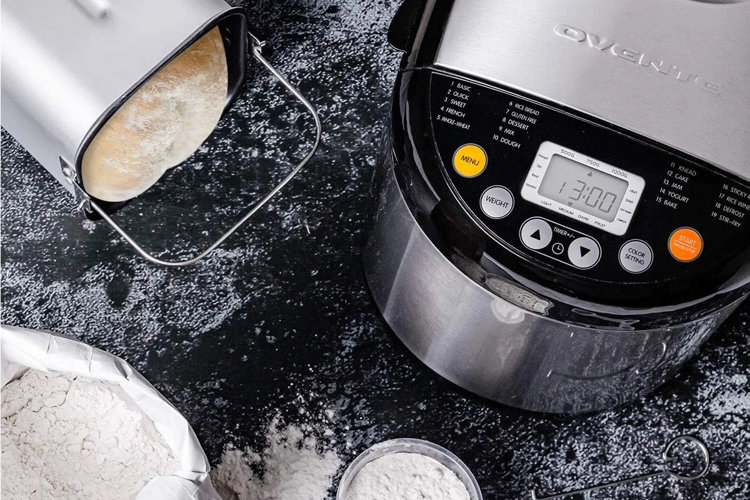
Step 4: Start the Machine
Once your ingredients are in the machine, select the right setting. Calculate the amount of time needed for the loaf per the recipe. Most bread machines take three or four hours for a basic loaf, while rapid settings can speed the process up to around two hours.
Most bread machines will then get to work, warming the ingredients to the right temperature, kneading the dough, letting the dough rise twice, and then baking it.
Tip!
Though many bread machines have small transparent windows, it's okay to open the lid to check if the ingredients are getting well-incorporated. Checking can help you troubleshoot early and avoid disappointment later.
