Replacing a Kitchen Sink Drain: Your Step-by-Step Guide
You've got this.
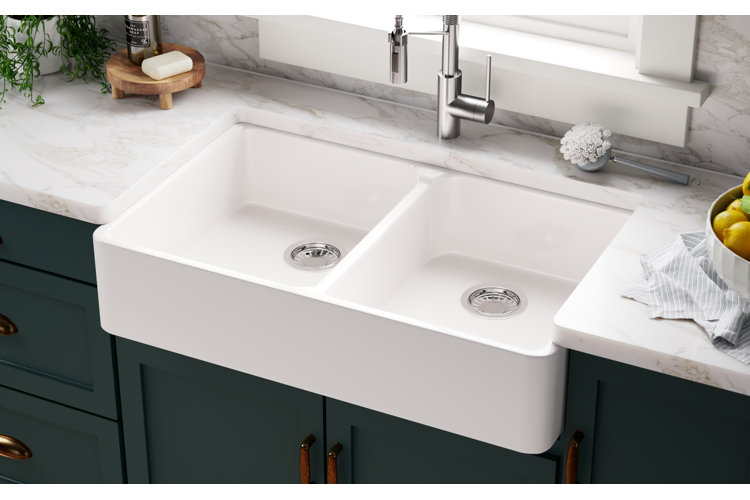
Replacing a drain on your kitchen sink is way easier than you might think! Keep reading to learn how to DIY it.
Skill Level: Beginner to Intermediate
Time Requirements: 30 Minutes to 1 Hour
Number of People: 1
What You'll Need:
- Measuring tape
- New kitchen sink drain
- Pipe wrench
- Needle-nose pliers
- Plumber's putty
- Bucket
1. Measure the Width & Depth of Your Current Sink Drain
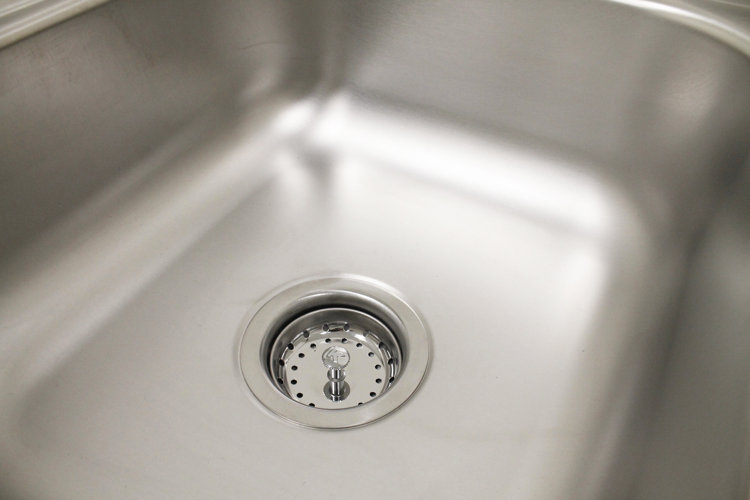
Kitchen sink drains come in all sorts of shapes and sizes, which is why it's important that your replacement drain fits your sink's drain hole. The sink drain itself should also be long enough underneath the sink to attach to the tailpiece pipe – you can use additional piping to fill in potential gaps if this is a problem.
- Use a tape measure to determine the width of your current sink drain (making sure to measure from the outer edges of the strainer itself).
- Then go under the sink and measure from the strainer to the point where it meets the long piece of pipe (the tailpiece).
- Knowing these measurements will help you choose the best sink drain replacement and make the installation process a breeze.
Tip!
Review How to Choose the Correct Type of Drain for more tips on selecting a replacement drain.
2. Locate the Water Shut-Off Valve Beneath Your Sink
Depending on the design, there may be two shut-off valves – one for hot water and one for cold water. Turn them clockwise to cut off the water supply to the sink. Test your faucet to make sure. You can also place a bucket under your sink's pipework in case there's excess water that comes out when you remove the tailpiece.
3. Use Your Pipe Wrench to Loosen the Slip Nuts on Each End of the Tailpiece
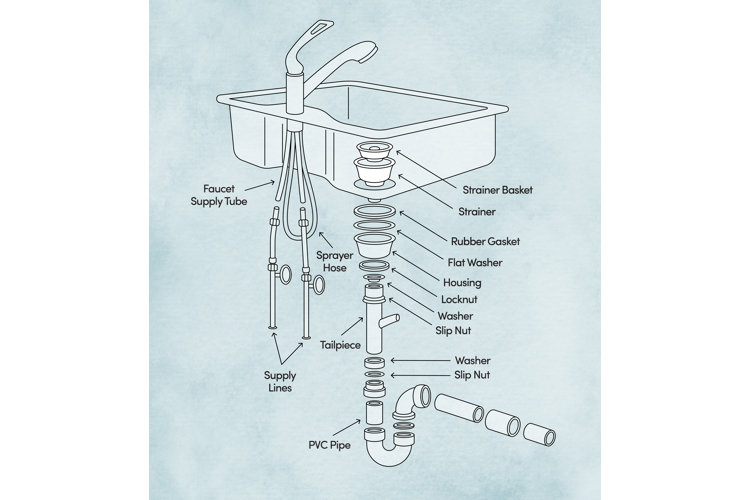
The tailpiece is a long straight piece of pipe under the sink that's in-between the drain and the P-trap (the curved piece of pipe). You'll need to remove it temporarily in order to clear all the components of the old drain so you can install the replacement drain.
- Start by identifying the locknut and the upper slip nut (usually paired with a rubber or paper washer). These components are located at the top of the tailpiece just underneath the strainer's housing unit/mounting cup.
- Use your pipe wrench to help loosen and unscrew the top slip nut.
- Then, move to the bottom end of the tailpiece and use the same wrench to loosen the bottom slip nut.
- Gently remove the tailpiece with the slip nuts and set it aside for now.
4. Loosen & Remove the Locknut So You Can Remove the Housing Unit, Washer, & Rubber Gasket
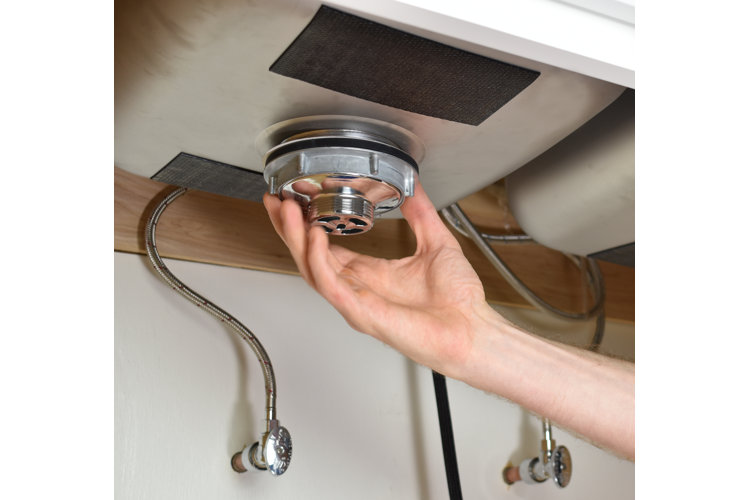
- Using your pipe wrench, locate the locknut and loosen it by moving the wrench counterclockwise.
- Attach the needle-nose pliers to the grates of the strainer basket to keep it from moving/turning with the locknut as you remove the locknut.
- Make sure to have a hand on the drain's housing unit, since removing the locknut will also cause it to come loose.
- Use your hand to loosen the locknut the rest of the way. Then, put it aside.
- Gently remove the housing unit and the rubber gasket/washer that separates it from the bottom of the strainer.
- Set all of these pieces aside – your new drain will likely come with its own compatible pieces, but it never hurts to have extra parts on standby!
Tip!
If the locknut won't budge, it might be because of rust or buildup. Try applying hot water, white vinegar, or a combination of the two using a rag or spray bottle around the top of the locknut and give it a few minutes before trying to remove the locknut. You can also apply a penetrating oil that's designed for loosening plumbing components.
5. Remove the Drain's Strainer & Strainer Basket
- Push the bottom of the strainer upwards through the drain hole and pull it out from the top of the sink.
- Once the strainer components are removed, use a wet rag or paper towel to clean around the edges of the drain hole as well as the underside of the drain beneath the sink.
- This helps get rid of any buildup or leftover plumber's putty and ensures the new drain will have a good seal.
6. Roll Out & Apply New Plumber's Putty
- The general rule of thumb is that you should roll out a quarter size amount to fit around the length of the drain hole or around the new strainer. Once rolled out, it should look like a long rope that's approximately 6" in length.
- It's completely up to you whether you want to apply the plumber's putty directly to the drain hole or to the underside of the new strainer. Both ways are equally effective.
7. Press the New Strainer/Strainer Basket Into the Drain Hole
Make sure to press down firmly for about 10 seconds to ensure a good seal. If you see plumber's putty coming out of the sides, that is completely normal. You’ll wipe it away in a later step.
8. Attach the New Rubber Gasket/Washer, Housing Unit, & Locknut to the Underside of the Strainer
- Start by placing the washer on top of the housing unit, followed by the rubber gasket – the rubber gasket should be the piece that's in direct contact with the bottom of the strainer to ensure a proper seal.
- Gently place the trio directly beneath the strainer.
- Then, add the locknut. Hand-twist it on to start and then use your pipe wrench to tighten it into place.
9. Reattach the Tailpiece & Slip Nuts
- Place the tailpiece against the housing unit and use your hand to twist on the slip nut and the corresponding washer.
- Most washers fit inside of the slip nut so you don't have to worry about which goes on first.
- With the top slip nut in place, repeat the process for the bottom slip nut to help attach the tailpiece to the P-trap pipe.
- Use your pipe wrench to tighten each slip nut to ensure the tailpiece is secure.
10. Wipe Away Excess Putty From Around the Sink Drain Hole
When tightening the locknut during the installation process, it's common for extra plumber's putty to seep out and around the strainer in the sink – This means you achieved a tight seal! Just wipe the putty away with a paper towel and you're good to go.
11. Place a Bucket Under the Sink to Check for Leaks
Turn the water shut-off valves counterclockwise to reestablish your sink's water supply. Then, let the water run so you can monitor the pipework and newly-installed drain components. If a slip nut needs to be tightened, it will show up as a small water leak. This step helps prevent any water damage and ensures everything is adequately installed.
Tip!
Ready to tackle other kitchen DIY projects? Check out these guides:
How to Replace a Sink Drain Stopper
How to Install a Kitchen Sink
How to Replace a Kitchen Faucet
How to Install a Sink Sprayer
