to:
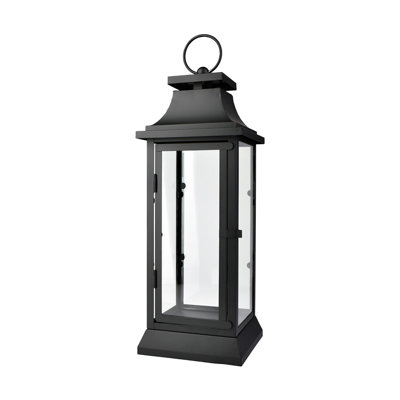
22,809 Items
2 Colors, 4 Sizes
By Breakwater Bay
20" H x 6.75" D x 6.75" D, Black
Rated 4.8 out of 5 stars.462 total votes
FREE Delivery
More Options
By ILLUME
Matte Ceramic
Rated 4.2 out of 5 stars.40 total votes
8 Colors
By Laurel Foundry Modern Farmhouse
Light Brown
Rated 4.6 out of 5 stars.5665 total votes
FREE Delivery
More Options
By ILLUME
Matte Ceramic
Rated 4.4 out of 5 stars.33 total votes
More Options
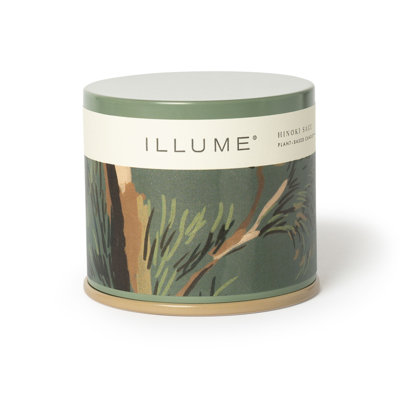
By ILLUME
Vanity Tin
Rated 4 out of 5 stars.53 total votes
FREE Delivery
3 Sizes
By Loon Peak
Jar 19 oz.
Rated 4.3 out of 5 stars.72 total votes
FREE Delivery