How Does an Ice Maker Work?
The different ways ice is made.
Ice is one of those simple luxuries in life that is often taken for granted. Over a century ago it was tough to come by – automatic ice makers were only invented in the 1950s! So, how does an automatic ice maker work? How does it create ice in just a matter of minutes as opposed to the hours it takes to manually freeze ice? Keep reading to learn more about the common types of automatic ice makers and how these appliances make ice.
How Does an Ice Maker Work?
There are three common types of ice makers: refrigerator ice makers, portable/countertop ice makers, and freestanding ice makers. We’ve broken down more about these types and how each of them works below.
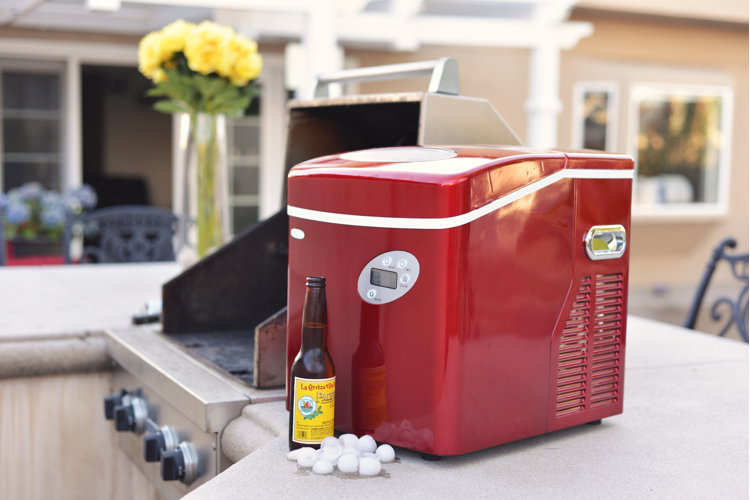
Portable/Countertop Ice Maker

When it comes to portable/countertop ice makers, the process of creating ice involves three major components within the ice maker: the compressor, condenser, and evaporator (also known as a heat exchanger). In short – refrigerant runs through each of these components to lower the interior temperature, which results in the water freezing.
Step 1: Water Enters the Reservoir
Water is placed into the ice maker's reservoir. Since countertop models are portable, they must be filled manually via the faucet or a vessel such as a jug or bucket. There are some automated models that can be hooked up to a water dispenser.
Step 2: Water Is Pumped
This water is then pumped into the water container. Here, metal prongs that are attached to the evaporator/heat exchanger are lowered into the water. They are filled with an eco-friendly refrigerant (the same substance as in refrigerators and ACs). The below process is what results in these submerged spikes growing cold and eventually forming ice around them.
Step 3: The Compressor Starts
The compressor is a crucial component that pressurizes and heats the refrigerant and turns it into a high pressure gas.
Step 4: The Condenser Starts
The refrigerant travels into the condenser where it is cooled. This cold refrigerant then moves into the prongs.
Step 5: The Evaporator Starts
Another set of heat-exchanging pipes, called the evaporator, is responsible for making the interior of the ice maker cold. As the water in the ice maker flows over the metal prongs that are attached to the evaporator, it begins freezing in a matter of minutes.
- The size of the cubes depends on how long the prongs remain in the water - a longer cycle will result in thicker pieces of ice.
- Small ice can take around six minutes to form, while larger ice requires 12 minutes or more.
Step 6: The Harvest Cycle Starts
Once the cycle is complete and the ice is frozen solid, any remaining water is dumped back into the reservoir. The heat exchanger then reverses the prong temperature (using warm water or hot gas) from cool to warm to slightly melt the cubes and allow them to fall into the ice bucket.
Step 7: The Ice Is Ready
Many ice makers will make a sound when the batch of ice is ready and some will even shut off if the bucket is too full. At that point you can use the ice for whatever you need and allow the maker to continue cycling or shut it off if you have the amount that you need.
Step 8: Cycle Restarts
Most ice makers are not designed to keep ice frozen, so any ice you don't use will melt and return back to the bottom of the reservoir. If you intended to make larger batches of ice, it's a good idea to bring a cooler or freezer bag to store the cubes in.
Tip!
Learn more about ice makers and the different types of ice shapes in our guide Make the Coldest Drinks With These Best Ice Makers.
Freestanding Ice Maker
Freestanding ice makers function similarly to the portable models – with the water running into the machine to be cooled and then turned into ice. The three primary internal components are the same as the countertop ice maker (the compressor, condenser, and evaporator), but they work a little differently.
Step 1: Water Enters the Reservoir
Similar to the portable ice maker, water must enter the reservoir. However, with a freestanding model, this occurs via a permanent plumbing line that provides a constant flow of fresh water.
Step 2: Water Is Pumped
The water then moves into the container attached to the evaporator so the ice making process can begin.
Step 3: The Compressor Starts
The compressor heats and pressurizes the refrigerant to prepare it for rapid expansion (which occurs later on).
Step 4: The Condenser Starts
This series of metal tubes in the ice machine cools the refrigerant, transforming it from a vapor to a liquid state.
- The refrigerant flows through the coils to cool the water.
- The heat is then ejected out of the back of the ice maker.
Step 5: The Evaporator Starts
The low-pressure liquid reaches the evaporator. As the water flows over the evaporator, it starts to cool to the point of freezing, eventually forming ice cubes.
Step 6: The Harvest Cycle Starts
Once the water is frozen, the machine will warm the evaporator to melt the ice slightly, freeing it from the cold prong so it can be released into the bin.
Step 7: The Ice Is Ready
As with countertop models, very few freestanding ice makers are designed to store ice, so you will need to remove what you want to use and keep it elsewhere to prevent it from melting in the machine.
Step 8: The Cycle Restarts
As with the portable models, any unused ice will melt and return to the bottom of the reservoir so the process can begin again.
Now we know how portable and freestanding ice makers work, the question is – how does an ice maker work in a refrigerator?
A fridge makes ice using an electric motor, water valve, and heating coil that is found underneath the ice mold. First, the fridge must be connected to both a power and water source – this is typically via an electric wire and plumbing line that runs through the back of the fridge.
Step 1: The Cycle Starts
An electrical signal is sent to the electro-magnetic water valve which then opens to fill the internal ice mold with water.
Step 2: Water Fills the Molds
The valve remains open long enough to fill the plastic ice molds (around seven seconds). The mold is designed with connected cavities that usually have a curved half-circle shape.
Step 3: The Water Freezes
Once the mold is filled, the cooling unit within the fridge (not the ice maker itself)
freezes the water.
Step 4: The Process Stops
Once the internal thermostat indicates that the ice cubes have reached between 5 to 9 degrees fahrenheit, the signal will halt the process.
Step 5: The Ice is Loosened
When the cubes are completely frozen, an electrical current will flow through a heating coil beneath the ice maker to warm the bottom of the mold and loosen the ice.
Step 6: The Motor Starts
A motor is then activated to spin ejector blades that are designed to revolve and scoop the cubes up and out where they are funneled into a collection tray.
Step 7: The Process Ends
This ice making process will continue until the shut-off arm (installed at the front of the ice maker) sends the signal that the ice cubes are stacked to capacity.
Step 8: The Process Begins Again
When the arm no longer hits ice (signaling that the ice is low), the operation begins all over again until the bin is full once more.
With the answer to the question "how does an ice maker work" and an understanding of the inner function of these useful appliances, now you can add one to your home to make sure your beverages are always cold.
You Might Also Like:
