Purdy's Professional Interior Painting Guide
Purdy shares the best advice for painting the inside of your home.
Step 1: Clear the Room
Move furniture to the centre of the room and cover it with plastic to protect against paint splatter. If you can, remove furniture from the room altogether so you have more space to move around. Use a drop cloth, an old bed sheet, or craft paper on the floor to protect hardwood, tile, or carpet when painting.
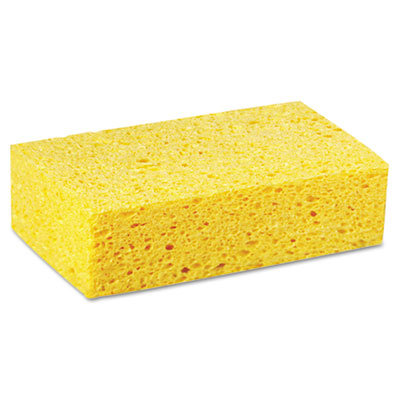
Step 2: Clean the Walls
Scrape away any cracked or flaking paint and smooth out small bumps with sandpaper. Next, use a large cellulose sponge to remove dust and dirt from the wall before painting. If you're painting in the kitchen or an area where you may have grease spots, use a small amount of mild dish soap or laundry detergent to clean the spots. Then, rinse the wall with clean water to remove residue. Let the walls dry completely before proceeding.
Step 3: Trim with Painter's Tape
Using painter's tape, tape off trim, windows, door frames, and light sockets, and switches. You can also remove any doors, light sockets, or switches before you begin painting.
If you use Purdy® Clearcut brushes, you don't need to use painter's tape. They provide excellent cut-in ability and create well-defined lines, making edging easy.
Tip!
"Spackle and smooth any flaws in the wall. If your walls are not smooth, run latex caulk along the edge of the tape to create a seal, just be sure to wipe clean and smooth so it is a very thin barrier." —DKOR Interiors
Step 4: Prime the Walls
A quality primer helps hide imperfections and gives the finished coat of paint a uniform look. Use water-based primer on new drywall that has yet to be painted. For walls that have stains or have been painted with a dark colour, use an oil-based primer. Oil-based primers are also ideal for painting over wood panelling.
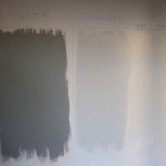
Step 5: Test the Colours
Chances are the paint swatch you saw in the store won't look exactly the same in your home. The natural and artificial lighting in your room can change the appearance of the paint colour. To ensure you love the colour in the space, purchase small samples and paint different areas of the room with the colours you're deciding between to see which you like most. Once you've decided, paint over the areas with primer to get ready for the final coats!
Read our New Home and Apartment Personalization Guide for more inspiration and tips for painting your home!
Tip!
"The colour is always darker than the small chip from the store so if you're unsure about the colour you selected try to go one shade lighter on the card." —DKOR Interiors
Step 6: Start Painting
Begin applying colour to your walls with a small brush. Your paint roller won't be able to reach everywhere, so use a brush to "cut in" or paint tight areas, like around trim and corners. Using this smaller brush (a 2-inch angled brush is ideal, such as the Purdy Clearcut Glide), extend the paint out about 3 inches.
Tip!
Remove tape immediately after painting and before the paint dries. If you wait until the paint has dried to pull up the tape, you risk peeling the paint off with the tape.
Step 7: Use the M Technique
Start in the corner of a wall and roll outward in a "M" pattern about 3 feet by 3 feet wide. Fill in this section without lifting up the roller. This technique helps to hide seams and areas where you stop and start rolling. Using the "M" pattern results in a smoother and more even paint job, compared to simply going up and down with the roller.

Tip!
"Think about applying smooth, even coats with a clean high-grade roller and premium tapered brush for the most professional job. It's also important to allow two to three hours between coats." —DKOR Interiors
Step 8: Finish the Trim
When the wall paint has completely dried, tape off where the trim meets the wall and paint all of the trim (including door and window frames) using a 2-inch angled brush.The experts at Purdy have been handcrafting professional paint brushes since 1925. Purdy is the brand that experts trust to deliver the best result with painting. For more information, read our Guide to Purdy Brushes.
Article Sponsored By: Purdy
