How to Make Curtains: Your DIY Guide
Learn how to make curtains yourself.
Drapes and curtains are one of those decor items that can easily make or break the aesthetic of a room. It can be even harder still finding the right set to exactly match your space. If you are interested in a fairly simple beginner project, use this guide to learn how to make curtains and customize your own drapery. To first learn how to sew, read How to Use a Sewing Machine: A Beginner's Guide.
Tools for Sewing Curtains
Learning how to make curtains is not an overly difficult task as it only entails straight sewing for the most part. It does however, require meticulous measuring, cutting, and sewing, along with the understanding of a few important basics. Below are the considerations you first need to take into account before you can learn how to sew curtains.
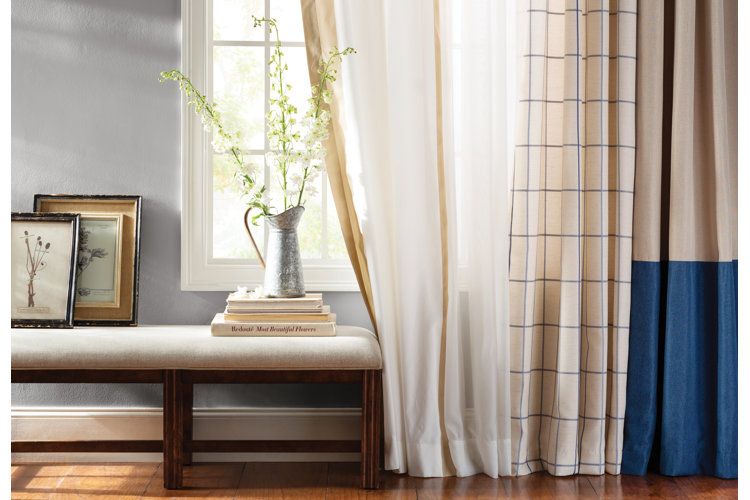
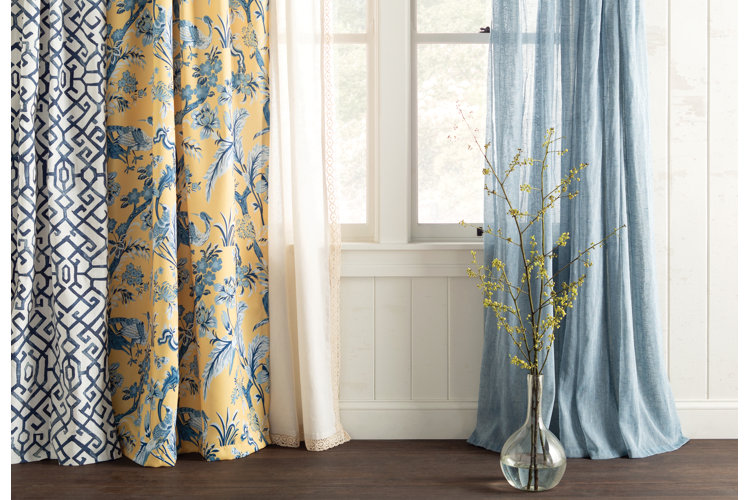
Fabric: The fabric you select for your curtains is extremely important. It is not just about the color and pattern but also the type of material you prefer. Although there are a variety of options ranging anywhere from heavy and thick to thin and gauzy, you would do well to start out with something made specifically for drapery.
Sewing Machine: Obviously if you want to know how to make curtains, you will at least need to have some basic sewing understanding as well as a machine. If you are looking for a little more guidance on picking the right sewing machine, read Your Guide to the Types of Sewing Machines.
Curtain Type: There are many different types of curtains to choose from, but you would do well starting off with simple panel curtains just because they are straightforward and easier to make. If you plan to line your curtains, you will also need to take this into consideration. Lining drapes is a good way to make them look more professional or to even create blackout curtains.
Curtain Headers: The easiest way to hang curtains is by using curtain clips or rings. These simply slide over the rod and clip onto the top of your curtains – requiring no additional measuring, cutting or sewing. Alternatively you can sew your own loops at the top of the fabric, or a casing which the curtain rod will slide through.
Fabric Amount: When learning how to make curtains, bear in mind that you will need a large amount of fabric – likely more than you would think. Of course the amount will depend on the type of curtains you want – lined or not, floor-length, pooled, or sill length, the number of panels, as well as the size of your windows. You must also ensure that you take into account the extra fabric needed for the headers and the hems.
Measuring Tools: To ensure all your measurements and cuts are perfect, you need to have the necessary tools. Scissors, pins, a straight ruler, and marker are imperative. To make your task a little easier, you may also want to invest in a rotary tool and a cutting mat – especially if you plan to continue sewing.
Now you have your necessary tools, you can finally move on to learning how to make curtains. Here are your step-by-step directions to ensure you can create the exact drapes you want.
Step 1: Install Curtain Rods
The very first step before you learn how to sew curtains, is installing your curtain rods. This allows you to get precise measurements starting from the rods themselves. For a guide rod measuring read, How to Measure for Curtain Rods. If you already have rods installed, you can move onto the next step.
Step 2: Measure the Windows
Next you can move onto measuring your windows. Be sure to measure each individual window in the room as they may not all be exactly the same. You will then need to decide the length and fullness of your curtains. Read How to Measure for Curtains to get these exact steps and measurements.
Step 3: Measure the Fabric
Once you have decided on your curtain measurements, you need to order the correct amount of fabric to make them.
- A good starting point for fullness is by measuring from end to end of your pole and adding at least two times to get the measurement for the width of your fabric.
- Then divide this figure by the fabric width. Most decorator fabrics come in a width of either 54 inches or 45 inches.
- Round up to the nearest whole number to calculate the number of widths you will need.
- Finally multiply your fabric length by the width to calculate how much fabric you will need.
- If you are using loops then add an extra 1/2 inch of fabric on all sides for seam allowance. They should hang about 1/2 inch below the bar.
- If you are using a casing, add 1/2 inch to the bottom and sides of the fabric for seam allowance, and then add two times the circumference of the bars you are using for the top.
- You will need extra fabric if the pattern is repeating in order to get it to match.
Step 4: Cut the Fabric
Now it is time to cut the fabric to your desired length – remembering to include your seam allowances. If you are using a lining, then make that 3 inches shorter than the fabric but keep it the same width.
Step 5: Sew Panels Together
To get your curtains to the width you need, you will likely need to join panels of fabric together. Make sure that the correct side of the fabric is facing in the same direction. Pin the edges of the fabric together to hold it in place with the right sides facing together and then sew the seam on the back side to keep it hidden out of sight. Use a serger to keep the edges from fraying
Step 6: Sew the Lining
If you are lining your fabric, then face the front side of your fabric to the lining and pin the sides together. For the bottom edge, fold 1 1/2 inches of the lining and 3 inches of the fabric and pin. Sew a straight line along one side, stitch where the lining and fabric overlap to create the bottom hem and then sew the third side. Using the un-sewn side, turn the fabric inside out and press all the seams to make them flat.
Step 7: Sew the Hems
If you aren't using a lining, then use a 1/2 inch seam allowance on the edges by pinning the front of the fabric up to the back side to keep the edge hidden. Fold the fabric twice to make a nice hidden hem and then press flat using an iron. Do this along the bottom and two sides.
Step 8: Sew the Top
It is finally time to sew the top of the curtains.
- Fold the strips of fabric in half widthwise, pin and sew tubes of fabric that is twice the length of your desired loop plus a 1/2 inch.
- The exact number you need will depend on the width of the fabric. To get this number, pin one loop on either edge of the fabric and then space the rest equally
- Turn the fabric the right way round by using a safety pin to hook on one side and pull it through itself.
- Fold them in half and press them flat, centering the seam to be hidden.
- Pin both ends to the top of the curtain – if you are using a lining the place then between the fabric and lining to hide them.
- Sew them in place.
Step 9: Hang Your Curtains
Your curtains should now be ready to hang. For additional information on hanging drapes, read How to Hang Curtains.
Equipped with information on how to make curtains, you should be able to sew your very own drapes to match your space.
